
Why stick to two dimensions when you can go for the third? While drawing and coloring on a flat sheet of paper is fundamental to a child’s development, there is something truly magical about watching a creation “pop” off the table.
It’s great that we have platforms like social media to see creations by artists from across the world. Some of them are absolutely stunning, featuring complex structures or intricate crafts made with specialized materials. However, you don’t need expensive tools or a degree in architecture to make a beautiful craft. What if I told you that all you need to make a cute structure or scene is often just paper, glue, and a little imagination?
If you don’t believe me, you will once you check out our list of 15 Spellbinding 3D Crafts for Kids. These projects are perfect for school assignments, rainy days, or simply getting those creative juices flowing.
Why Choose 3D Crafts?
Before we dive into the list, let’s talk about why three-dimensional art is so important. When kids build in 3D, they are learning spatial awareness. They have to think about depth, balance, and structure. It turns a simple art session into a mini-engineering lesson! Plus, 3D crafts are incredibly tactile, helping to refine fine motor skills and dexterity in a way that simple coloring cannot.
Here are 15 amazing ideas to get you started.
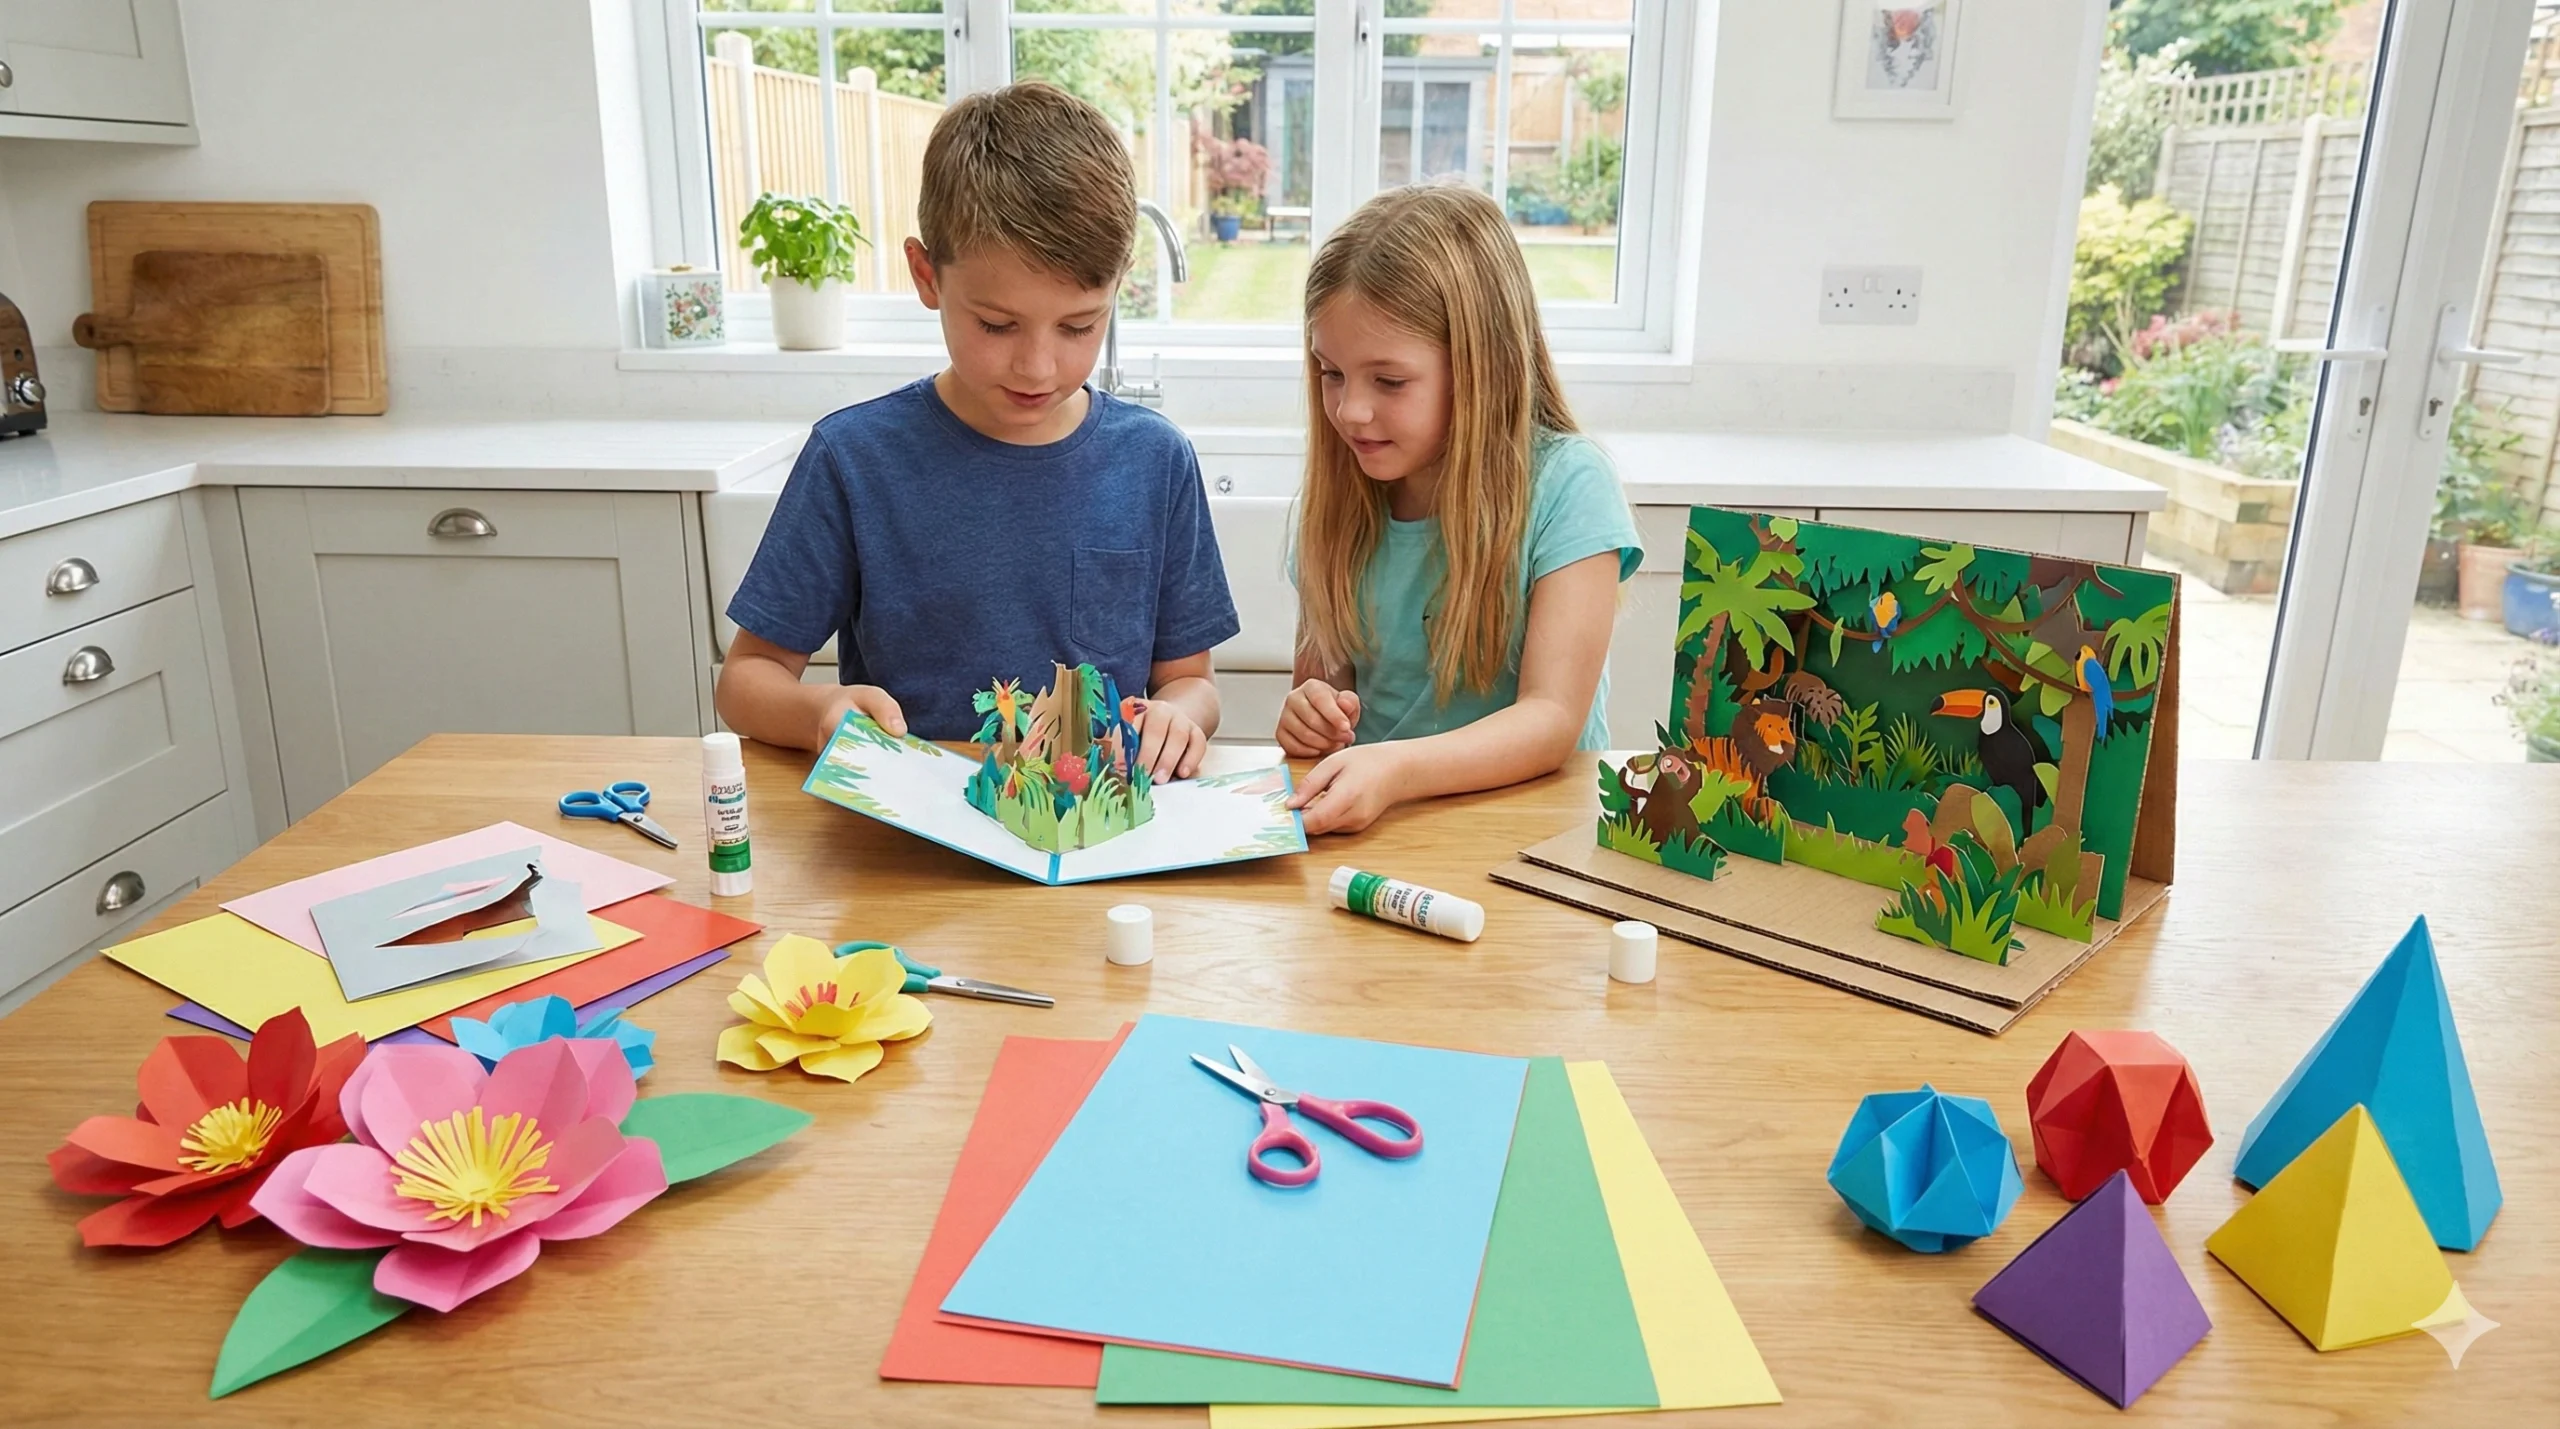
1. The Layered Jungle Diorama
The next time you have a school project, make sure it’s a 3D one. A diorama is the classic way to create a world within a box.
- The Base: Use an old shoe box turned on its side. Paint the inside green and blue for the sky and foliage.
- The 3D Element: Instead of gluing pictures flat against the back, cut out animal shapes and trees from cardstock. Glue them onto small cardboard tabs or “L” brackets so they stand up. Place them at different depths—some in the back, some in the middle, and some right at the front. This creates a realistic sense of depth, making the jungle look alive!
2. The Standing Flower Garden
This is a great project for young kids making their first 3D project. It requires very little cutting for the child if you prep the shapes beforehand.
- Materials: Green craft sticks (or painted popsicle sticks), colorful paper, and a foam block or an egg carton.
- How to Make It: Cut out tulip or daisy shapes. Glue them to the tops of the sticks. Poke holes in an upside-down egg carton (painted green to look like grass) and push the sticks in.
- Why It’s Fun: Kids can “plant” and rearrange their garden as many times as they like.
3. Deep Sea Tunnel Book
It is estimated that there are still 1.8 million unknown species living underwater—that’s both amazing and scary! Create your own underwater scene using the “tunnel book” technique.
- The Concept: You need 4-5 square pieces of cardstock. Cut a large circle in the center of all of them except the last one.
- The Assembly: On the last solid sheet, draw the deep ocean background. On the other sheets with holes, glue seaweed, fish, and sharks around the edges of the circle. Stack them using accordion-folded paper strips on the sides to separate the layers. When you look through the front hole, it looks like you are peering deep into the ocean!
4. 3D Hot Air Balloons
These look beautiful hanging from the ceiling of a bedroom or classroom.
- The Technique: Cut out 4 to 6 identical balloon shapes from different colored papers. Fold them all in half vertically.
- Putting it Together: Glue the back of the left half of one balloon to the back of the right half of the next balloon. Continue until they form a full circle.
- The Basket: Attach a small paper cup or a square box made of paper to the bottom using string. It spins in the wind and looks fantastic from every angle.
5. Paper City with Folded Houses
Turn a flat map into a bustling metropolis.
- The Craft: Take a large sheet of butcher paper and draw roads and parks. Then, create 3D houses.
- How to Build: Cut a strip of paper, fold it into four equal sections (plus a small tab for glue), and fold it into a square tube. Add a triangle roof on top.
- Interactive Play: Kids can build a whole village, adding 3D trees (cones) and cars. It’s a craft that turns into a toy.
6. Cardboard Tube Castle
Upcycling is a huge trend in crafting, and toilet paper rolls are the stars of the show here.
- The Structure: Use four rolls as the towers. Cut notches in the top to look like battlements.
- The Walls: Cut cardboard from a cereal box to connect the towers.
- The Decoration: Paint it gray and draw stones. This 3D structure stands on its own and is sturdy enough for action figures to play inside.
7. Pop-Up Greeting Cards
Teaching kids the mechanics of a pop-up card is a skill they will use forever for birthdays and holidays.
- The Simple Mechanism: Fold a piece of cardstock in half. On the folded edge, make two small parallel cuts. Push the piece of paper between the cuts inward so it forms a step inside the card.
- The Art: Glue any image (a heart, a cake, a monster) to the front of that step. When the card opens, the image pops up!
8. Paper Strip Rainbows
A flat rainbow is nice, but a 3D rainbow leaps off the page.
- The Method: Cut strips of colored paper in rainbow colors (Red, Orange, Yellow, Green, Blue, Purple). Cut them so the red is the longest and the purple is the shortest.
- The Assembly: Line up the ends on one side and staple them. Arch them over so the red is on top and the purple is underneath, then staple the other end.
- The Effect: Glue cotton balls (clouds) at the base. You now have a standing arch rainbow!
9. 3D Geometric Paper Sculptures
This is where math meets art (STEAM learning).
- The Challenge: Print out templates for cubes, pyramids, and dodecahedrons.
- The Activity: Have the kids cut, fold, and glue the tabs to create these 3D shapes.
- The Twist: Before gluing them shut, put a small bell or a few beads inside to make them rattle, or string them together to make a geometric garland.
10. The Shadow Box Theater
Storytelling comes alive with this craft.
- The Frame: Cut the bottom out of a cereal box, leaving a frame. Tape wax paper or baking paper over the opening.
- The Puppets: Cut black silhouettes of characters and tape them to skewers or straws.
- The Magic: Place a lamp behind the box. When kids move the puppets between the light and the wax paper, the audience on the other side sees a moving shadow show!
11. Accordion Fold Caterpillar
A simple technique that creates movement.
- The Fold: Take two long strips of paper (different colors). Glue the ends together at a 90-degree angle. Fold one strip over the other, repeatedly, until you run out of paper.
- The Result: You get a springy, bouncy “accordion” leg. Add a face to the front, and you have a wiggling caterpillar or snake that stretches and bounces.
12. Paper Plate Dinosaurs
This requires no glue if done correctly!
- The Body: Fold a paper plate in half. This is the dinosaur’s body.
- The Parts: Cut a head, tail, and legs out of cardstock.
- The Construction: Cut slits in the paper plate fold where the parts should go. Slide the neck and tail into the slits. The folded plate allows the dinosaur to rock back and forth or stand up on a table.
13. 3D Paper Fruit
Perfect for a summer theme or learning about nutrition.
- The Technique: Similar to the hot air balloon, cut out multiple slices of fruit shapes (like a pear, apple, or strawberry silhouette).
- The Core: Glue them along the central vertical line. Fan them out.
- The Stem: Add a green leaf and a brown stem. These look lovely in a bowl on the kitchen table.
14. Solar System Mobile
A classic science project that is inherently 3D.
- The Planets: You can use Styrofoam balls, but to keep it all paper-based, use the papier-mâché technique (newspaper strips and glue over a balloon) or the paper strip sphere technique.
- The Display: Hang them from a wire coat hanger or crossed dowels. Ensure the sun is the biggest and in the center!
15. Origami Jumping Frogs
Origami is the ultimate 3D paper craft because it requires no glue or scissors—just folding.
- The Craft: Using a rectangular index card or origami paper, follow instructions to fold a traditional jumping frog.
- The Fun: Because of the “spring” folded into the back legs, pressing down on the frog makes it actually jump. Kids can make an army of frogs and have races!
Tips for Success with 3D Crafts
When moving from 2D to 3D, there are a few tips to ensure your child’s project doesn’t collapse:
- Use the Right Paper: Standard printer paper is often too flimsy for standing structures. Cardstock or construction paper is usually the best choice for 3D crafts as it holds its shape.
- Patience with Glue: Unlike 2D crafts where you can slap glue on and walk away, 3D crafts often require holding pieces in place for 30 seconds until the glue sets. Use a “counting game” to help kids wait.
- Start Simple: Don’t start with the complex geometric shapes. Start with the paper strip rainbow or the standing flower garden to build confidence.
Conclusion
Crafting is about exploration. By encouraging your children to build up and out rather than just across the page, you are helping them visualize the world in new ways. These 15 3D crafts are just the beginning. Once your kids realize they can create toys, decorations, and models just by folding and shaping paper, they won’t want to stop.