
When was the last time you really looked at a flower? I mean really looked at one. Not just a quick glance as you walked past a garden or a polite sniff of a bouquet. I am talking about a deep dive into the intricate details of the petals, the vibrant gradient of colors, and the delicate structure that makes nature so incredible.
If you are like most people, your answer probably starts with “Hmmm….” and ends with “….a long time ago!”
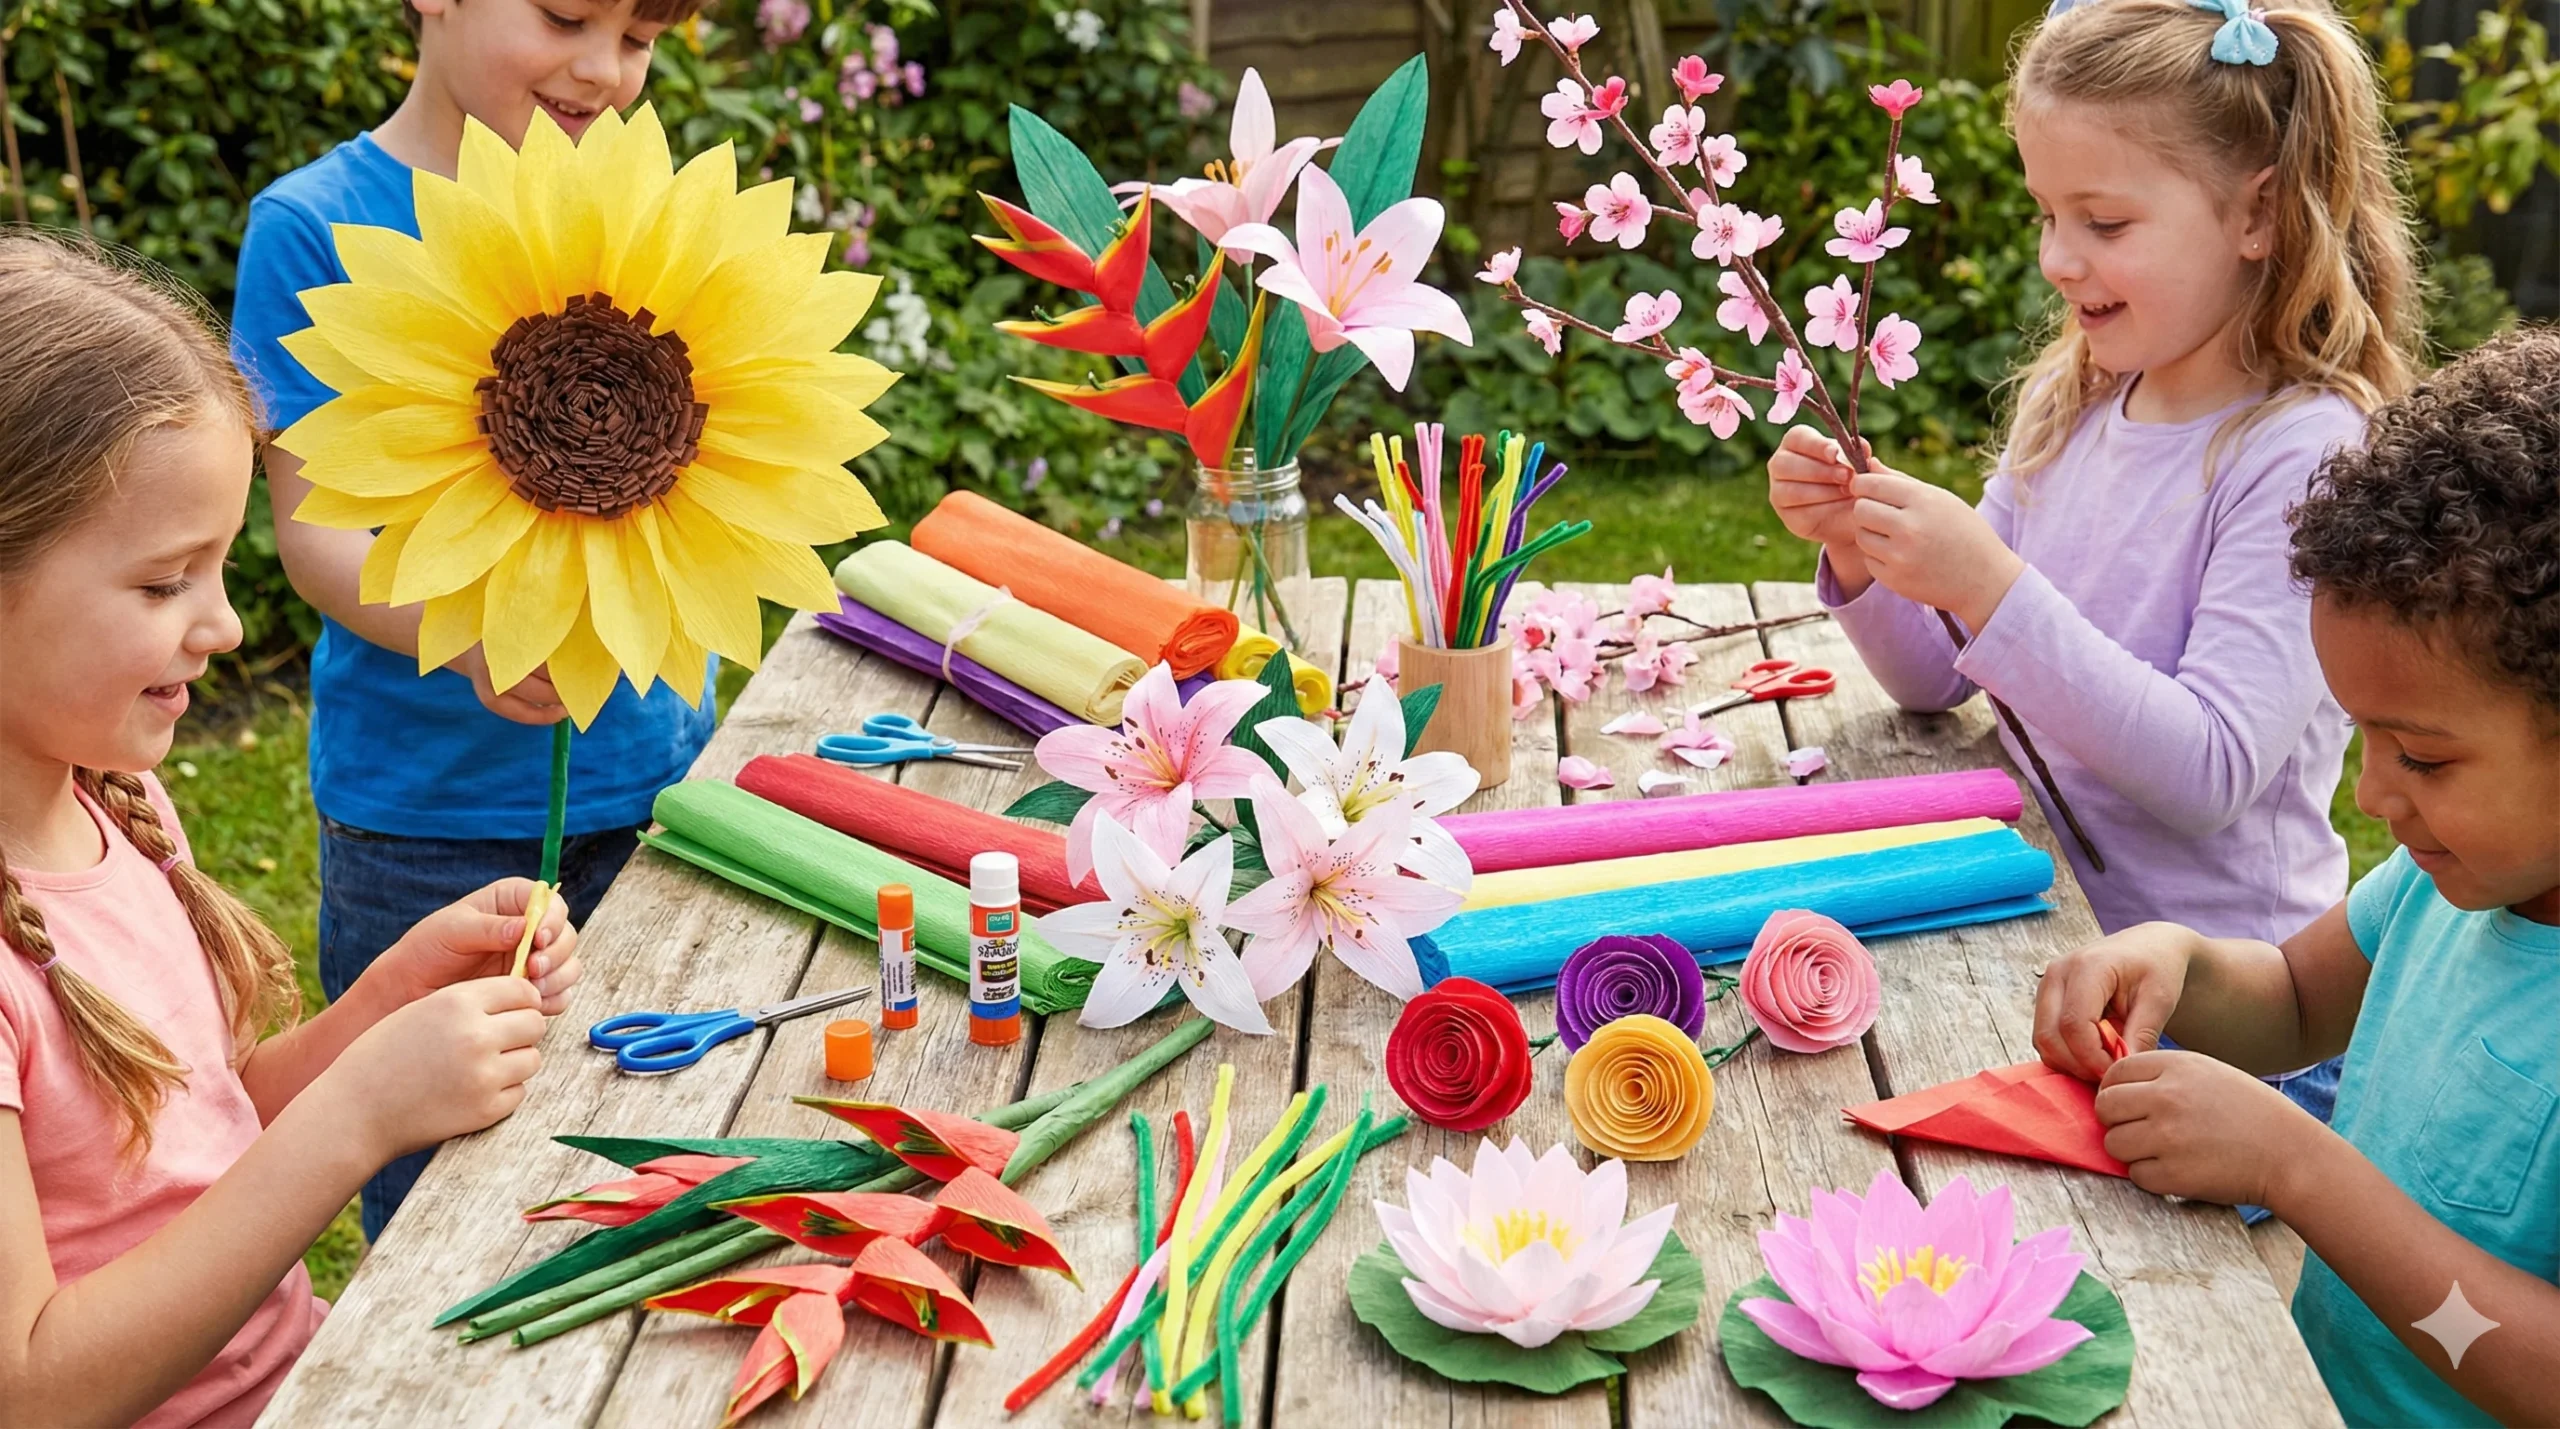
With summer just around the corner and National Flower Day (March 21st) serving as the perfect kickoff to the season of blooms, there is no better time to bring some of that natural beauty indoors. While we can’t all be Georgia O’Keeffe painting massive floral masterpieces, we can certainly get creative with paper, glue, and scissors!
In this ultimate guide, we are exploring 50+ Gorgeous Paper Flower Crafts for Kids. From simple tissue paper cherry blossoms perfect for toddlers to intricate heliconias for older kids, this list has everything you need to turn your home into a vibrant paper garden.
Why Paper Flower Crafts Are Perfect for Kids
Before we dive into the tutorials, let’s talk about why this specific niche of crafting is so beneficial.
- Fine Motor Skills: Cutting petals, folding paper (origami), and gluing stems require precision and help strengthen little hands.
- Color Recognition: Flowers are the perfect vehicle to teach children about primary and secondary colors, gradients, and contrasting shades.
- Botany 101: While crafting, you can teach your kids the parts of a flower—stamens, pistols, petals, and sepals—making this a stealthy science lesson!
- Allergy-Free Beauty: Real flowers wilt and trigger hay fever. Paper flowers last forever and are 100% sneeze-free!
The Essentials: What You Need in Your Craft Kit
You don’t need expensive supplies to make stunning blooms. Here is a checklist of basics:
- Paper: Construction paper, tissue paper, crepe paper, and cardstock.
- Adhesives: Glue sticks for paper, liquid glue for stronger holds, and tape.
- Structure: Pipe cleaners (green is best), wooden skewers, or paper straws for stems.
- Tools: Scissors (safety scissors for young ones), a stapler, and markers for detailing.
Section 1: Easy Peasy Blooms for Toddlers & Preschoolers
Simple crafts that focus on tearing, pasting, and basic shapes.
1. The Classic Handprint Lily
Handprint crafts are a childhood rite of passage.
- How to make it: Trace your child’s hand on white or pink paper. Cut it out. Curl the fingers around a pencil (these become the petals). Wrap the palm around a green pipe cleaner stem and tape it shut. It looks surprisingly like a Calla Lily!
2. Cupcake Liner Poppies
Do you have leftover muffin liners? You have flowers waiting to happen.
- The Method: Flatten colorful cupcake liners. Layer a small one inside a large one. Poke a hole in the center, insert a button or a brad fastener, and attach a green popsicle stick stem. Instant garden!
3. Tissue Paper Scrunched Flowers
Perfect for sensory play.
- The Method: Draw a flower outline on cardstock. Let your toddler tear pieces of tissue paper, scrunch them into balls, and glue them onto the template. It creates a beautiful, textured 3D effect.
4. Paper Plate Sunflowers
Sunflowers are the ultimate symbol of summer.
- The Method: Paint a paper plate yellow. Glue coffee beans or sunflower seeds in the center circle. Cut the rim of the plate into petal shapes. Attach a green craft stick, and you have a giant sunflower that looks great on a wall.
Section 2: Intermediate Crafts for School-Aged Kids
These require a bit more cutting precision and multi-step assembly.
5. Tissue Paper Cherry Blossoms
Celebrate spring and the beauty of Sakura.
- The Method: Find a dry twig in the yard. Cut small squares of pink tissue paper. Pinch them in the center and twist to form a blossom shape. Glue these onto the twig. This makes a stunning centerpiece for the dining table.
6. Accordion Fold Rosettes
These are great for party decorations.
- The Method: Accordion fold (zig-zag) a strip of colorful paper. Fold it in half and glue the edges to form a circle/wheel. Add a contrasting circle in the middle. These look amazing when hung from the ceiling.
7. Hyacinth Flowers
Hyacinths are known for their dense, curly blooms.
- The Method: Cut a strip of colorful construction paper (purple or blue). Make cuts along the long edge (fringing) without cutting all the way through. Curl each fringe strip with a pencil. Wrap the entire strip around a green paper tube stem. The result is a fluffy, curly flower tower!
8. Spiral Roses
This looks complex but is surprisingly easy.
- The Method: Draw a spiral on a square piece of red paper. Cut along the line. Start rolling the paper tightly from the outside in. When you reach the center, let it loosen slightly and glue the bottom. It naturally forms a rose shape!
Section 3: Advanced Florals for Tweens & Teens
Detailed projects that look realistic and make great gifts.
9. Giant Crepe Paper Peonies
Peonies are lush and luxurious. Crepe paper is stretchy, making it perfect for mimicry.
- The Method: Cut petal shapes in three different sizes. Stretch the center of each petal to cup it. Glue them around a center ball (made of foil or scrunched paper) layer by layer, starting with the small ones. The result is a massive, fluffy bloom.
10. The Exotic Heliconia
This tropical flower is geometric and striking.
- The Method: Use stiff cardstock in red and yellow. Cut geometric “lobster claw” shapes. Layer them along a stiff wire stem, alternating sides. This craft teaches structure and balance.
11. Realistic Paper Orchids
Orchids represent luxury and beauty.
- The Method: This requires a template. Cut the specific orchid shapes (two side petals, three sepals, and a lip). Use markers to add the speckled details found in real nature. Curve the paper slightly to give it life.
12. Lotus Tealight Holder
A functional craft that brings peace to a room.
- The Method: Use stiff paper. Cut three layers of petals (large, medium, small). Glue them in alternating layers on a circular base. Place a battery-operated tealight in the center. The light reflects off the petals for a glowing effect.
Tips for Displaying Your Paper Garden
Once you have created these 50+ flowers (or maybe just a dozen!), you need to show them off.
- The Forever Bouquet: Place them in a mason jar filled with rice or sand to hold the stems in place.
- Wall Art: Tape the stemless flowers (like rosettes and giant peonies) directly to the wall for a 3D floral backdrop—perfect for selfies!
- Gift Toppers: Skip the plastic bow on birthday gifts and tape a handmade spiral rose instead. It adds a personal touch.
- Wreaths: Glue your flowers onto a cardboard ring to create a summer wreath for your front door.
Why Celebrating National Flower Day Matters
Celebrating days like National Flower Day isn’t just about the calendar; it is about mindfulness. In a digital world, taking the time to observe the symmetry of a lily or the vibrancy of a sunflower grounds us.
When you sit down with your kids to make these crafts, you are doing more than just passing time. You are:
- Teaching them to appreciate nature.
- Showing them that beauty can be created from simple materials.
- Building memories that, unlike real flowers, will never wilt.
Conclusion
Whether you choose to make a simple daisy chain or a complex bouquet of crepe paper roses, the joy of crafting comes from the process. This summer, let your creativity bloom. Gather your supplies, clear the kitchen table, and transform your home into a colorful, paper-filled garden that celebrates the beauty of nature all year round.