
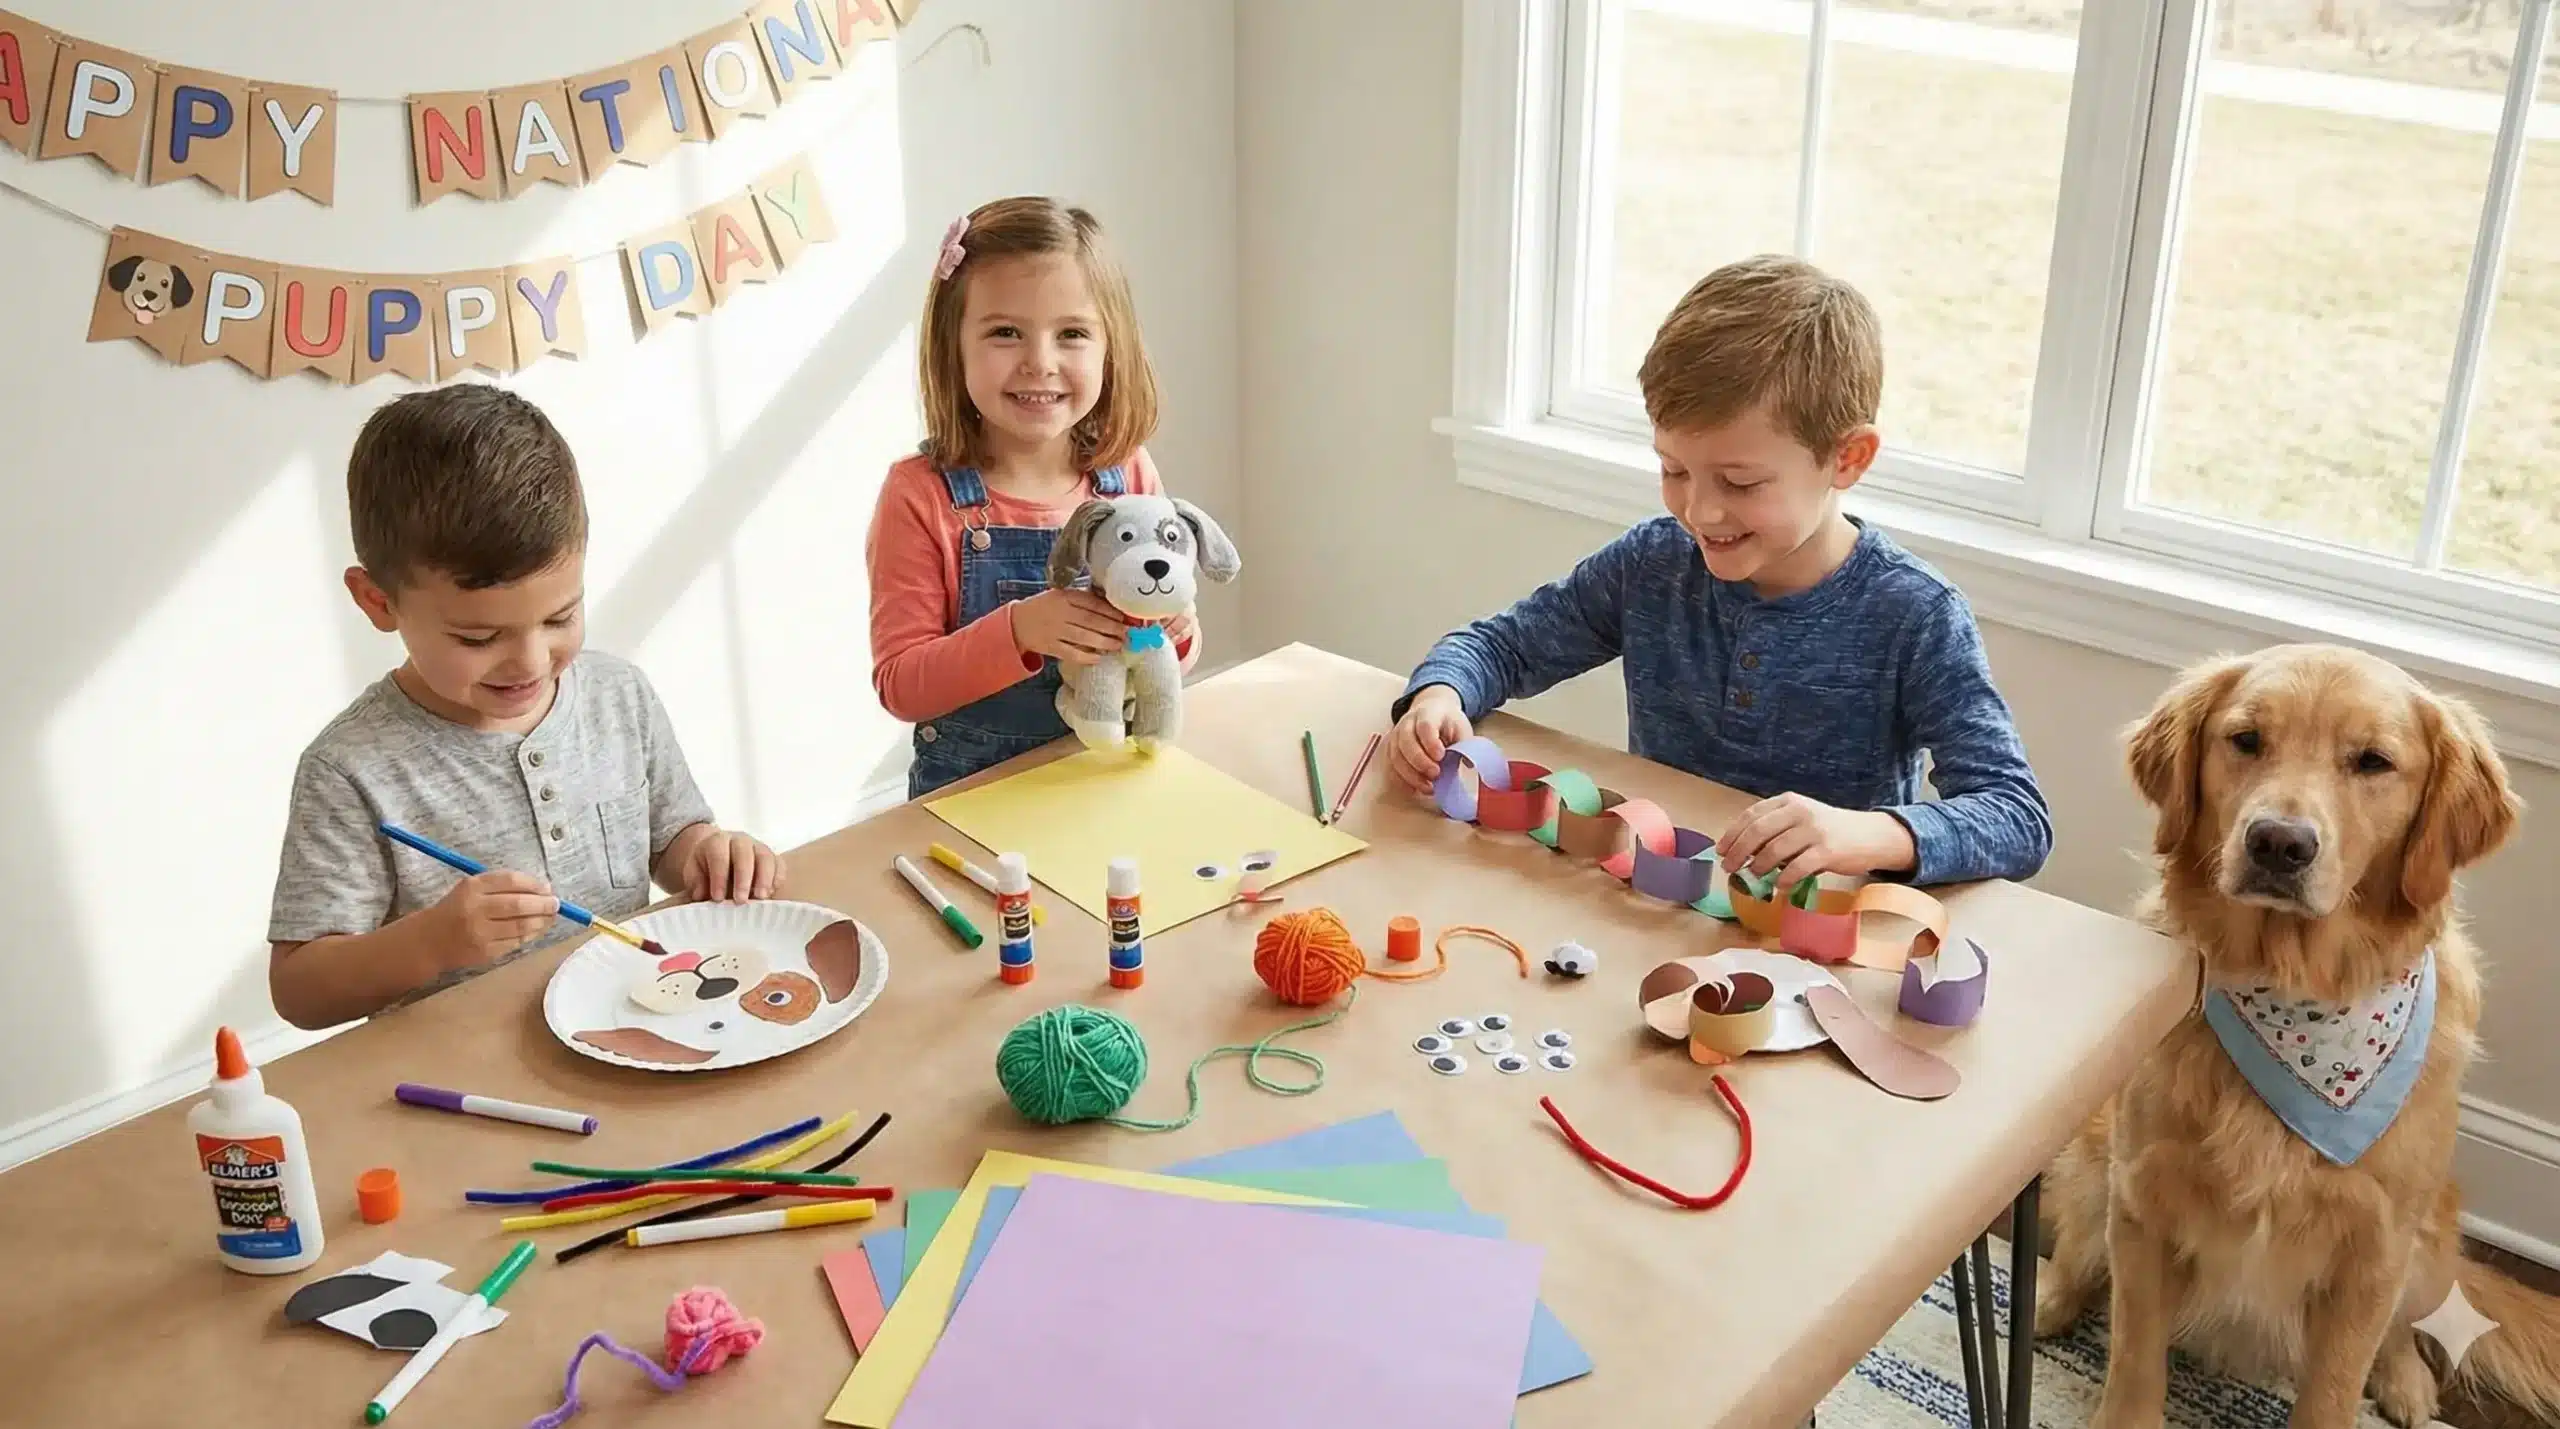
Who doesn’t love dogs? With their wagging tails, wet noses, and unconditional love, it is no wonder they are called “man’s best friend.” Whether you are a family of dog lovers, a teacher looking for a classroom theme, or just celebrating National Puppy Day on March 23rd, these crafts are the perfect way to get creative.
Crafting is not just about making something cute; it is a fantastic way for children to develop fine motor skills, follow instructions, and express their love for their furry friends. From simple paper plate projects for toddlers to clever origami for older kids, we have rounded up 10 delightful dog crafts that are easy, fun, and adorable.
Fun Dog Facts for Kids
Before you break out the glue and scissors, share these amazing facts with your little ones to turn craft time into learning time!
- Super Smell: A dog’s sense of smell is 10,000 to 100,000 times more sensitive than a human’s. They can smell things we can’t even imagine!
- Unique Noses: Just like a human fingerprint, every dog’s nose print is unique. No two are exactly alike.
- Dreamers: Have you ever seen a dog twitch or move their paws while sleeping? They are likely dreaming, just like we do!
- Smart Commuters: In Moscow, Russia, some stray dogs have actually learned how to ride the subway trains to travel to different parts of the city in search of food.
1. The Classic Paper Plate Puppy
This is a staple craft for preschoolers. It is simple, uses materials you likely have at home, and allows for endless customization.
What You Need:
- Paper plate.
- Acrylic paint (brown, black, or spotted!).
- Construction paper (for ears and tongue).
- Googly eyes.
- Black marker.
How to Make It:
- Paint the Base: Have your child paint the back of the paper plate in their favorite doggy color—brown, golden yellow, or even black and white spots for a Dalmatian. Let it dry completely.
- The Ears: While the paint dries, cut two large, floppy ear shapes out of construction paper. Glue them to the top rim of the plate so they hang down on the sides.
- The Face: Glue on two large googly eyes. Cut a black circle for the nose and a pink oval for the tongue. Glue the nose in the center and the tongue near the bottom.
- Details: Use a black marker to draw a mouth connecting the nose and tongue, and maybe add some freckles for whiskers!
2. Cardboard Tube “Sausage Dog”
Don’t throw away those empty toilet paper rolls! They are the perfect shape for a long-bodied Dachshund or “sausage dog.”
What You Need:
- Empty toilet paper roll (or paper towel roll cut in half).
- Paint or brown paper.
- Scissors and glue.
- Four clothespins (optional) or cardboard scraps.
How to Make It:
- The Body: Wrap the cardboard roll in brown paper or paint it brown.
- The Legs: You can cut four “U” shapes out of cardboard and glue them to the bottom, OR for a standing dog, clip four wooden clothespins onto the bottom of the roll to act as sturdy legs.
- The Head: Cut a separate circle from cardboard for the head. Add ears and a face, then glue this to one end of the tube.
- The Tail: Don’t forget to cut a small, pointy tail and glue it to the back end. This 3D dog can actually stand on a desk!
3. Easy Origami Dog Face
Origami is fantastic for developing concentration and geometry skills. This is one of the easiest folds for beginners.
What You Need:
- A square piece of paper (brown, white, or orange).
- Black marker or crayons.
How to Make It:
- The Fold: Start with your square paper turned like a diamond. Fold the top point down to the bottom point to create a triangle.
- The Ears: Take the top two corners of the triangle and fold them down at an angle. These will be the floppy ears.
- The Snout: Take the bottom point of the triangle and fold it upward slightly. This creates the flat muzzle of the dog.
- Decorate: Use your marker to draw a nose on the snout tip and two eyes on the main part of the face.
4. No-Sew Sock Puppy
Do you have a mismatched sock that lost its partner? Turn it into a soft, cuddly toy without using a single needle.
What You Need:
- An old sock (longer is better).
- Rice (for weight) and cotton balls/poly-fil stuffing.
- Rubber bands.
- Ribbon.
How to Make It:
- Fill it Up: Pour about a cup of rice into the toe of the sock (this helps it sit upright). Fill the rest of the foot part with cotton balls or stuffing.
- Shape the Body: Use a rubber band to tie off the sock at the heel—this separates the head from the body. Tie another rubber band at the very top to close the head.
- The Ears: You should have the ankle part of the sock left at the top. Cut this fabric down the middle to create two long ears. Trim them to be rounded.
- The Face: Use a marker or glue on felt pieces to make eyes and a nose. Tie a ribbon around the neck to hide the rubber band.
5. Interactive Paper Bag Puppet
This craft brings storytelling to life. Kids can put on a puppet show with their new canine characters.
What You Need:
- Standard brown paper lunch bag.
- Colored paper (red, black, white).
- Glue stick.
How to Make It:
- Understanding the Bag: Keep the bag folded flat. The bottom flap that folds over will be the puppy’s face, and the long part will be the body.
- The Mouth: Lift the flap and glue a red tongue underneath it, so when you open the flap, the dog “speaks.”
- The Features: Glue ears to the top corners of the flap. Add eyes and a nose to the front of the flap.
- The Body: Decorate the long part of the bag with a collar, a name tag, or spots. Put your hand inside and make the puppet bark!
6. “Slinky” Paper Chain Dog
Inspired by classic toys, this dog stretches and wiggles!
What You Need:
- Construction paper strips (about 1 inch wide).
- Stapler or tape.
- Cardstock for head and tail.
How to Make It:
- Make the Chain: Take one paper strip, loop it into a circle, and staple it. Take the next strip, feed it through the first circle, and staple it closed. Repeat this until you have a “body” that is about 10-15 loops long.
- Head and Tail: Draw and cut out a dog face and a tail from cardstock.
- Assembly: Glue the head to the first loop and the tail to the last loop. When you pull the ends, the dog stretches out just like a slinky!
7. Handprint Dog Keepsake
This is a messy but meaningful craft, perfect for parents who want to remember how small their child’s hands once were.
What You Need:
- White paper.
- Brown washable paint.
- Paintbrush.
- Black marker.
How to Make It:
- The Print: Paint your child’s palm and four fingers brown (leave the thumb clean or paint it too for a tail). Press their hand firmly onto the paper.
- Transform it: Turn the paper upside down so the fingers are pointing down—these are the legs! The thumb (if painted) can be the tail, or the head depending on the angle.
- Details: Once the paint dries, paint a head shape on the side of the palm, or simply draw ears and a face directly onto the “heel” of the handprint.
8. Fuzzy Pom-Pom Puppy
For a tactile experience, these little fluff balls are adorable.
What You Need:
- Yarn (any color).
- Cardboard (to make pom-poms) or store-bought pom-poms.
- Felt scraps.
- Glue.
How to Make It:
- Make Pom-Poms: Make one large pom-pom (body) and one slightly smaller pom-pom (head) by wrapping yarn around cardboard and tying it off.
- Connect: Tie or glue the two pom-poms together securely.
- Decorate: Cut tiny felt triangles for ears and glue them to the head. Add small beads for eyes and a nose. These make cute backpack charms!
9. Pipe Cleaner Poodle
This craft is great for older kids to practice sculpting and bending.
What You Need:
- 3 Pipe cleaners (chenille stems).
- Googly eyes (optional).
How to Make It:
- The Head: Coiling one pipe cleaner into a tight circle to make a round head. Leave a little straight piece at the end.
- The Ears: Cut a small piece of pipe cleaner and twist it onto the top of the head for fluffy ears.
- The Body and Legs: Bend a second pipe cleaner into a “U” shape for the front legs and twist it onto the head stem. Use the third pipe cleaner for the back legs and tail, connecting it to the front with a straight “spine” piece. Poodles are known for their curly fur, so the texture works perfectly!
10. Corner Bookmark Dog
Encourage reading with a buddy that marks the page.
What You Need:
- Square origami paper or cardstock.
- Scissors and glue.
How to Make It:
- The Base: Fold a square paper in half diagonally to make a triangle. Fold the bottom corners up to the top peak to make a smaller square. Unfold them, then fold the top “flap” of the triangle down. Tuck the side corners inside the pocket you just made.
- The Dog: Now you have a triangular pocket. Glue a big tongue hanging out of the pocket opening. Glue ears to the top corners and draw eyes.
- Use: This fits snugly over the corner of a book page, with the dog looking like it’s eating the book!
Conclusion
Whether you choose the wiggly paper chain dog or the soft sock puppy, these crafts are sure to bring a smile to your child’s face. They are a wonderful way to celebrate the loyalty and joy that dogs bring into our lives.
So, gather your supplies, call the kids over, and have a “paw-some” afternoon of crafting. Don’t forget to take pictures of your creations—they might just be too cute to give away