
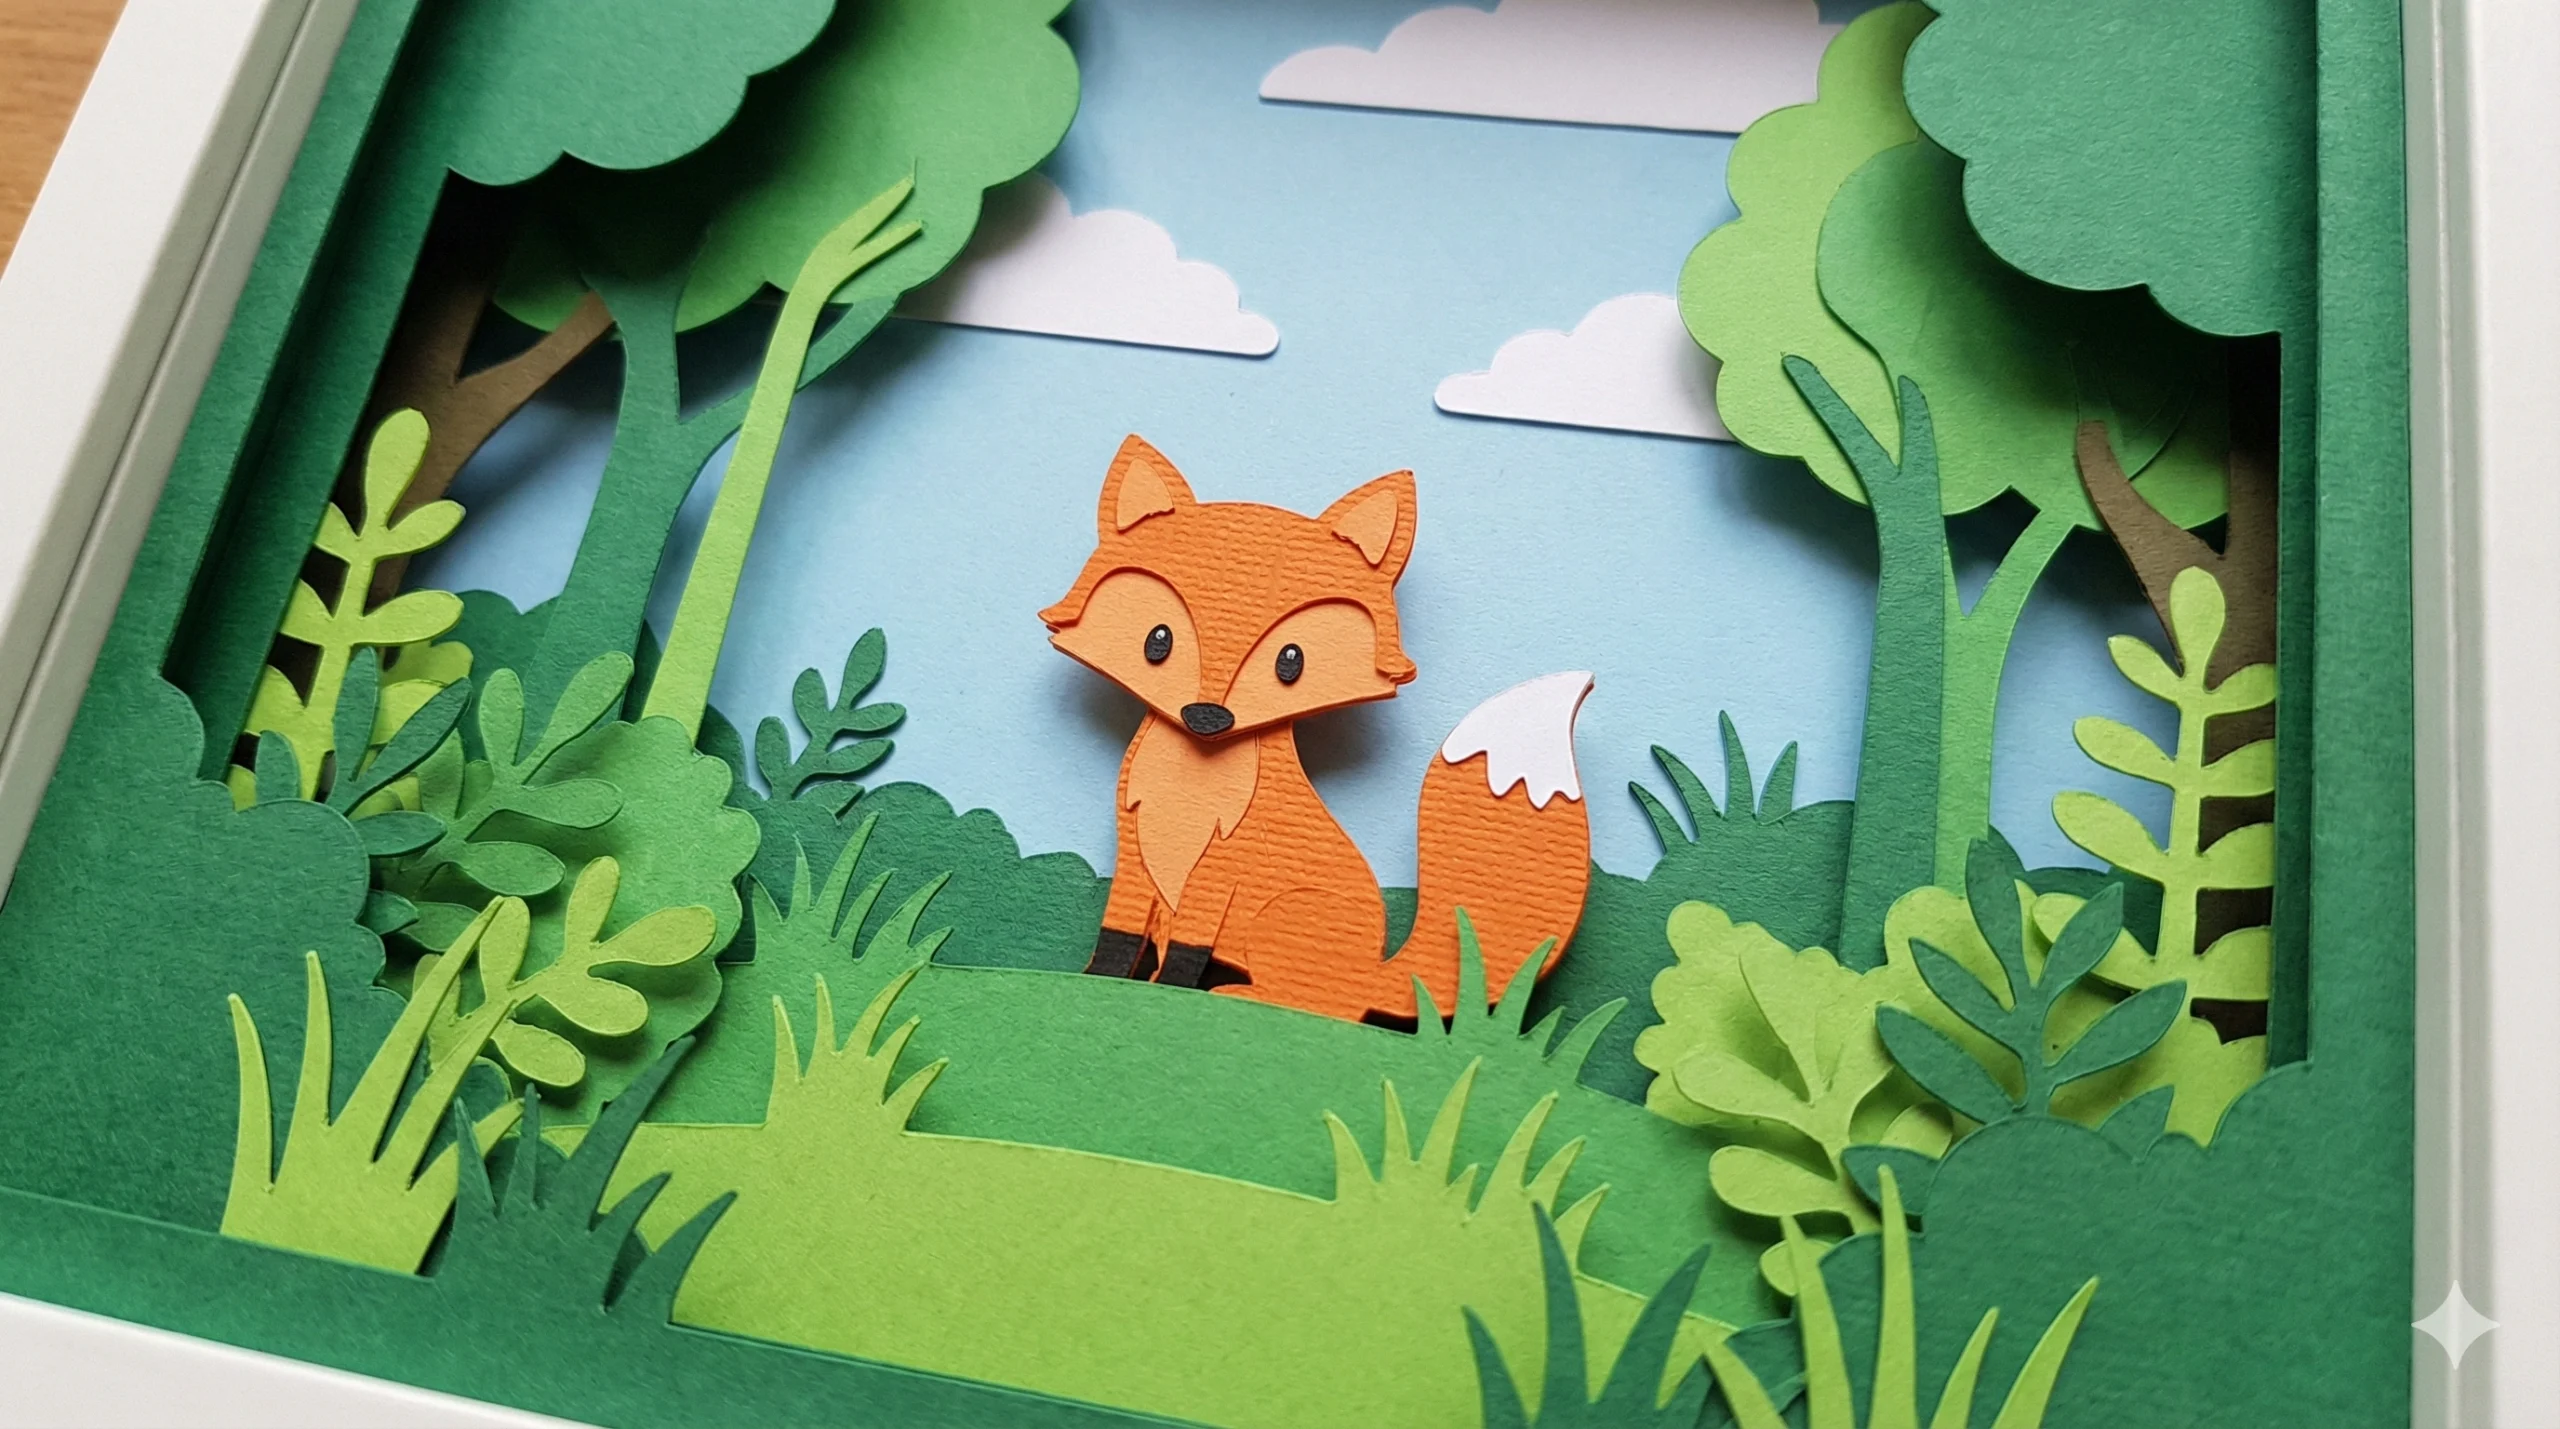
If you have ever wanted to bring a flat piece of paper to life, you have arrived at the right place. There is something undeniably magical about taking a two-dimensional sheet of cardstock and transforming it into a vibrant, three-dimensional world. Today, we are diving into a project that captures the essence of spring and the mystery of the woodlands: a Creative 3D Scene with Fox Papercraft.
We love creating forest crafts here. There is so much opportunity to play with lush green foliage, towering trees, and hidden wildlife. While we have previously had fun creating complex jungle dioramas teeming with animals, sometimes simplicity is key. Sometimes, you don’t need a whole zoo to make a beautiful piece of art. Sometimes, all you need is a quiet forest grove and one cute little fox.
This project is perfect for kids who are just starting out with 3D crafts. It introduces the concepts of depth, layering, and perspective without being overly complicated. The lush greens make it an ideal activity for spring, but honestly, this cute fox is welcome in our home all year round!
In this guide, we will walk you through every step of creating your own 3D fox scene, share some fun facts about foxes to teach the kids while you craft, and offer tips to ensure your papercraft stands tall and proud.
Why 3D Papercrafts are Great for Kids
Before we get our hands sticky with glue, let’s talk about why this activity is so beneficial. In a digital age where “3D” often refers to computer graphics, tactile paper crafting offers a unique set of developmental benefits for children:
- Spatial Awareness: Moving from 2D templates to 3D structures helps children understand volume, depth, and how flat shapes can be manipulated to create space.
- Fine Motor Skills: This craft involves precise cutting, folding, and gluing. These small movements strengthen the hand muscles necessary for handwriting and other delicate tasks.
- Patience and Sequence: Unlike drawing, where you can scribble instantly, papercraft requires following a specific order (cut, fold, paste). This builds patience and logical thinking.
- Creativity: While we provide a guide, the forest is yours to design! Kids can choose different shades of green, add flowers, or even draw extra bugs in the grass.
Fun Facts About Foxes (Learning Time!)
While the glue is drying, keep the little ones entertained with these fascinating fox facts. It turns a simple art project into a mini science lesson!
- Clever Creatures: Foxes are known for their intelligence. In many cultures, they are symbols of wisdom and trickery.
- Night Owls: Foxes are mostly nocturnal (active at night) or crepuscular (active at twilight). That’s why our little paper fox might look like he is exploring a quiet evening forest.
- Whiskers Everywhere: Foxes have whiskers on their legs as well as their faces. This helps them navigate through tall grass and dark burrows.
- Family Life: A group of foxes is called a “skulk” or a “leash.” A baby fox is called a “kit.” Maybe your paper fox is a kit looking for its mom!
Supplies Required
To ensure your 3D scene stands up correctly and looks professional, using the right materials is important. Here is what you will need:
- Cardstock Paper: This is crucial. Regular printer paper is too flimsy and will droop. You need cardstock (approx. 65lb weight) in various colors:
- Greens: At least 3 different shades (Dark, Medium, Light) to create the layered grass effect.
- Orange: For the fox’s body.
- White: For the fox’s tail tip and belly.
- Brown: For the tree trunks.
- Cardboard: A small piece of recycled cardboard (like from a cereal box) to reinforce the base if needed.
- Craft Glue: A strong glue stick or tacky white glue (PVA).
- Scissors: A sharp pair for adults and safety scissors for kids.
- Pencil: For tracing templates.
- Sharpies or Markers: Black markers are essential for adding the fox’s eyes, nose, and texture to the tree bark.
- The Template: (You can draw your own shapes based on the description or use a standard layered papercraft template).
How to Make the 3D Scene with Fox Papercraft
Follow these steps carefully to build your forest scene from the ground up.
Step 1: Prepare the Base Layers
The magic of this craft lies in the “layers.” We are going to create depth by placing dark colors in the front and lighter colors in the back (or vice versa, depending on your artistic preference).
- Download/Draw the Patterns: If you don’t have a printer, draw four long, rectangular strips on your green cardstock. They should be the same width (about 6 inches) but vary in height.
- Layer 1 (Front): Shortest height. Draw a jagged “grassy” top edge.
- Layer 2: Slightly taller. Draw curved hill shapes.
- Layer 3: Taller still. Maybe add some bush shapes.
- Layer 4 (Back): The tallest layer, perhaps acting as the sky or distant trees.
- Cut: Carefully cut out these four layers.
- Fold the Tabs: On the bottom and sides of each green layer, create small tabs by folding the paper back. These tabs will be used to glue the layers together, creating space between them.
Step 2: Constructing the 3D Box Base
Now, let’s make the scene stand up.
- Take a piece of sturdy cardstock or cardboard to act as the “floor” of your scene.
- Glue your Back Layer (Layer 4) to the very back edge of the floor.
- Glue Layer 3 about half an inch in front of the back layer.
- Glue Layer 2 another half-inch forward.
- Finally, glue Layer 1 (the shortest grass) at the very front.
- Pro Tip: When you look from the front, you should see a “tunnel” effect of grass and hills receding into the distance. This is the stage where your 3D world is born!
Step 3: Create the Fox
Now for the star of the show!
- The Body: on orange cardstock, draw a simple pear shape for the body and a rounded diamond shape for the head. Cut them out.
- The Tail: Draw a large, bushy tail shape on orange paper. Cut a zigzag “tip” from white paper and glue it to the end of the tail. Foxes are famous for their white-tipped tails!
- The Ears: Cut two small orange triangles for ears and glue them to the top of the head. You can add smaller white triangles inside for detail.
- The Face: Using your black Sharpie, draw two closed curved eyes (to look happy/sleeping) or two dots for alert eyes. Add a cute triangular nose.
- Assembly: Glue the head onto the body. Glue the tail behind the body so it curls out to the side.
Step 4: Crafting the Trees
A forest isn’t a forest without trees.
- Trunks: Cut long, thin rectangles from brown cardstock. Use your Sharpie to draw wood grain lines or swirls on them.
- Canopies: Cut cloud-like shapes from green cardstock (use a different shade than your grass for contrast).
- Assembly: Glue the green canopies to the top of the brown trunks.
- Placement: Now, tuck these trees in between the layers of your base. Glue one tree between Layer 3 and 4, and maybe a smaller bush between Layer 2 and 3. This enhances the 3D effect.
Step 5: Final Scene Assembly
It is time to put the fox in his home.
- Decide where your fox looks best. Is he peeking out from behind a tree? Or sitting right in the front row?
- Apply a dab of glue to the bottom of the fox and stick him to one of the middle layers (Layer 2 or 3 usually looks best).
- Optional: Add flowers! Cut tiny circles of yellow or pink paper and glue them onto the front grassy layer to add pops of spring color.
Tips for a Flawless Papercraft
- Use Spacers: If your layers are flopping into each other, you can fold small strips of cardboard into squares and glue them between the layers to force them to stay apart.
- Clean Hands: Make sure hands are clean before starting. Oil spots on cardstock can ruin the look.
- Let it Dry: It is tempting to move the scene around immediately, but let the glue set for at least 15 minutes. This ensures your trees won’t tip over later.
Customization Ideas
Once you have mastered the fox scene, why stop there?
- Winter Wonderland: Use white and light blue paper instead of green. Add glitter for snow, and create a white arctic fox!
- Night Mode: Use dark blues and purples for the background layers. Add a yellow moon and some silver star stickers.
- New Friends: Use the same techniques to make a bear, a rabbit, or a deer to join the fox.
Conclusion
Creating a 3D Scene with Fox Papercraft is more than just cutting and pasting; it is about building a miniature world. It allows children to practice patience and precision while letting their imaginations roam free in the forest.
The result is a stunning piece of decor that looks great on a bookshelf, a windowsill, or as a handmade gift for a nature lover. We hope this project brings a little bit of the outdoors inside your home this spring