
1. Assemble the Colorful Tail
Glue the individual feathers onto the large tail base. Use a variety of fall colors like red, orange, and yellow. Once the feathers are set, glue the entire tail assembly to the back of the turkey’s body.
2. Build the Face
- The Beak: Glue the small orange triangle (the beak) onto the center of the head.
- The Wattle: If your template has a “wattle” (that red bit that hangs by the beak), glue it right next to the beak.
- The Eyes: Use your Sharpie to draw two happy eyes, or glue on small googly eyes if you have them!
3. Attach the Head
Glue the finished head onto the top of the body. Make sure it’s centered so your turkey looks nice and proud.
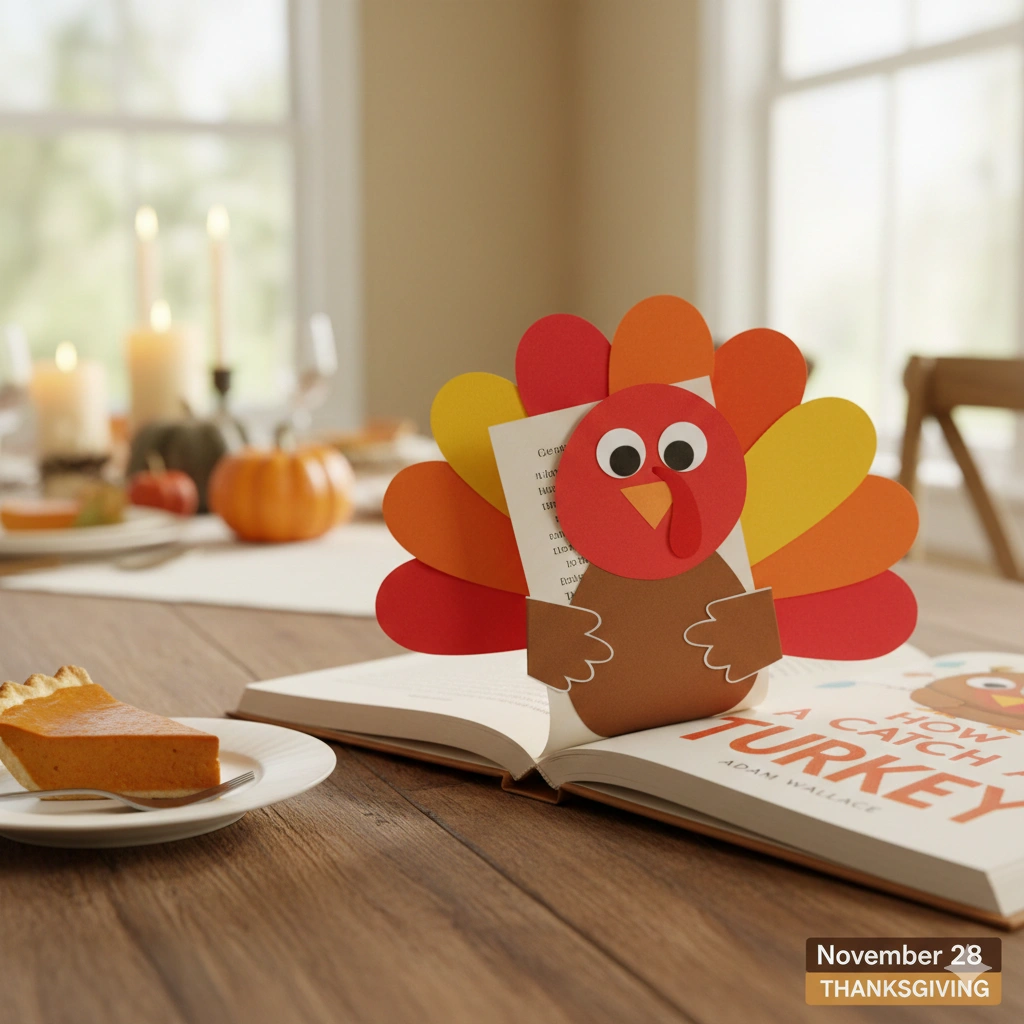
4. The “Hug” Arms
This is the best part! Glue the wings (the long arms) to the back of the turkey’s body, but only apply glue to the shoulder area.
How it works: Because the arms are only glued at the shoulders, the “hands” are free to slide over the edge of your book page, making it look like the turkey is giving your story a big hug!
🥧 Fun Fact: Turkey Talk
You mentioned the turkey with stage fright—did you know that only male turkeys (called toms) actually gobble? Female turkeys (hens) make a clicking or chirping sound instead. So if your bookmark is gobbling, it’s probably a boy!