
In an era dominated by flashing screens and plastic gadgets, there is a quiet, profound power in a toy made by hand. For a child, a toy isn’t just an object; it’s a portal to another world. When that toy is crafted at home, it carries an extra layer of magic—the “I made this” factor that fosters a sense of agency, creativity, and resourcefulness.
Building DIY toys isn’t about saving money (though that is a nice perk); it’s about providing open-ended play—toys that don’t just do one thing, but can become anything. Here is your comprehensive guide to creating high-quality, durable, and deeply engaging DIY playthings for children.
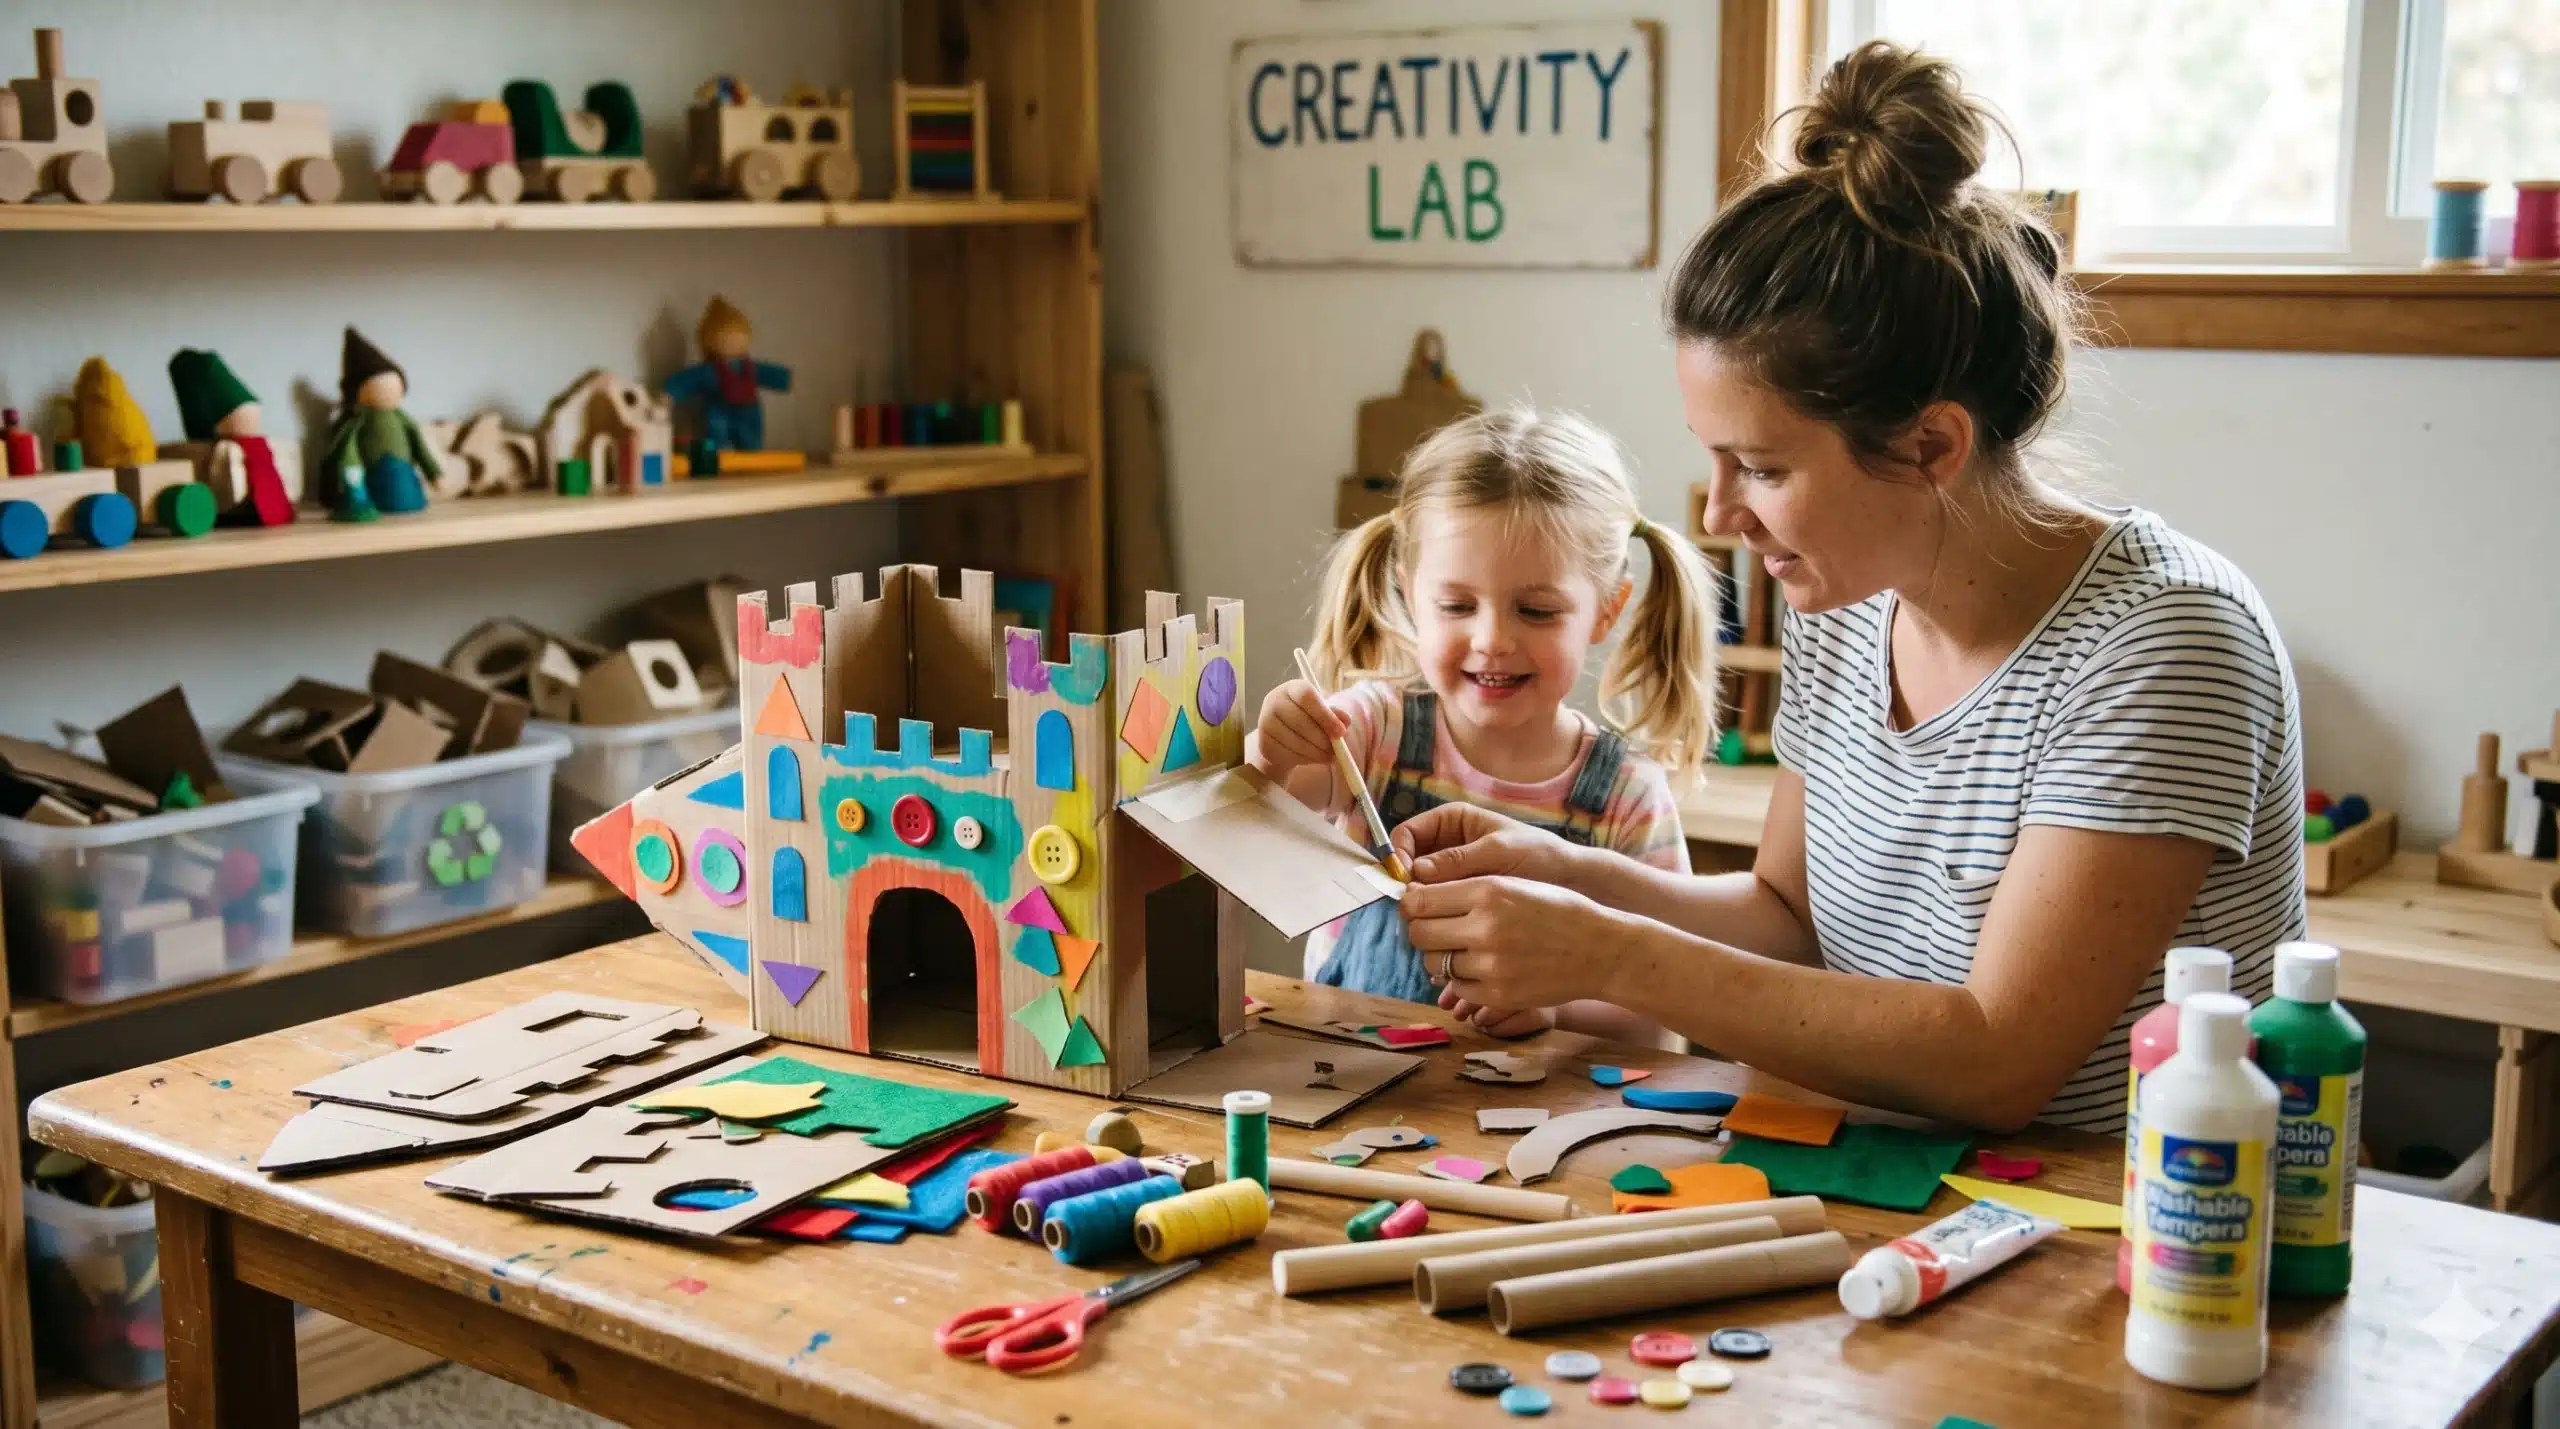
1. The Architecture of Imagination: The Ultimate Cardboard Castle
Cardboard is the undisputed king of DIY materials. It is structural, lightweight, and infinitely customizable. Instead of a simple box, aim for a Modular Fortress that can be collapsed and reconfigured.
Materials Needed:
- Large shipping boxes (refrigerators or washing machine boxes are best)
- Utility knife (adult use only)
- Heavy-duty masking tape or “Makedo” plastic screws
- Washable tempera paint
The Build:
- Structural Integrity: Use the natural folds of the box to create “wings.” Instead of cutting off flaps, fold them inward and tape them to double the thickness of your walls.
- The Drawbridge: Cut a large rectangle out of one side, leaving the bottom edge attached. Punch two holes at the top of the “door” and two in the frame. Thread a thick rope through to create a functional pulley system.
- Light and Shadow: Use a mailing tube to create a “periscope” or cut star-shaped holes in the roof. When a child takes a flashlight inside, the entire room transforms into a planetarium.
Why it works: It encourages gross motor skills as children crawl in and out, and narrative play as they defend their kingdom or host a tea party inside.
2. Sensory Mastery: The “Ever-Green” Mud Kitchen
Sensory play is vital for brain development, helping children process tactile information. A mud kitchen is a dedicated outdoor space where “mess” is celebrated.
Materials Needed:
- An old wooden pallet or a low coffee table
- Stainless steel bowls (hit the thrift store!)
- Old whisks, spoons, and ladles
- Natural “ingredients”: Pinecones, pebbles, dried lavender, and water
The Build:
- The Sink: Cut a hole in your wooden surface slightly smaller than the lip of your stainless steel bowl. Drop the bowl in—it’s now a removable sink.
- The Stove: Paint four black circles on the wood surface to represent “burners.” Use old bottle caps as the clicking knobs.
- The Spice Rack: Mount a small shelf at eye level to hold jars of sand, crushed leaves, or flower petals.
Pro Tip: To keep the play “high quality,” ensure all wooden edges are sanded smooth and treated with a non-toxic, water-resistant sealant. This ensures the kitchen survives the elements and years of “mud pie” production.
3. Engineering for Minis: The Magnetic Marble Run
Physics is never more fun than when it involve things rolling at high speeds. By using magnets, you create a toy that can be redesigned every single day.
Materials Needed:
- Cardboard tubes (paper towels, wrapping paper)
- Strong neodymium magnets (secured with extreme caution)
- A magnetic surface (a refrigerator or a large oil drip pan mounted to a wall)
- Hot glue gun
The Build:
- The Chutes: Cut the cardboard tubes in half lengthwise to create open U-shaped tracks.
- The Attachment: Glue a small, strong magnet to the back of each track.
- The Gravity Test: Encourage your child to arrange the tracks on the fridge so a marble can travel from the top to a “catch basin” at the bottom without stopping.
The Lesson: This introduces basic kinematics. If the marble flies off the track, the child must adjust the angle. You are teaching the $a = \Delta v / \Delta t$ principle of acceleration without ever opening a textbook.
4. Fine Motor Magic: The Felt “Quiet Book”
For younger children, developing the “pincer grasp” and hand-eye coordination is essential. A DIY felt book provides a screen-free way to keep little hands busy during travel or quiet time.
Materials Needed:
- Stiff felt sheets (for pages) and soft felt scraps (for shapes)
- Velcro dots
- Large buttons and zippers
- Ribbon
Page Ideas:
- The Apple Tree: A felt tree with red circles (apples) that button onto the branches.
- The Laundry Line: Tiny felt shirts that use real miniature clothespins to hang on a ribbon string.
- Shape Matching: Outlines of a circle, square, and triangle where the child must Velcro the matching colored shape.
5. Light and Physics: The DIY Shadow Theater
Storytelling takes on a cinematic quality when you introduce shadows. This project combines art with the science of optics.
Materials Needed:
- A medium cereal box
- Parchment paper (white)
- Bamboo skewers
- Black cardstock
The Build:
- The Screen: Cut out the front and back of the cereal box, leaving a 1-inch frame. Tape a piece of parchment paper tightly across the opening.
- The Puppets: Cut silhouettes out of the black cardstock—dragons, astronauts, or forest animals. Tape them to the bamboo skewers.
- The Show: Place a lamp behind the box. As the child moves the puppets between the light and the parchment paper, the shadows appear crisp and giant on the screen.
Quality Control: The DIY Safety Checklist
When making toys at home, “high quality” also means “high safety.” Always perform these checks:
- The Choke Tube Test: If an object (or a part of a toy) can fit through a toilet paper roll, it is a choking hazard for children under three.
- Sand Everything: If you are using wood, sand it until it feels like silk. Splinters end playtime fast.
- Non-Toxic Only: Ensure all paints and glues are labeled AP Non-Toxic. Children often explore with their mouths.
- Magnet Security: If using magnets, encase them in fabric or bury them deep in glue. If swallowed, magnets are extremely dangerous.
Conclusion: The Gift of Process
The secret of DIY toys is that the process is often more valuable than the product. When you involve a child in the creation—letting them hand you the tape or choose the paint colors—you are teaching them that they have the power to shape their world.