
In a world increasingly dominated by fleeting digital interactions and mass-produced plastic, there is a profound, grounding power in a toy made by hand. For a child, a plaything isn’t just a physical object; it is a bridge between reality and the limitless potential of their imagination. When that bridge is built with the help of a caregiver or by their own hands, it carries a weight of intentionality that no store-bought gadget can replicate.
Creating “high-quality” DIY toys isn’t about mimicking the factory-perfect finish of a retail product. Rather, it is about durability, open-ended utility, and the integration of developmental milestones into the design. High-quality playthings are those that grow with the child—turning from a castle today into a laboratory tomorrow.
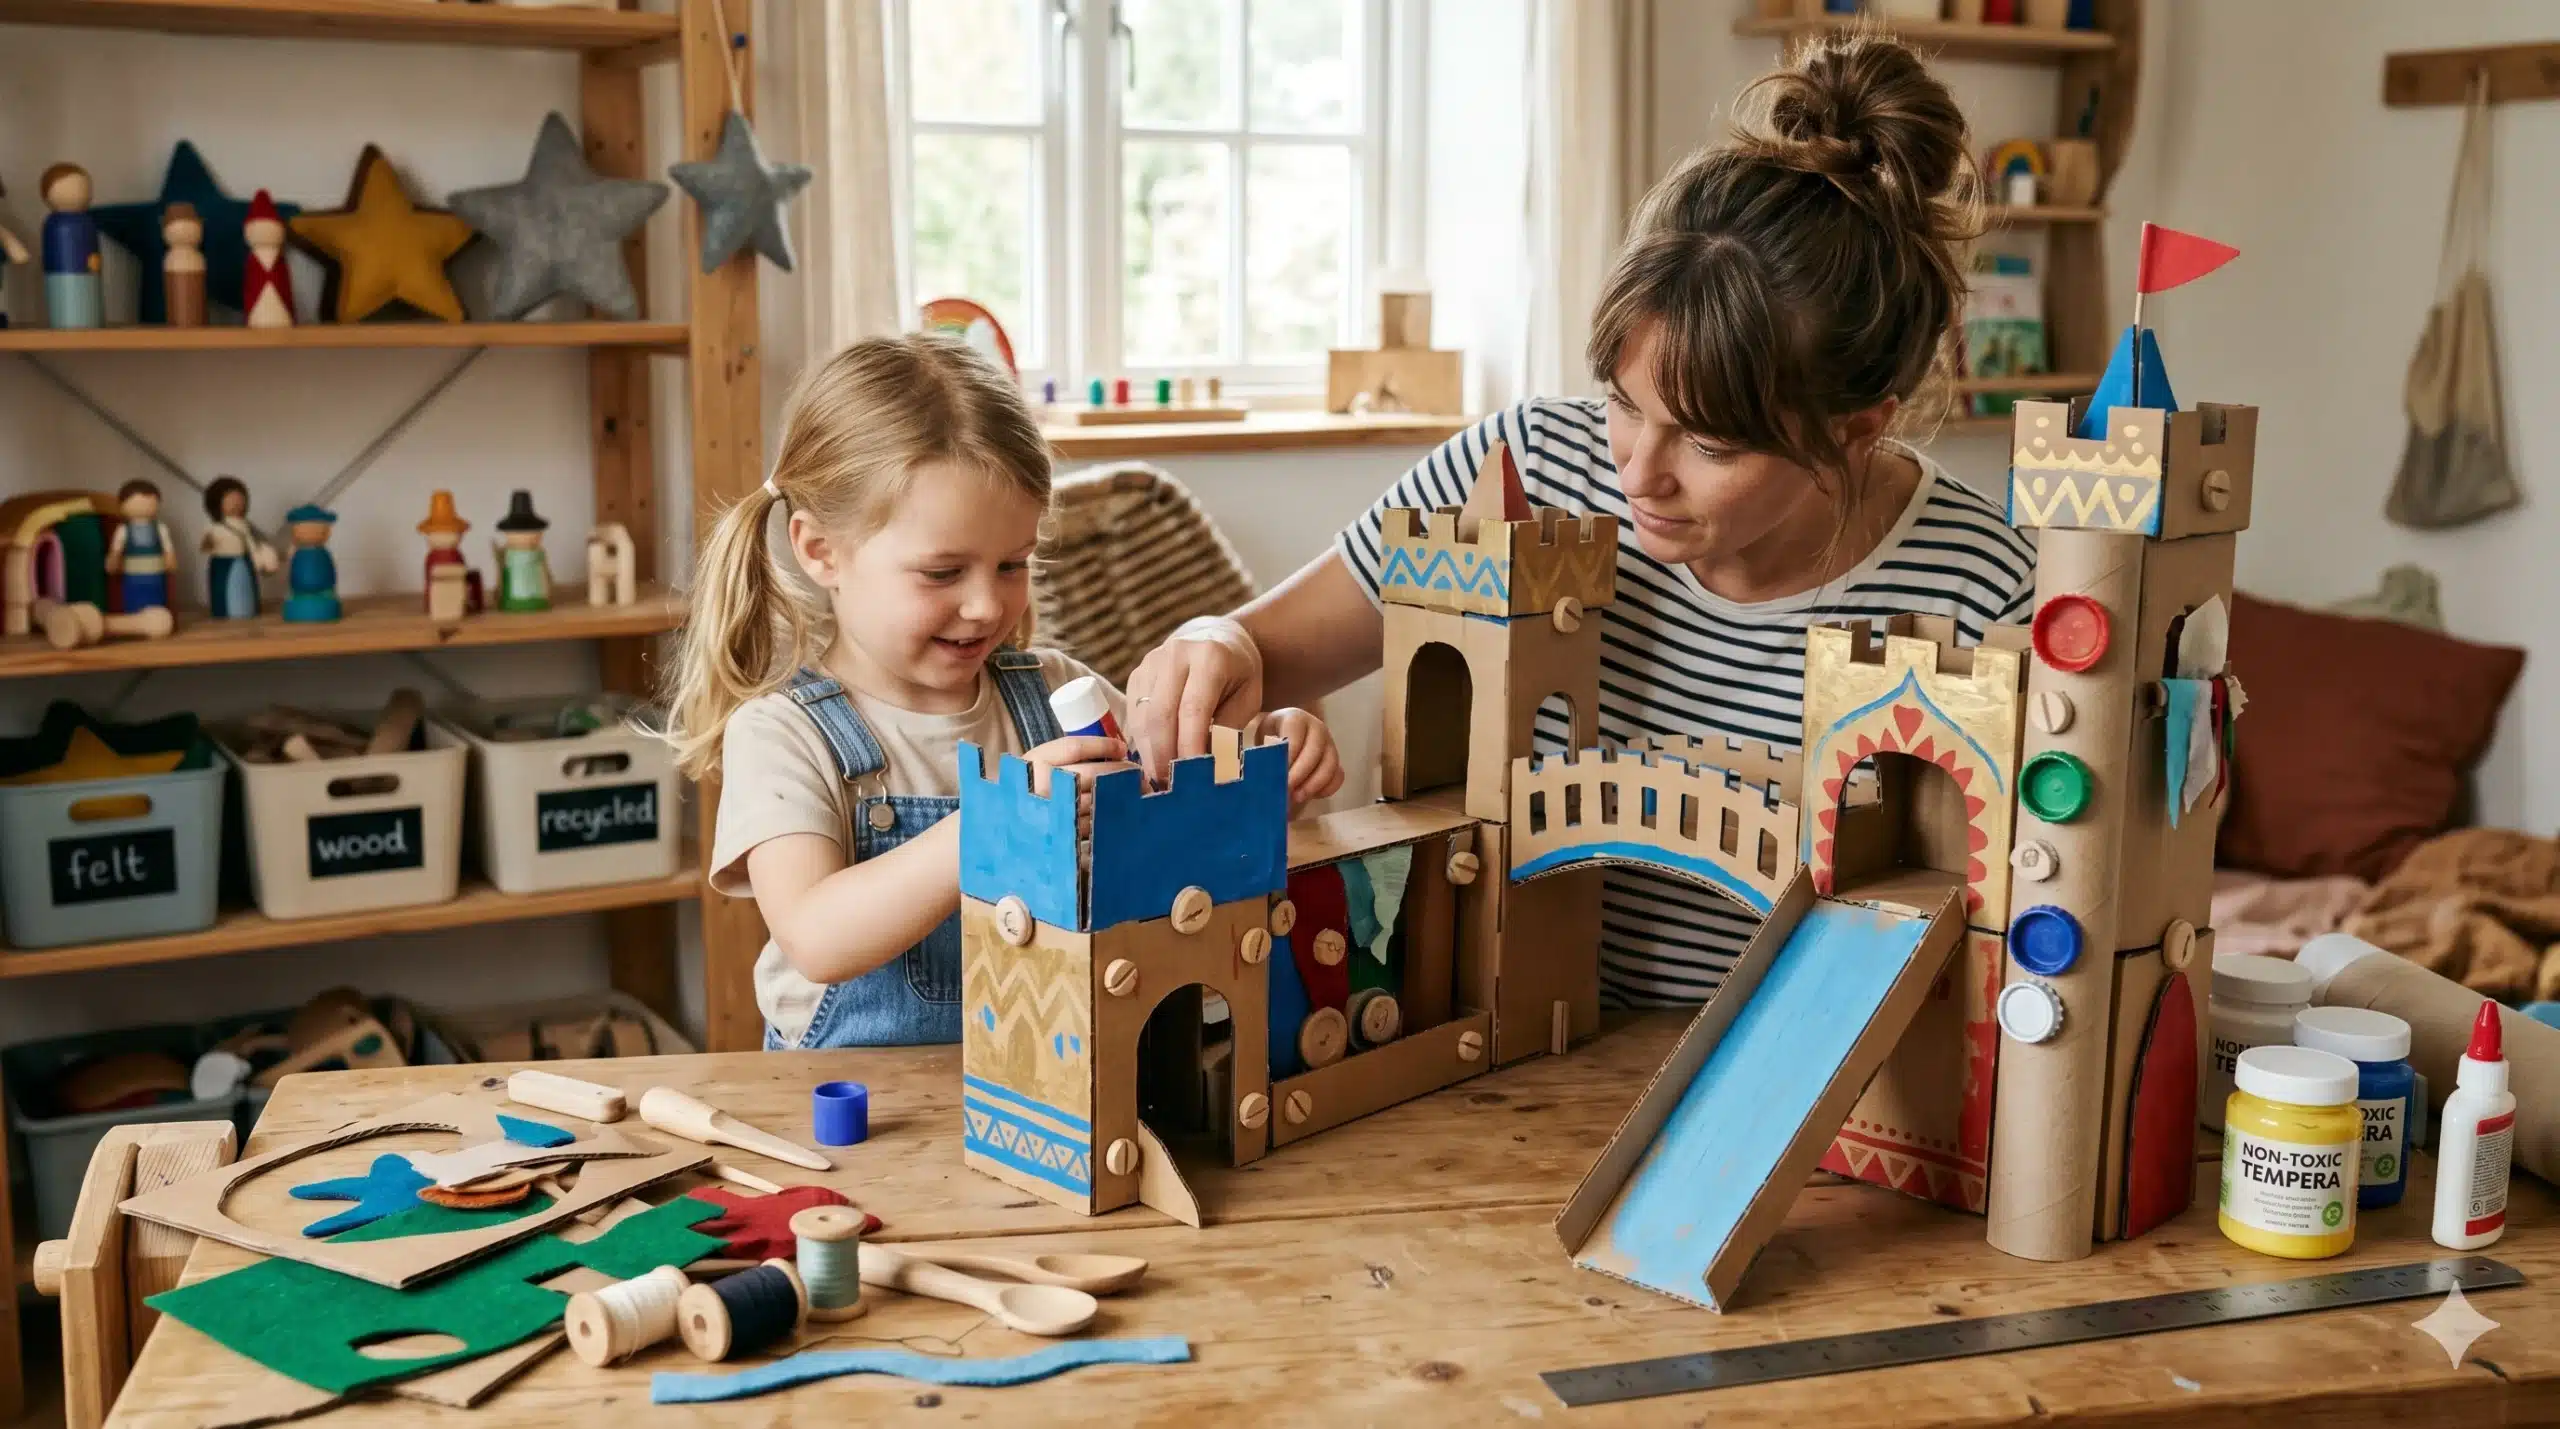
1. The Engineering of Cardboard: The Modular Megastructure
Cardboard is often dismissed as a temporary material, but with the right techniques, it becomes a robust medium for architectural exploration. The key to high-quality cardboard play is moving away from the “single-box” mindset and toward modularity.
The Concept: The Interlocking Fortress
Instead of taping a box shut, create a system of “slots and tabs” that allows a child to assemble and disassemble their own structures.
- Materials: Double-walled corrugated cardboard (sourced from appliance or bicycle shops), a heavy-duty utility knife, a metal ruler, and non-toxic paint.
- The Build: Cut the cardboard into uniform squares ($24″ \times 24″$). On each side of the square, cut two notches that are exactly the width of the cardboard’s thickness and 4 inches deep.
- The Play: By sliding the notches of two panels together, children can create X-shaped supports, long walls, or multi-level towers.
Developmental Impact: This project introduces spatial reasoning and basic structural engineering. Unlike a static playhouse, the modular fortress requires the child to plan their layout, fostering executive function and problem-solving skills
2. Sensory Mastery: The Upcycled Mud Kitchen
Sensory play—often referred to as “messy play”—is critical for brain development. It helps children refine their tactile processing and understand the physical properties of matter. A mud kitchen provides a structured environment for this essential chaos.
The Build:
- The Work Surface: Use an old wooden pallet or a low-slung garden table. Sand every surface with 120-grit followed by 220-grit sandpaper to ensure a splinter-free experience.
- The Sink: Cut a circular hole in the center of the wood. Drop in an old stainless steel mixing bowl. This becomes the vessel for “potions,” “soups,” and “mud pies.”
- The Hardware: Attach a series of hooks to the backboard for hanging real kitchen tools—whisks, potato mashers, and metal measuring cups.
Why it works: Using real metal and wood instead of plastic provides varied weights and temperatures for the child to experience. As they “cook,” they are practicing fine motor control and learning the early principles of chemistry—observing how dry dirt transforms into a malleable solid when water is added.
3. Kinetic Physics: The Magnetic Gravity Wall
Gravity is the first law of physics a child masters. By creating a vertical play space, you encourage them to work against gravity, which builds shoulder stability and core strength.
Materials Needed:
- A large galvanized steel oil drip pan (available at most hardware stores).
- PVC pipe segments, cardboard tubes, and plastic funnels.
- Strong neodymium magnets (must be glued and encased for safety).
- High-strength epoxy or a hot glue gun.
The Construction:
Mount the steel pan securely to a wall at the child’s eye level. Glue magnets to the back of the tubes and funnels. Provide a bucket of marbles or wooden balls.
The Challenge: The child must arrange the “modules” on the magnetic wall so that a ball dropped at the top successfully navigates the path to the bottom.
Scientific Principle: This introduces the concept of $Potential Energy \rightarrow Kinetic Energy$. If the ball flies off the track, the child must adjust the angle of the “chute” to manage the velocity. It is a hands-on laboratory for trial-and-error learning.
4. Fine Motor Precision: The “Busy” Board
For toddlers and preschoolers, the world is full of “forbidden” mechanics—locks they aren’t supposed to touch and switches that are out of reach. A high-quality busy board validates this curiosity.
The Layout:
Start with a high-quality piece of birch plywood, at least 15mm thick. Edge-band or sand the sides until smooth. Mount a variety of hardware that provides auditory and tactile feedback:
- A brass slide bolt and a gate latch.
- A battery-operated “tap” light.
- A door hinge that swings a small “secret door” open to reveal a family photo.
- A threaded rod with large nuts that can be spun from one side to the other.
Safety Note: Ensure all components are screwed in with flat-head screws that sit flush against the hardware to prevent scratches.
5. The Science of Optics: The DIY Shadow Theater
Storytelling is the foundation of literacy. A shadow theater adds a layer of “magic” to narrative play while teaching the basics of light and shadow.
The Build:
Take a medium-sized shipping box and cut out the front and back, leaving a 2-inch frame. Stretch a piece of white parchment paper or a thin white fabric across the front opening and secure it tightly with staples or glue.
The Puppets:
Cut silhouettes out of heavy black cardstock. Attach them to thin wooden dowels or bamboo skewers.
The Lesson: Position a single lamp behind the theater. Teach the child that the closer the puppet is to the light source, the larger (and fuzzier) the shadow becomes. As the puppet moves closer to the parchment screen, the shadow becomes smaller and sharper. This is an intuitive introduction to optics and geometry.
Quality Assurance: The DIY Safety Protocol
When making toys at home, “high quality” is synonymous with “safe.” Before handing over a DIY creation, perform these three tests:
- The Small Parts Test: If any part of the toy can fit through a toilet paper roll, it is a choking hazard for children under three.
- The Pull Test: Use significant force to pull on glued or screwed components. If they wiggle or pop off, they are not play-ready.
- The Finish Test: Run a microfiber cloth over the toy. If the cloth snags, there is a splinter or a sharp edge that needs sanding.
Conclusion: The Gift of Resourcefulness
The true value of DIY playthings isn’t found in the object itself, but in the mindset it cultivates. When a child sees a parent turn a cardboard box into a castle or a PVC pipe into a physics experiment, they learn that they are not passive consumers of their environment. They learn that the world is a kit of parts, waiting to be assembled into something extraordinary.