
We have built cities, programmed robots, and composed symphonies. Now, we turn to the most sophisticated technology on the planet: Biology. While many DIY projects focus on static objects, building a “living toy” introduces children to the concepts of sustainability, nutrient cycles, and environmental stewardship.
A DIY indoor garden isn’t just a place to grow food; it is a functioning laboratory. By stripping away the soil and using hydroponic (water-based) methods, children can see the “invisible” parts of a plant—the root systems—and learn how chemistry directly affects life.
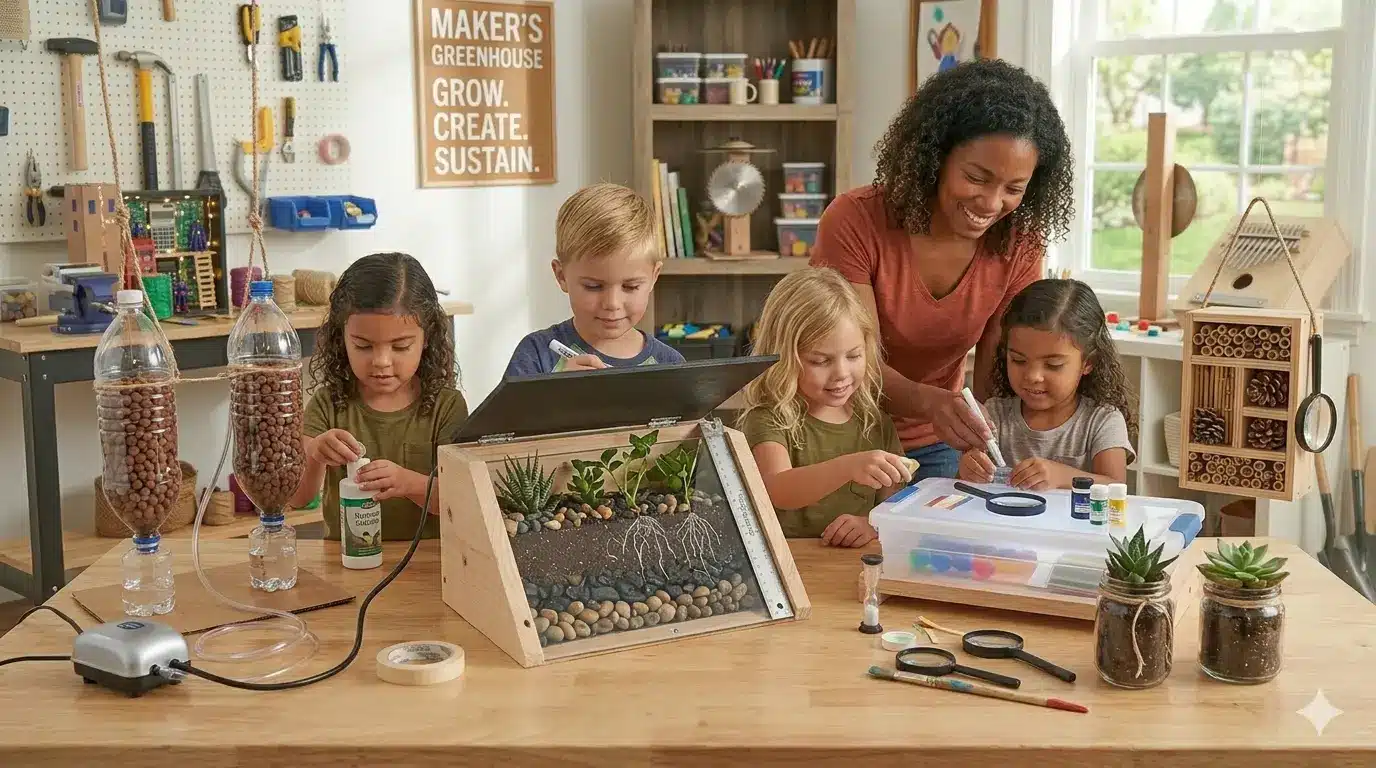
1. Project: The “Window-Farm” Hydroponic Kit
Target Skills: Fluid dynamics, nutrient ratios, and solar energy.
A vertical window farm uses the “gravity-fed” principle to move water through recycled bottles, allowing children to grow herbs or greens even in the smallest apartment.
Materials You’ll Need:
- The Towers: Three or four 2-liter plastic bottles (cleaned and labels removed).
- The Pump: A small aquarium air pump and some vinyl tubing.
- Growing Medium: Clay pebbles (expanded clay) or perlite.
- Connectivity: Heavy-duty twine or zip ties to hang the bottles.
The Build:
- Bottle Preparation: Cut the bottom off each bottle. Turn them upside down so they “nest” into each other.
- The Drainage: Poke a small hole in each cap. When water is poured into the top bottle, it should slowly drip through the caps into the bottles below.
- The Airlift: Connect the air pump to the tubing. Place the tubing in the bottom reservoir. The air bubbles will push small “slugs” of water up the tube to the top bottle, creating a continuous loop.
- The Formula: Explain that plants need three main things from their water: Nitrogen ($N$), Phosphorus ($P$), and Potassium ($K$).
$$Growth = Sunlight + (N-P-K)_{solution}$$
2. Project: The “Root-View” Observation Box
Target Skills: Botany, measurement, and patience.
Standard gardening hides 50% of the plant’s beauty. An observation box uses a slanted glass or acrylic front to force the roots to grow against the window, making them visible.
Materials You’ll Need:
- Frame: Scrap 1×4 lumber.
- Windows: A sheet of clear acrylic or glass from an old picture frame.
- Hinges: To create a “dark cover” (roots don’t like light!).
The Build:
- The Slant: Build a wooden box but set the clear front panel at a 15-degree inward slant. As the roots grow down, gravity forces them against the glass.
- The Cover: Attach a piece of thick cardboard or a wooden door to the front. This keeps the roots in the dark when you aren’t observing them.
- The Measurement: Tape a ruler to the side of the glass. Every morning, the child can mark the “Growth Point” of the primary root.
3. Project: The Self-Watering “Wick” Planter
Target Skills: Capillary action and moisture conservation.
This is the perfect project for demonstrating how water can move upward against gravity using the physics of surface tension.
Materials You’ll Need:
- The Vessel: A large glass jar or a plastic bottle cut in half.
- The Wick: A strip of cotton fabric or thick cotton twine.
- Medium: Potting soil.
The Build:
- The Reservoir: The bottom half holds the water; the top half (inverted) holds the plant and soil.
- The Wick: Thread the cotton string through the cap so one end sits in the water and the other is buried deep in the soil.
- The Science: Explain Capillary Action. The water molecules “climb” the cotton fibers to fill the dry gaps in the soil.
$$h = \frac{2\gamma \cos \theta}{\rho gr}$$
(This formula describes how high ($h$) water can climb based on surface tension ($\gamma$) and the radius of the “tube” ($r$)!)
4. Project: The “Pollinator Hotel”
Target Skills: Entomology and ecological balance.
A DIY plaything doesn’t always have to be for the child; sometimes it’s for the creatures that help our world grow.
Materials You’ll Need:
- Structure: A small wooden crate or an old birdhouse frame.
- Fillers: Hollow bamboo reeds, pinecones, drilled logs, and dry straw.
The Build:
- The Texture: Different insects prefer different “rooms.” Solitary bees love the hollow reeds; ladybugs prefer the dry straw.
- Placement: Hang it 3-5 feet off the ground in a sunny, sheltered spot.
- Observation: Give the child a magnifying glass. Their “play” is now the quiet observation of which guests “check in” to the hotel.
5. The Biology Audit: Quality Control for Living Toys
Because these projects involve living organisms, the “maintenance” is a daily responsibility:
- PH Testing: For hydroponics, use simple litmus strips. Explain that if the water is too acidic or too basic, the plant can’t “eat.”
- Algae Prevention: Light + Water = Algae. Ensure your water reservoirs are opaque or covered with foil to keep the water clean.
- The “Sniff Test”: If a garden project smells “sour,” it usually means there is a lack of oxygen (root rot). This is a lesson in the importance of Aeration.
6. Conclusion: Growing the Future
By moving DIY play into the garden, you are teaching children that they are part of a larger system. They learn that their actions have consequences—if they forget to water the wick, the plant wilts; if they balance the nutrients, the plant thrives.