
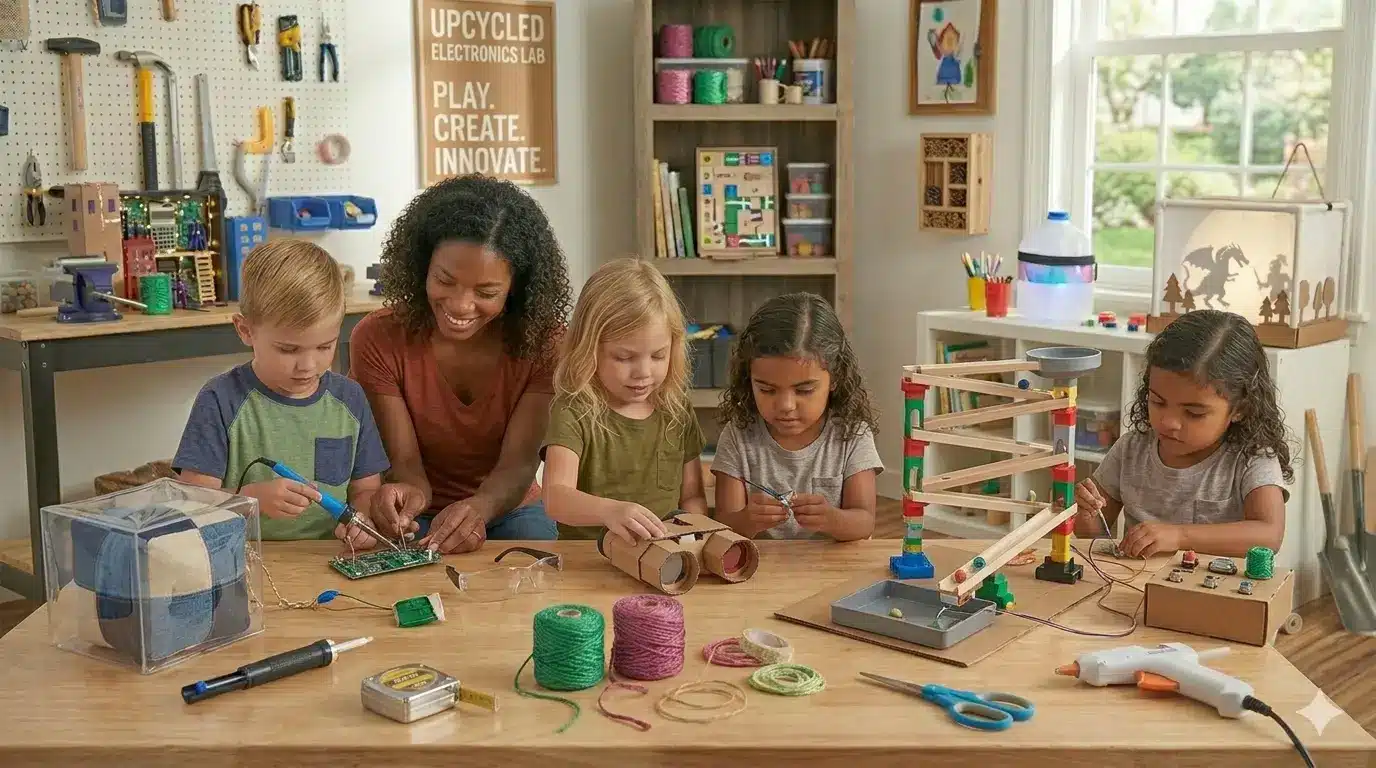
In this bonus chapter, we dive into the world of electronic reclamation. While previous articles explored building circuits from scratch, this installment teaches you how to “hack” existing low-cost electronics to create custom features for your DIY toys.
This is the ultimate lesson in Reverse Engineering. By opening up a broken toy or a discarded gadget, a child learns to identify components and understand how engineers before them solved problems. It’s about seeing the “ghosts in the machine” and putting them to work in new, imaginative ways.
1. Project: The “Talk-Back” Plushie (Sound Chip Hacking)
Target Skills: Soldering (with adult supervision), circuit tracing, and audio recording.
Most greeting cards or cheap “press-here” toys contain a simple recordable sound chip. We can extract these and transplant them into the Topological Plushies we built in the last article.
Materials You’ll Need:
- The Source: A recordable musical greeting card or a broken talking toy.
- The Housing: One of your DIY fabric plushies.
- The Upgrade: A larger, external push-button (easier for small hands to find inside the stuffing).
The Build:
- The Extraction: Carefully remove the circuit board, speaker, and battery from the card.
- The Button Hack: Desolder the tiny “bubble” switch and solder two wires to a larger, more robust tactile button.
- The Recording: Record a custom message—perhaps the plushie’s “origin story” or a secret password.
- The Installation: Place the electronics inside a small plastic “safety pod” (like a large pill bottle) before stuffing it into the toy to protect the wires from being pulled.
2. Project: The “Night-Vision” Binoculars (LED Modification)
Target Skills: Light spectrums, lens focus, and battery series connections.
By replacing the standard white LEDs in a cheap toy flashlight with Infrared (IR) or Deep Red LEDs, you can create gear for “stealth” night missions that won’t ruin the child’s natural night vision.
Materials You’ll Need:
- The Chassis: A pair of DIY cardboard binoculars.
- The Light: Two 5mm Red LEDs.
- The Power: A 3V coin cell battery and a slide switch.
The Build:
- The Parallel Beam: Mount one LED on each “lens” of the binoculars, angled slightly inward so the beams converge at a distance of 10 feet.
- The Diffuser: Place a small circle of frosted tape over the LEDs to soften the light.
- The Physics: Explain that red light has a longer wavelength ($\lambda$), which doesn’t cause the pupils to constrict as much as white light, allowing the child to see in the dark more effectively.
$$\lambda_{red} \approx 700\text{ nm}$$
3. Project: The “Haptic” Marble Run (Vibration Sensors)
Target Skills: Sensor logic and mechanical-to-electrical triggers.
Turn a standard marble run into an interactive experience. When the marble hits a specific point, it triggers a vibration or a light flash elsewhere on the track.
Materials You’ll Need:
- The Trigger: A “tilt switch” or a “vibration sensor” (small, cheap components).
- The Feedback: A vibrating motor (from our Art-Bot project).
- The Circuit: A simple 3V loop.
The Build:
- The Trap: Mount the vibration sensor under a specific “catch basin” in the marble run.
- The Connection: Run long wires down the frame to a “control center” (the Command Center from image_4.png).
- The Effect: When the marble lands, the whole control center shakes. This introduces the concept of Remote Feedback—where an action in one place causes a reaction in another.When harvesting electronics, quality control is paramount:
- The Leak Test: Never use old alkaline batteries that show white crusty residue (leaked potassium hydroxide). This is caustic.
- Capacitor Caution: In larger electronics (like old TVs or cameras), capacitors can hold a charge even when unplugged. Stick to small, battery-operated toys for safety.
- Wire Management: Scavenged wires are often thin and brittle. Reinforce your solder joints with a dab of hot glue to act as “strain relief.”
5. Why We Hack
The “Hacker Mindset” is the pinnacle of DIY. It teaches a child that they are not limited by what is “in the box.”
- Problem Solving: “The button is too small. How do I make it bigger?”
- Resourcefulness: “I don’t have a new motor, but I can take one out of this old fan.”
- Sustainability: Every toy hacked is one less piece of “e-waste” in a landfill.
Conclusion: The Infinite Loop
This project bridges the gap between the soft tactile world of fabric and the invisible world of electrons. By hacking their own toys, children realize that the devices in their lives are not “magic”—they are systems that can be understood, dismantled, and improved.