
In the journey of DIY play, we have explored sensory materials, outdoor landscapes, and digital integration. The final frontier of high-quality play involves introducing autonomous motion: making things go. Mechanical DIY toys are among the most rewarding projects because they provide immediate, satisfying feedback. When a child builds a system that successfully converts potential energy into kinetic motion, they aren’t just playing; they are intuitively mastering basic physics and engineering.
This guide focuses on crafting durable, reusable mechanical systems using accessible materials to create toys that race, spin, and launch.
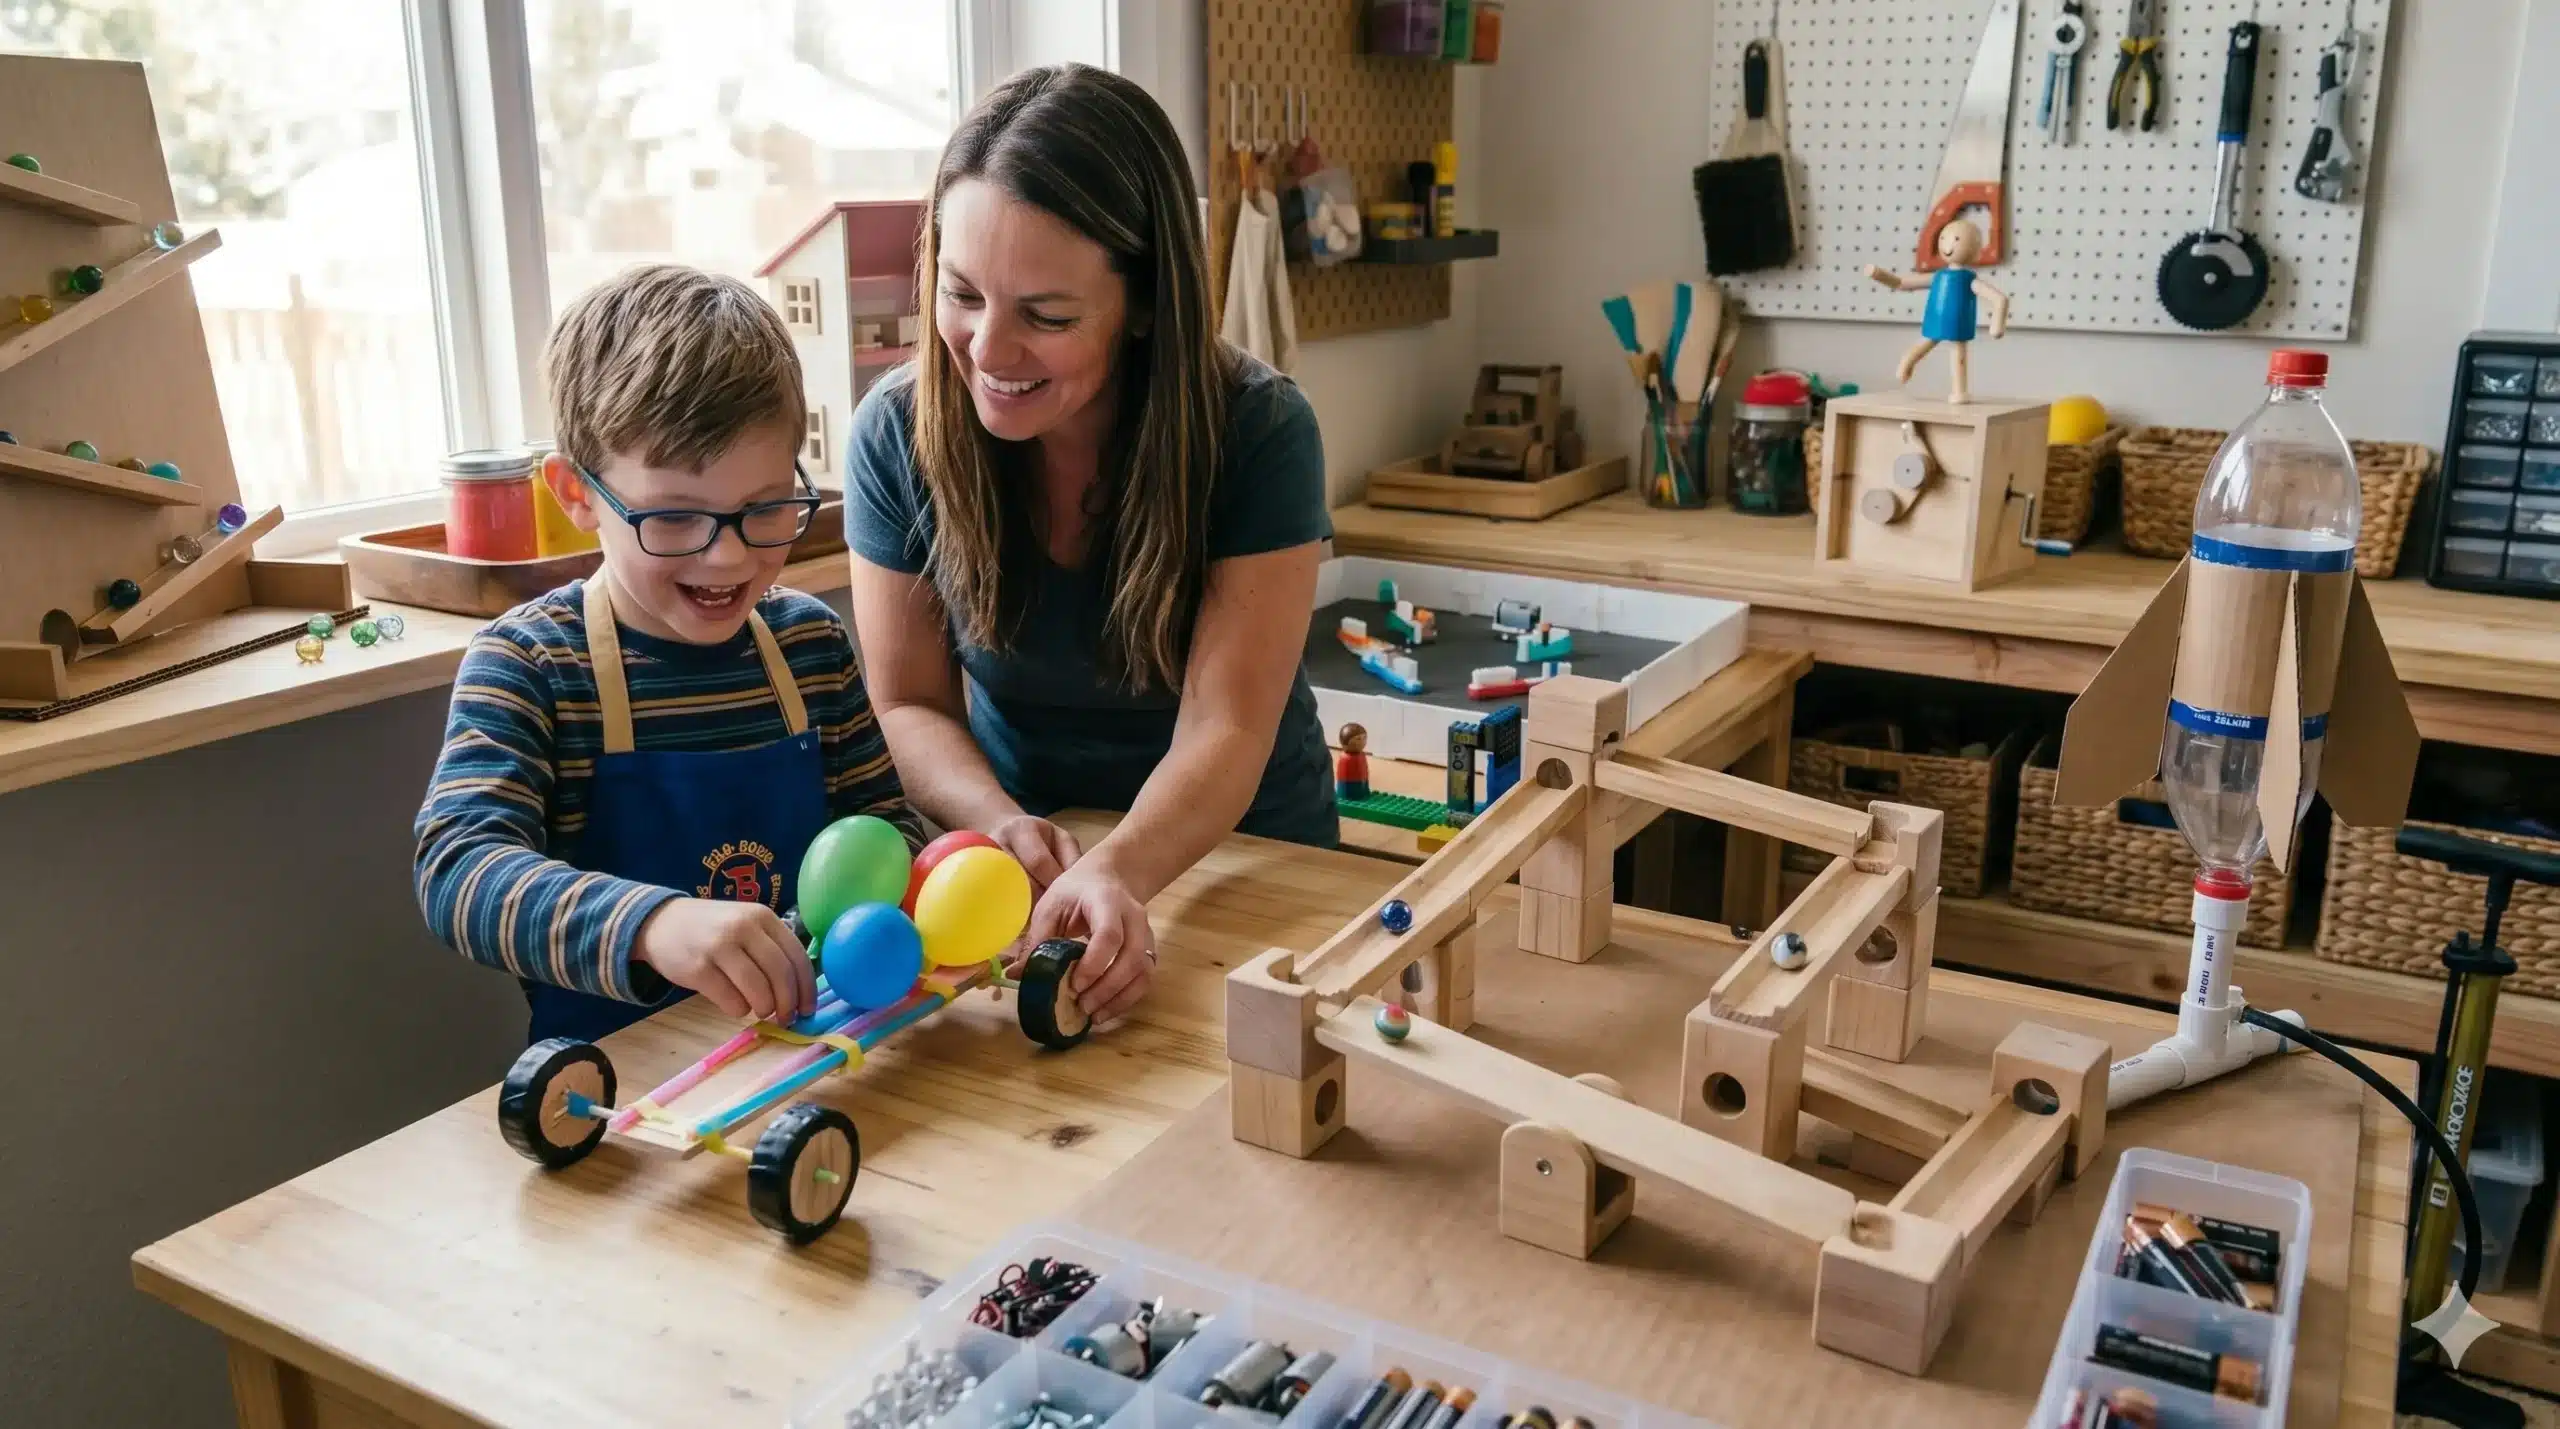
1. The Elastic Racer: Engineering Potential Energy
The “balloon car” is a classic, but the difference between a frustrating flop and a high-performance vehicle lies in axle friction and wheel traction.
The High-Quality Upgrade:
- The Body: Use a lightweight rigid material like corrugated plastic (from an old yard sign) or sturdy balsa wood. Cardboard is often too flexible.
- The Axles: This is critical. Do not just poke a stick through a box. Use a rigid straw as a low-friction “bearing” sleeve, and use a bamboo skewer or a metal rod as the axle.
- The Propulsion: Use two or three large, high-quality balloons. We are aiming for a slow, steady release of air, not an immediate pop.
- The Wheels: This is the secret sauce. Instead of slippery plastic bottle caps, use wide, rubberized wheels (from a broken toy) or wrap electrical tape around a wooden disk to provide friction and grip. Without traction, the car just spins its wheels.
2. Gravity-Fed Chain Reactions (Rube Goldberg Machines)
A mechanical marvel doesn’t always have to move itself; it can use gravity to move other things in complex sequences. Building a chain reaction is a masterclass in cause and effect and kinetic transfer.
The “Modular” Approach:
Instead of building one large, static machine, create a “Tinker Library” of interchangeable reaction modules.
- The Lever: A simple seesaw made of wood blocks.
- The Transfer: A series of weighted dominoes (or DIY wooden equivalents).
- The Pendulum: A heavy washer hanging from a string, designed to swing and strike an object.
- The Variable Path: Use flexible tubing or tracks (like those from previous outdoor projects) to change the direction of a rolling marble.
By keeping the components modular, children focus on the problem-solving process: “Why did the marble stop?” or “How can I make this lever strike the domino harder?”
3. The Atmospheric Launcher: Pneumatic Power
Pneumatics (using air pressure to create motion) is a sophisticated concept that can be demonstrated safely and powerfully with simple materials.
The Project: Two-Liter Soda Bottle Rocket
- The Power Source: A standard bicycle pump.
- The Fuel Tank: A robust, two-liter carbonated beverage bottle (these are pressure-rated).
- The High-End DIY Launchpad: This is where you move from simple to high-quality. Instead of a cork, build a launcher using PVC pipe and a specialized ‘Schrader’ valve (a bike tire valve) sealed into the cap. This allows you to build significant pressure (30–40 PSI) safely.
- The Aerodynamics: The child must design the cone and fins. “How does fin shape affect flight stability?” and “Where should the center of mass be?”
Scientific Insight: The bottle rocket perfectly demonstrates Newton’s Third Law: for every action (the pressurized water and air being forced downward), there is an equal and opposite reaction (the rocket thrusting upward).
4. The Automated Puppet: Basic Automata
Automata are mechanical sculptures that move via a series of cams, gears, and linkages. This is where engineering meets art.
The Simple “Cam-and-Follower” System
- The Box: A sturdy cardboard or wooden box as the frame.
- The Main Drive Shaft: A dowel rod that passes horizontally through the box, turned by a crank handle.
- The Cam: An off-center wooden circle or oval fixed to the drive shaft inside the box.
- The Follower: A vertical dowel with a flat base resting directly on top of the cam.
- The Motion: When the crank turns, the off-center cam pushes the follower up and down. This vertical motion can then power a jumping peg-person, a flapping bird, or a dancing figure on top of the box.
This teaches children how to convert rotational motion (cranking) into linear vertical motion.
Engineering Standards for DIY Mechanics
To ensure these kinetic toys last longer than a single afternoon, apply these high-quality construction methods:
- Friction Management: Use lubricants where things rub. A scribble of graphite from a pencil on a wooden axle can dramatically reduce friction.
- Structural Integrity: Mechanical systems exert force. Use proper wood glue or epoxies, and reinforce joints (like adding a corner brace to a chassis).
- Tension Control: When working with rubber bands, use multiple bands in parallel rather than stretching a single band to its limit. This provides more consistent force and prevents sudden snapping.
Summary of Mechanical Concepts
| Project | Mechanical Concept | Power Source | Kinetic Skill |
| Elastic Racer | Potential Energy Storage | Balloons (Air Compression) | Axle Engineering & Friction |
| Pneumatic Rocket | Newton’s Third Law | Pressurized Air/Water | Aerodynamics & Thrust |
| Chain Reaction | Kinetic Transfer | Gravity (Rolling/Falling) | Cause/Effect Sequencing |
| Automata | Rotational to Linear Motion | Hand Crank / Cams | Linkage Design & Timing |
Conclusion: The Joy of Autonomous Motion
There is a unique moment of magic when a DIY project transitions from a collection of parts into a self-propelled entity. When that balloon car accelerates or the rocket launches, the child experiences a profound sense of capability. They didn’t just follow instructions; they manipulated forces, managed energy, and engineered a solution. These mechanical marvels are the stepping stones to a lifetime of confident making and tinkering, proving that the best fun is the fun you build yourself.