
In this penultimate chapter, we transition from the abstract logic of computing into the physical pulse of electricity. High-quality DIY electronics is not about snapping pre-made kits together; it is about understanding the flow of electrons and how to convert that flow into light, sound, and motion. By building “Kinetic Circuits,” children learn the foundational laws of Voltage, Current, and Resistance.
This guide focuses on “Hardware-Logic”—building transparent, repairable electronic systems using basic conductive materials.
1. The “Graphite” Resistor: Drawing with Electricity
Before using tiny ceramic components, children can “draw” their own electronic parts. Graphite (pencil lead) is a natural conductor that allows for a tactile exploration of Resistance.
The Build:
- The Material: A soft 6B or 9B graphite pencil and a heavy sheet of cardstock.
- The Component: Draw a thick, dark line on the paper.
- The Experiment: Connect a 9V battery to one end of the line and an LED to the other. As you slide the LED lead along the graphite line, the light gets brighter or dimmer.
- The Science: A longer graphite line has more Resistance, making it harder for current to flow. This is the physical principle behind a Potentiometer or a volume knob.
2. The “Salt-Water” Battery: Chemical Potential
Electricity isn’t just “in the wall”—it’s a chemical reaction. You can engineer a high-quality battery using common kitchen materials to understand Electrolysis.
Engineering the Cell:
- The Electrodes: A strip of Copper (an old penny) and a strip of Zinc (a galvanized nail).
- The Electrolyte: A glass of water saturated with sea salt.
- The Reaction: When the metals are placed in the water, electrons flow from the Zinc to the Copper.
- The Data: Use a Multimeter to measure the voltage. By connecting four of these cells in a “Series,” the child can generate enough power to run a small digital clock.
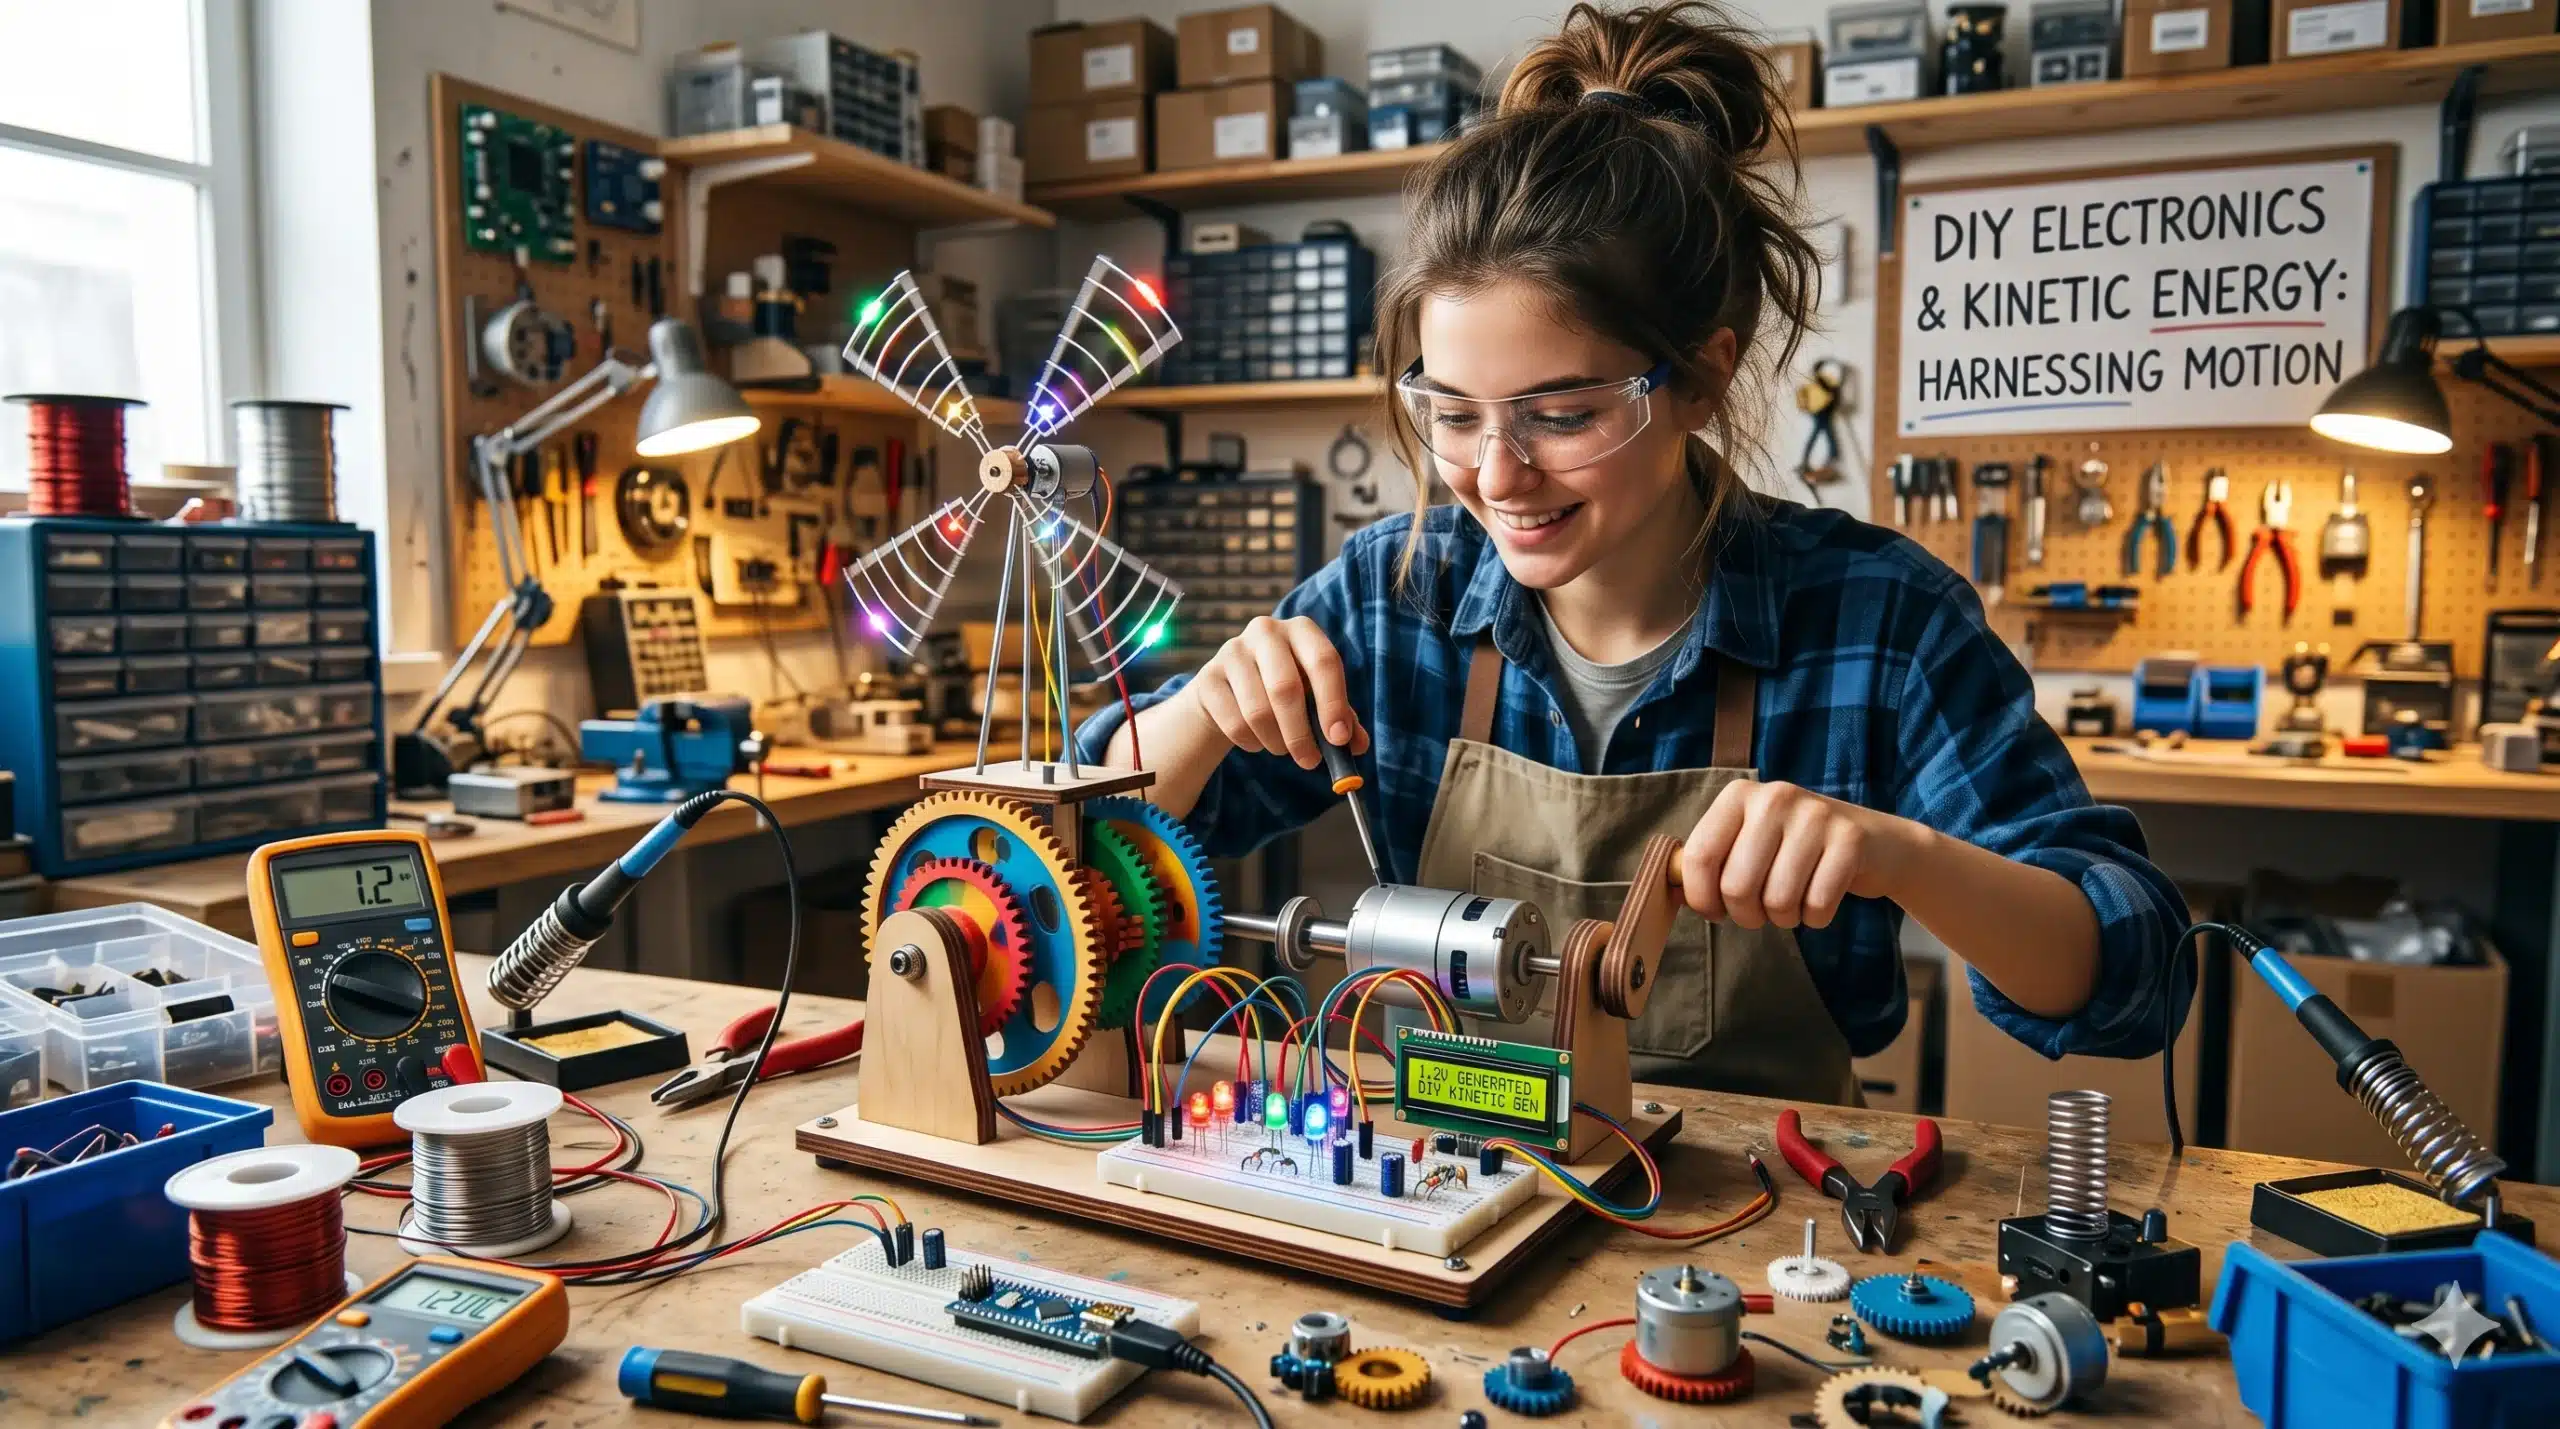
3. The “Electromagnetic” Motor: Converting Energy
The bridge between electronics and mechanics is the Electromagnet. This project demonstrates how electricity can create a physical force.
The Setup:
- The Coil: 20 feet of enameled copper wire wrapped tightly around a hollow tube.
- The Rotor: A strong neodymium magnet balanced on a needle pivot.
- The Interaction: When a pulse of electricity passes through the coil, it creates a magnetic field that “pushes” the rotor.
- The Logic: This is the core of Electric Vehicle (EV) technology. The child realizes that a car’s motor is just a much larger, more sophisticated version of the wire coil they just wound.
4. The “Binary” Light-Box: Visualizing Hardware State
To connect this to our “Computing” article, we can build a Hardware Status Display. This turns abstract code into visible light.
The Build:
- The Structure: A wooden box with 8 translucent windows.
- The Circuit: 8 independent switches connected to 8 LEDs.
- The Play: The child uses the “Binary Abacus” math to represent numbers. To show the number 5, they flip the 1st and 3rd switches ($4 + 1$).
- The Insight: This demonstrates that a “Digital Display” is simply a collection of individual circuits being told when to be “On” or “Off.”
5. The “Piezo” Contact Mic: Sound as Signal
Everything in the workshop vibrates. You can engineer a Contact Microphone to turn physical vibrations into an electronic signal.
The Build:
- The Sensor: A cheap piezoelectric disc.
- The Shielding: A copper-tape wrap to prevent “interference.”
- The Use: Tape the sensor to the “Aeolian Harp” or the “Stomp Box.”
- The Science: Piezoelectricity is a Transducer effect—certain materials generate a voltage when they are physically squeezed or vibrated. This bridges the gap between Acoustics and Electronics.
Electronic Standards and Safety
- Low Voltage Only: All DIY projects should stay within the 1.5V to 9V range. Never experiment with wall outlets or high-voltage capacitors.
- Short-Circuit Awareness: Teach the child that electricity always seeks the path of least resistance. If a wire gets hot, the “Code” of the hardware has a bug (a short circuit).
- Component Care: LEDs are “polarized”—they only work in one direction. This teaches the child to observe the Anode and Cathode markers, reinforcing the need for technical precision.
| Project | Concept | System Variable | Skill Developed |
| Graphite Resistor | Resistance | Path Length | Current Regulation |
| Salt Battery | Potential | Chemical Reaction | Energy Generation |
| Electro-Motor | Electromagnetism | Flux / Polarity | Kinetic Conversion |
| Binary Light-Box | Hardware Logic | Switch State | User Interface |
| Piezo Mic | Transduction | Vibration / Signal | Audio Engineering |
Summary of Electronic Concepts
Final Thoughts: The Pulse of the Studio
Electronics bring the workshop to life. By mastering the flow of energy, your child transitions from building static objects to creating active systems. They learn that the “smart” devices in their lives are actually quite simple at their core—just a series of carefully managed paths for electrons to follow.