
Have you ever heard people use the phrase “sweating like a pig”? It’s a common expression used to describe someone who is perspiring profusely after a workout or on a hot day. But here is a funny little secret: that saying is scientifically inaccurate!
The truth is, pigs barely have any sweat glands at all. That famous image of pigs rolling around in mud isn’t just them being messy; it is actually a smart survival tactic. Since they can’t sweat to cool down, the mud acts as a natural air conditioner and sunscreen, protecting their skin from the heat. We aren’t sure how the “sweating” saying came to be, but we do wonder if the pigs are offended by the inaccuracy!
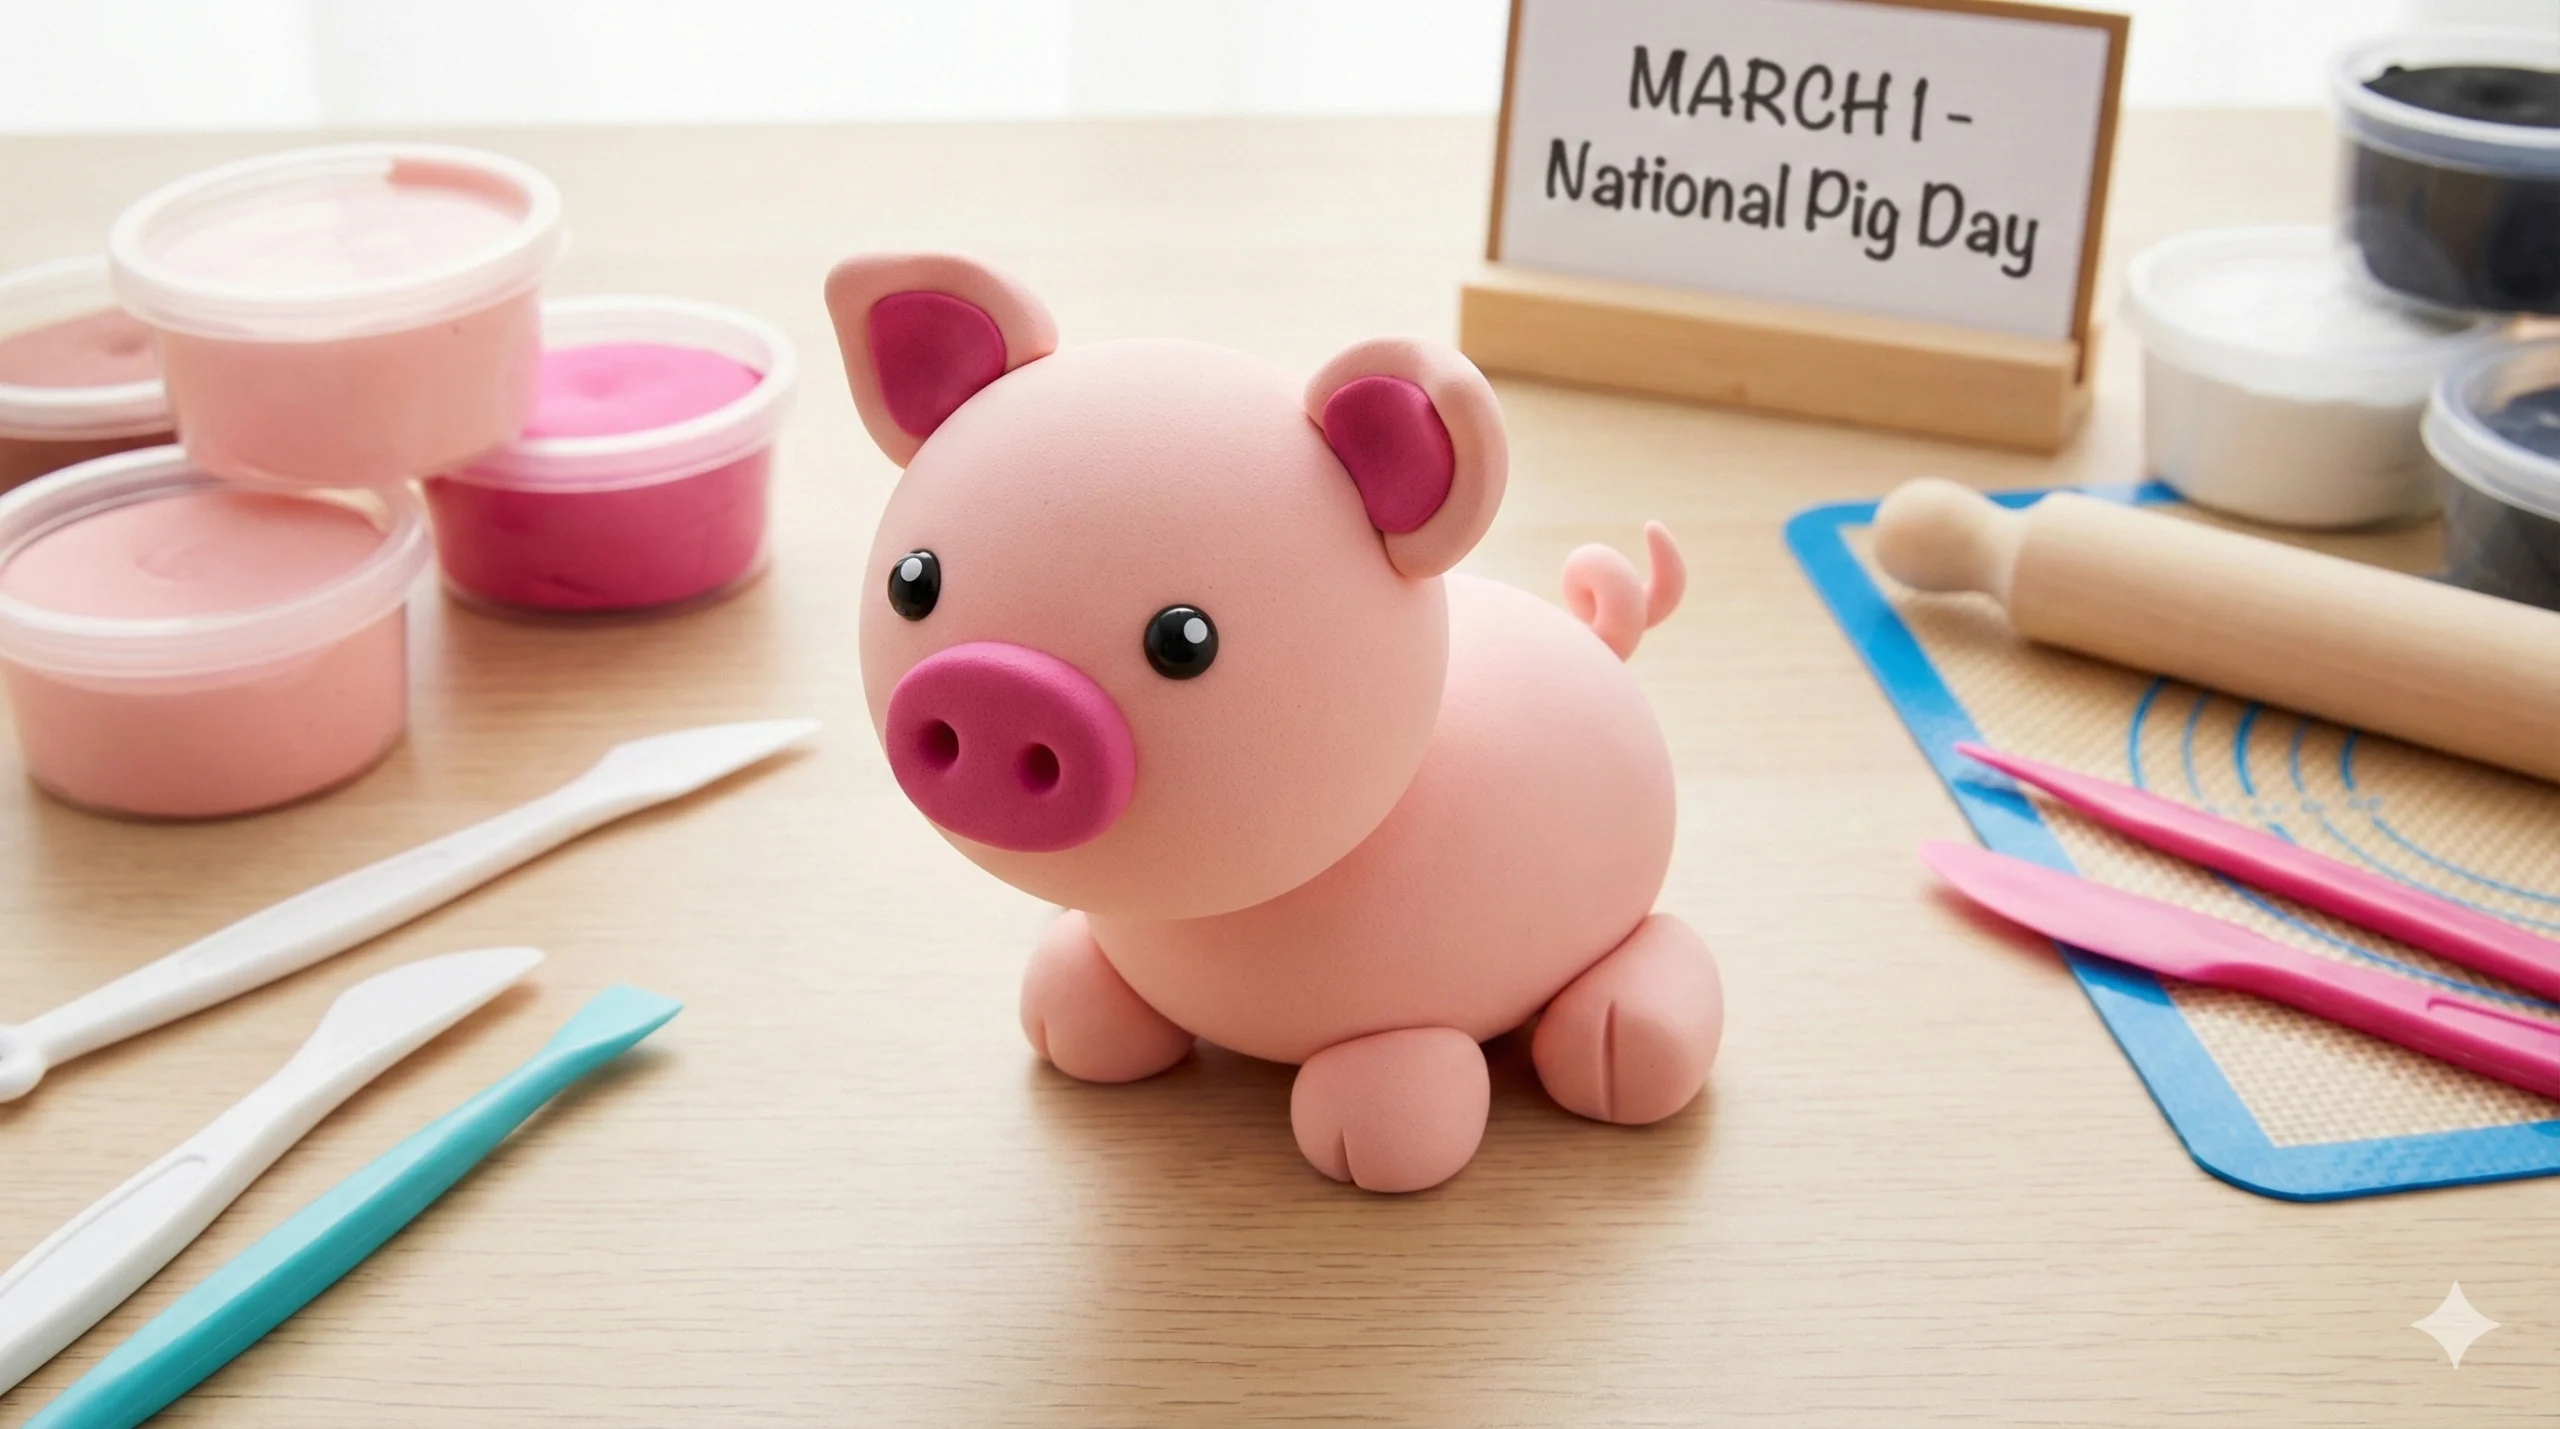
Speaking of our porcine friends, did you know that the 1st of March is National Pig Day? It is a day dedicated to celebrating these intelligent and often misunderstood barnyard animals. Whether you are a teacher looking for a classroom activity or a parent wanting a quiet afternoon project, we have the perfect solution.
Get your creative hands ready for our newest addition: a Cute Clay Pig Craft Tutorial! This project is fantastic for beginners because pigs have round, simple shapes that are easy to mold.
Why Craft with Foam Clay?
For this tutorial, we recommend using Air Dry Foam Clay. If you haven’t used it before, you are in for a treat. Unlike traditional polymer clay that needs baking or heavy earthen clay that creates a mess, foam clay is:
- Lightweight: It feels like a marshmallow.
- Mess-Free: It doesn’t stick to hands or tables.
- Air Drying: No oven required; it hardens on its own in 24 hours.
- Mixable: You can knead colors together just like paint.
Supplies Required
To build your new little friend, you will need the following materials. Most of these can be found at your local craft store or online.
- Foam Clay: You will need two shades of pink (Light Pink and Dark Pink), plus small amounts of Black and White.
- Tip: If you only have one pink, mix some white into it to create a lighter shade for the body.
- Clay Sculpting Tools: A basic plastic set is fine. Specifically, you need a tool with a small rounded tip (ball tool) and a knife tool.
- A Clean Work Surface: A silicone mat or a plastic placemat works best.
How to Make the Clay Pig Craft: Step-by-Step
Follow these instructions to bring your piggy to life. Remember, working with clay is about having fun, so don’t worry if your shapes aren’t perfect geometrical spheres!
Phase 1: The Head and Ears
1. Prepare Your Palette Let’s start with the base material. Open your clay tubs. You will use the Light Pink for the head, body, ears, limbs, and tail. The Dark Pink will be used for the contrasting details like the inner ears and the snout.
- Pro Tip: Keep the lids on the clay tubs when you aren’t using them to prevent the clay from drying out.
2. Shape the Head Take a chunk of the Light Pink clay (about the size of a walnut or a golf ball, depending on how big you want your pig). Roll it between your palms in a circular motion until it forms a smooth ball. Ensure there are no cracks. Place this aside; this is the head.
3. Prepare the Ear Components Pinch out two small balls of Light Pink clay. Take two even smaller pieces of Dark Pink clay (about half the size of the light pink ones). Roll all four pieces into tiny spheres.
4. Sculpt the Ears Take one Light Pink ball and shape it into a teardrop or a triangle with rounded corners. Flatten it slightly with your thumb. This is the outer ear. Next, take a Dark Pink ball, shape it into a smaller teardrop, and flatten it. Press the Dark Pink shape onto the center of the Light Pink shape. Now you have a cute ear with a colorful inner lining! Repeat this process for the second ear.
5. Attach the Ears Gently press the ears onto the top of the head ball. You can bend the tips slightly forward to give your pig a floppy-eared, curious expression. Foam clay usually sticks to itself, but if it’s dry, a tiny drop of water acts as glue.
Phase 2: The Face
6. Create the Snout The snout is the most defining feature of a pig! Take a small ball of Dark Pink clay and flatten it into an oval or a thick disk. Press this onto the center of the face. Using your sculpting tool (or the tip of a pencil), poke two small indentations into the dark pink oval to create the nostrils.
7. Add the Eyes Roll two tiny balls of White clay and flatten them into discs. Place them above the snout. Roll two even tinier balls of Black clay and press them onto the white discs for pupils.
- Design Choice: You can place the pupils close together to make the pig look silly, or to the side to make it look like it’s looking at something.
Phase 3: The Body and Limbs
8. The Body Take a chunk of Light Pink clay that is slightly larger than the head. Roll it into a ball, then gently roll it back and forth on the table to elongate it slightly into a chubby oval or egg shape.
9. The Legs Divide a portion of Light Pink clay into four equal parts. Roll them into small, thick cylinders (like little marshmallows). Attach these four legs to the bottom of the body. You can position them so the pig is standing on all fours, or sitting down—it’s up to you!
10. The Curly Tail This is the best part! Roll a thin “snake” or worm of Light Pink clay. Twist it around a toothpick or your sculpting tool to create a spiral coil. Attach this curly tail to the back of the body.
Phase 4: Assembly
11. Connect Head to Body Place the head on top of the body (or at the front, if your pig is walking on all fours). Press gently to ensure they adhere. If the head feels too heavy, you can insert a small piece of a toothpick or a dried spaghetti noodle into the body and mount the head onto it for extra support.
12. Add Blush (Optional) For an extra touch of cuteness, take a tiny, tiny speck of Dark Pink clay, flatten it until it’s almost transparent, and press it onto the cheeks under the eyes.
13. Let it Dry Leave your new friend in a safe, dry place for 24 hours to fully harden.
5 Expert Tips for Clay Crafting with Kids
If you are doing this activity with a group of children or for a class project, these tips will ensure success:
- The “Crackle” Test: If you roll a ball and see cracks, the clay might be too dry. Add a tiny drop of water and knead it again to make it smooth.
- Color Mixing Lesson: Use this opportunity to teach color theory. If you run out of pink, ask the kids: “What two colors do we mix to get pink?” (Red and White).
- Size Management: Kids tend to make ears or eyes too big. encourage them to start with a piece of clay smaller than they think they need—it’s easier to add more than to fix a giant ear!
- Clean Hands: Wash hands before touching white clay if you have been working with black or dark pink, otherwise, the colors will transfer and smudge.
- Sealing: Once the clay is dry, you can paint a layer of clear school glue or Mod Podge over the eyes to give them a shiny, “wet” look.
Educational Value: More Than Just a Toy
While this craft is adorable, it is also a great learning opportunity. Here are a few educational talking points to discuss while you sculpt:
- Intelligence: Pigs are widely considered to be one of the smartest animals on the planet, ranking close to dolphins and chimpanzees. They can play video games using a joystick and solve puzzles!
- Cleanliness: Despite the “dirty pig” stereotype, pigs are naturally very clean animals. In the wild, they keep their sleeping areas far away from their bathroom areas.
- Communication: Pigs are chatterboxes. They communicate constantly with each other using over 20 different vocalizations, from woofs to squeaks, each meaning something different.
Conclusion
Creating this Adorable Clay Pig is a wonderful way to celebrate National Pig Day or simply enjoy a creative afternoon. It engages fine motor skills, teaches spatial awareness (thinking in 3D), and results in a charming keepsake that you can display on your desk or shelf.
Whether you make a single pig or a whole herd of them in different sizes, this craft is sure to bring a smile to your face. So, grab your clay, embrace the pink, and happy crafting!