
Keeping a energetic 3-year-old occupied is an art form. At this age, their curiosity is boundless, their fingers are itching to touch everything, and their attention spans are… well, developing! As parents, we often look for activities that strike the perfect balance between “fun for them” and “manageable for us.”
Building on my previous post about keeping toddlers busy, I have been experimenting with my little one (“Lil P”) to find simple, low-cost crafts that actually work. The goal isn’t just to kill time; it’s to build fine motor skills, introduce letters and colors, and spark creativity.
If you are looking for fresh inspiration that uses everyday household items, you have come to the right place. Here are 10+ engaging craft ideas for 3-year-olds, including the ones Lil P and I loved the most.
Why Crafting with 3-Year-Olds Matters
Before we dive into the glue and glitter, let’s talk about why we do this. It’s not about creating a masterpiece worthy of a museum. For a 3-year-old, the process is more important than the product.
- Fine Motor Skills: Picking up a single grain of rice or a cotton ball strengthens the pincer grasp, which is essential for writing later on.
- Sensory Processing: Touching different textures (sticky glue, soft cotton, rough dried beans) helps brain development.
- Focus and Patience: Sitting down to complete a task, even for 10 minutes, builds concentration.
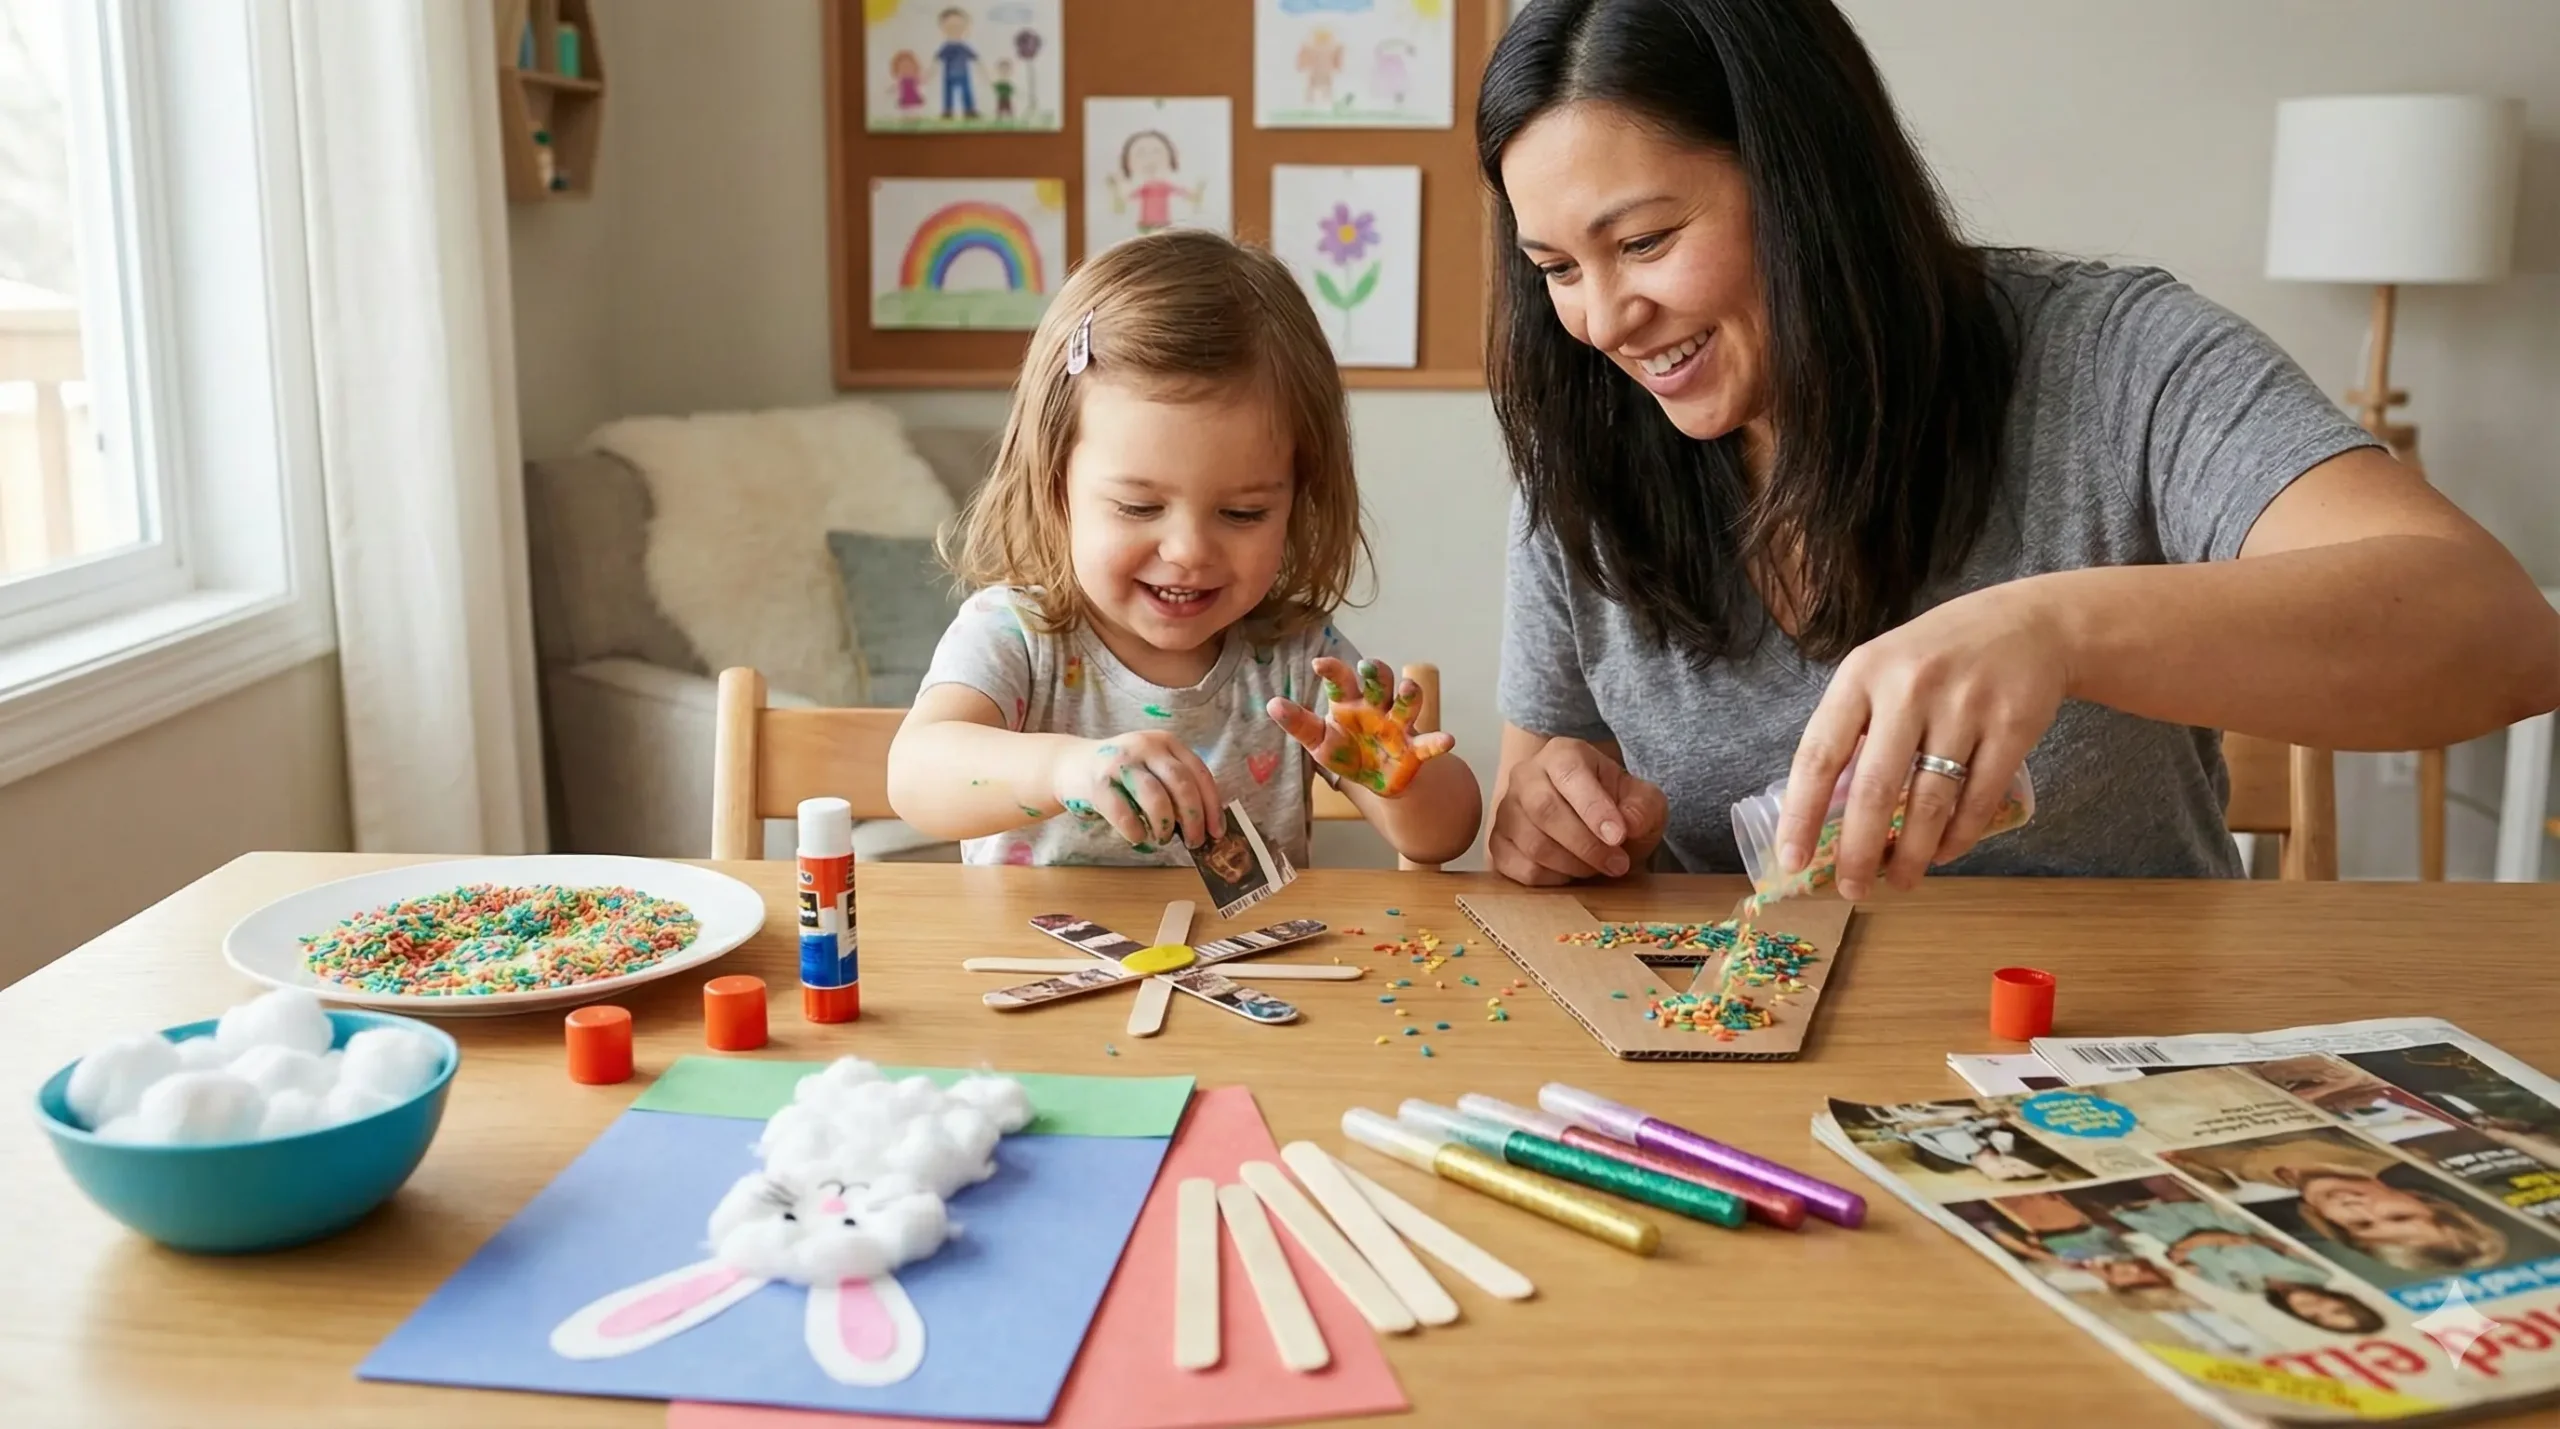
1. The Sensory Alphabet: Learning Letters with Rice and Dal
“A nice way to teach alphabets… how about pasting some colored rice or dal?”
Learning the ABCs doesn’t have to be limited to flashcards. Toddlers learn best when they can feel and touch the shape of the letters. This craft combines texture with literacy.
What You Need:
- Cardstock or thick cardboard (cereal box flaps work great).
- Liquid glue (PVA/White glue).
- Dried lentils (Masoor dal is orange, Moong dal is yellow) or colored rice.
- A marker.
How to Do It:
- Prep the Card: Write a large, bold letter on the cardstock (e.g., “A”).
- Trace with Glue: Help your child squeeze the glue bottle to trace over the lines of the letter. This requires hand strength and coordination.
- Sprinkle and Press: This is the fun part! Let your child sprinkle the lentils or rice over the glue.
- Shake it Off: Once covered, gently shake off the excess.
- Dry: Let it dry completely.
Pro-Tip: You can dye rice at home using a drop of food coloring and vinegar for a rainbow alphabet! Safety Note: Always supervise closely to ensure no raw lentils end up in mouths or noses.
2. The Fluffy Cotton Ball Bunny
“Some cotton, an orange triangle, and crayons… you have a hungry rabbit!”
This craft is a classic for a reason. It teaches children about textures (soft vs. hard) and body parts (ears, nose, tail).
What You Need:
- A bag of cotton balls.
- White paper or a paper plate.
- Orange construction paper (for the carrot).
- Green paper (for the carrot top).
- Crayons or markers.
- Glue stick.
How to Do It:
- Draw the Outline: Draw a simple bunny shape on the paper. It doesn’t have to be perfect—a big circle for the body and a smaller one for the head works fine.
- The Fluff Factor: Apply glue all over the bunny’s body. Let your 3-year-old stick the cotton balls on. This is excellent tactile play.
- Feed the Bunny: Cut out a triangle from the orange paper to make a carrot. Let your child color some green on top or paste green paper strips.
- The Story: Paste the carrot near the bunny’s mouth. Ask your child, “Is the bunny hungry? What is his name?”
3. The Recycled Popsicle Stick Flower Garden
“Some ice cream sticks, old pamphlets, and glitter pens… and you have a pretty flower.”
We all have that drawer full of old pamphlets, magazines, or flyers. Instead of throwing them out, turn them into a colorful garden. This teaches recycling and shapes.
What You Need:
- Clean popsicle sticks (ice cream sticks).
- Old magazines, pamphlets, or colored paper.
- Glitter pens or stickers.
- Glue.
- Green paint or markers (optional).
How to Do It:
- The Stem: Color the popsicle stick green to make the stem.
- The Petals: Cut circles or petal shapes out of the colorful magazine pages. Since scissors can be tricky for a 3-year-old, you can cut the shapes and let them choose the colors.
- Assembly: Glue the magazine petals onto the top of the popsicle stick.
- Sparkle: Use glitter pens to draw veins on the leaves or add a sparkly center to the flower.
Variation: Make a whole bouquet and stick them into a playdough base to create a standing garden!
4. Pasta Jewelry DesignerThreading is one of the best activities for concentration.
- Materials: Penne or Rigatoni pasta (tube shape), yarn or shoelaces, paint.
- Activity: Let the toddler paint the dry pasta different colors. Once dry, show them how to thread the yarn through the pasta tubes. Tie the ends to make a necklace.
- Educational Value: Patterns (Red-Blue-Red-Blue) and fine motor precision.
5. Potato Masher Stamping
Forget expensive stamps; look in your kitchen drawer!
- Materials: A potato masher, tempera paint, large paper.
- Activity: Pour paint onto a paper plate. Let your child dip the potato masher into the paint and stamp it onto the paper. The pattern looks like a honeycomb or a waffle.
- Why it works: It’s messy, active, and produces immediate results, which gives toddlers a sense of achievement.
6. Nature Collage Monsters
Get some fresh air before crafting.
- Materials: Leaves, twigs, pebbles collected from a walk, googly eyes, glue.
- Activity: Go for a nature walk and collect “treasures.” Back home, glue a big leaf onto paper. Stick googly eyes on it to turn it into a leaf monster. Use twigs for arms and legs.
- Educational Value: Connection with nature and imaginative play.
7. Paper Plate Sun Catcher
- Materials: Paper plate, clear contact paper (sticky back plastic), tissue paper squares.
- Activity: Cut the center out of the paper plate so you have a ring. Stick clear contact paper over the hole. Let your child stick colorful squares of tissue paper onto the sticky part. Hang it in the window and watch the sun shine through!
Top Tips for Crafting with Toddlers
If you are new to the world of toddler crafts, here is how to keep your sanity intact:
- Prep Beforehand: 3-year-olds have zero patience. Have the shapes cut, the glue open, and the table set before you call them over.
- Embrace the Mess: Put a plastic tablecloth on the floor or use a designated “messy tray.” If you are worried about the mess, you won’t enjoy the bonding time.
- Let Them Lead: If they want to paste the cotton ball on the bunny’s eye instead of the tail, let them. Creativity shouldn’t be corrected.
- Keep it Short: 15 to 20 minutes is a great duration. If they lose interest, stop. Don’t force it.
Conclusion: It’s About the Memories
Whether you are making a dal-covered “A” or a cotton-ball bunny, the real value of these activities isn’t the final object. It is the conversation you have while the glue dries. It is the pride in their eyes when they say, “I made this!”
So, dig into your kitchen cupboards, raid the recycling bin, and get creative with your little one today.
Do you have any go-to craft ideas for keeping your toddler busy? I would love to hear your comments and additions to this list!