
Category: Kids Crafts / Seasonal Activities
Difficulty: Easy
Time Required: 20 Minutes
Spring is the season of renewal. It is when the frost melts away, the sun shines a little brighter, and the ground bursts into color with the arrival of fresh blooms. Among the very first flowers to greet us after a long winter is the cheerful daffodil. With its bright yellow petals and unique trumpet shape, it is nature’s way of smiling back at us.
But the daffodil is more than just a sign that winter is over. It is a powerful symbol of hope, resilience, and new beginnings.
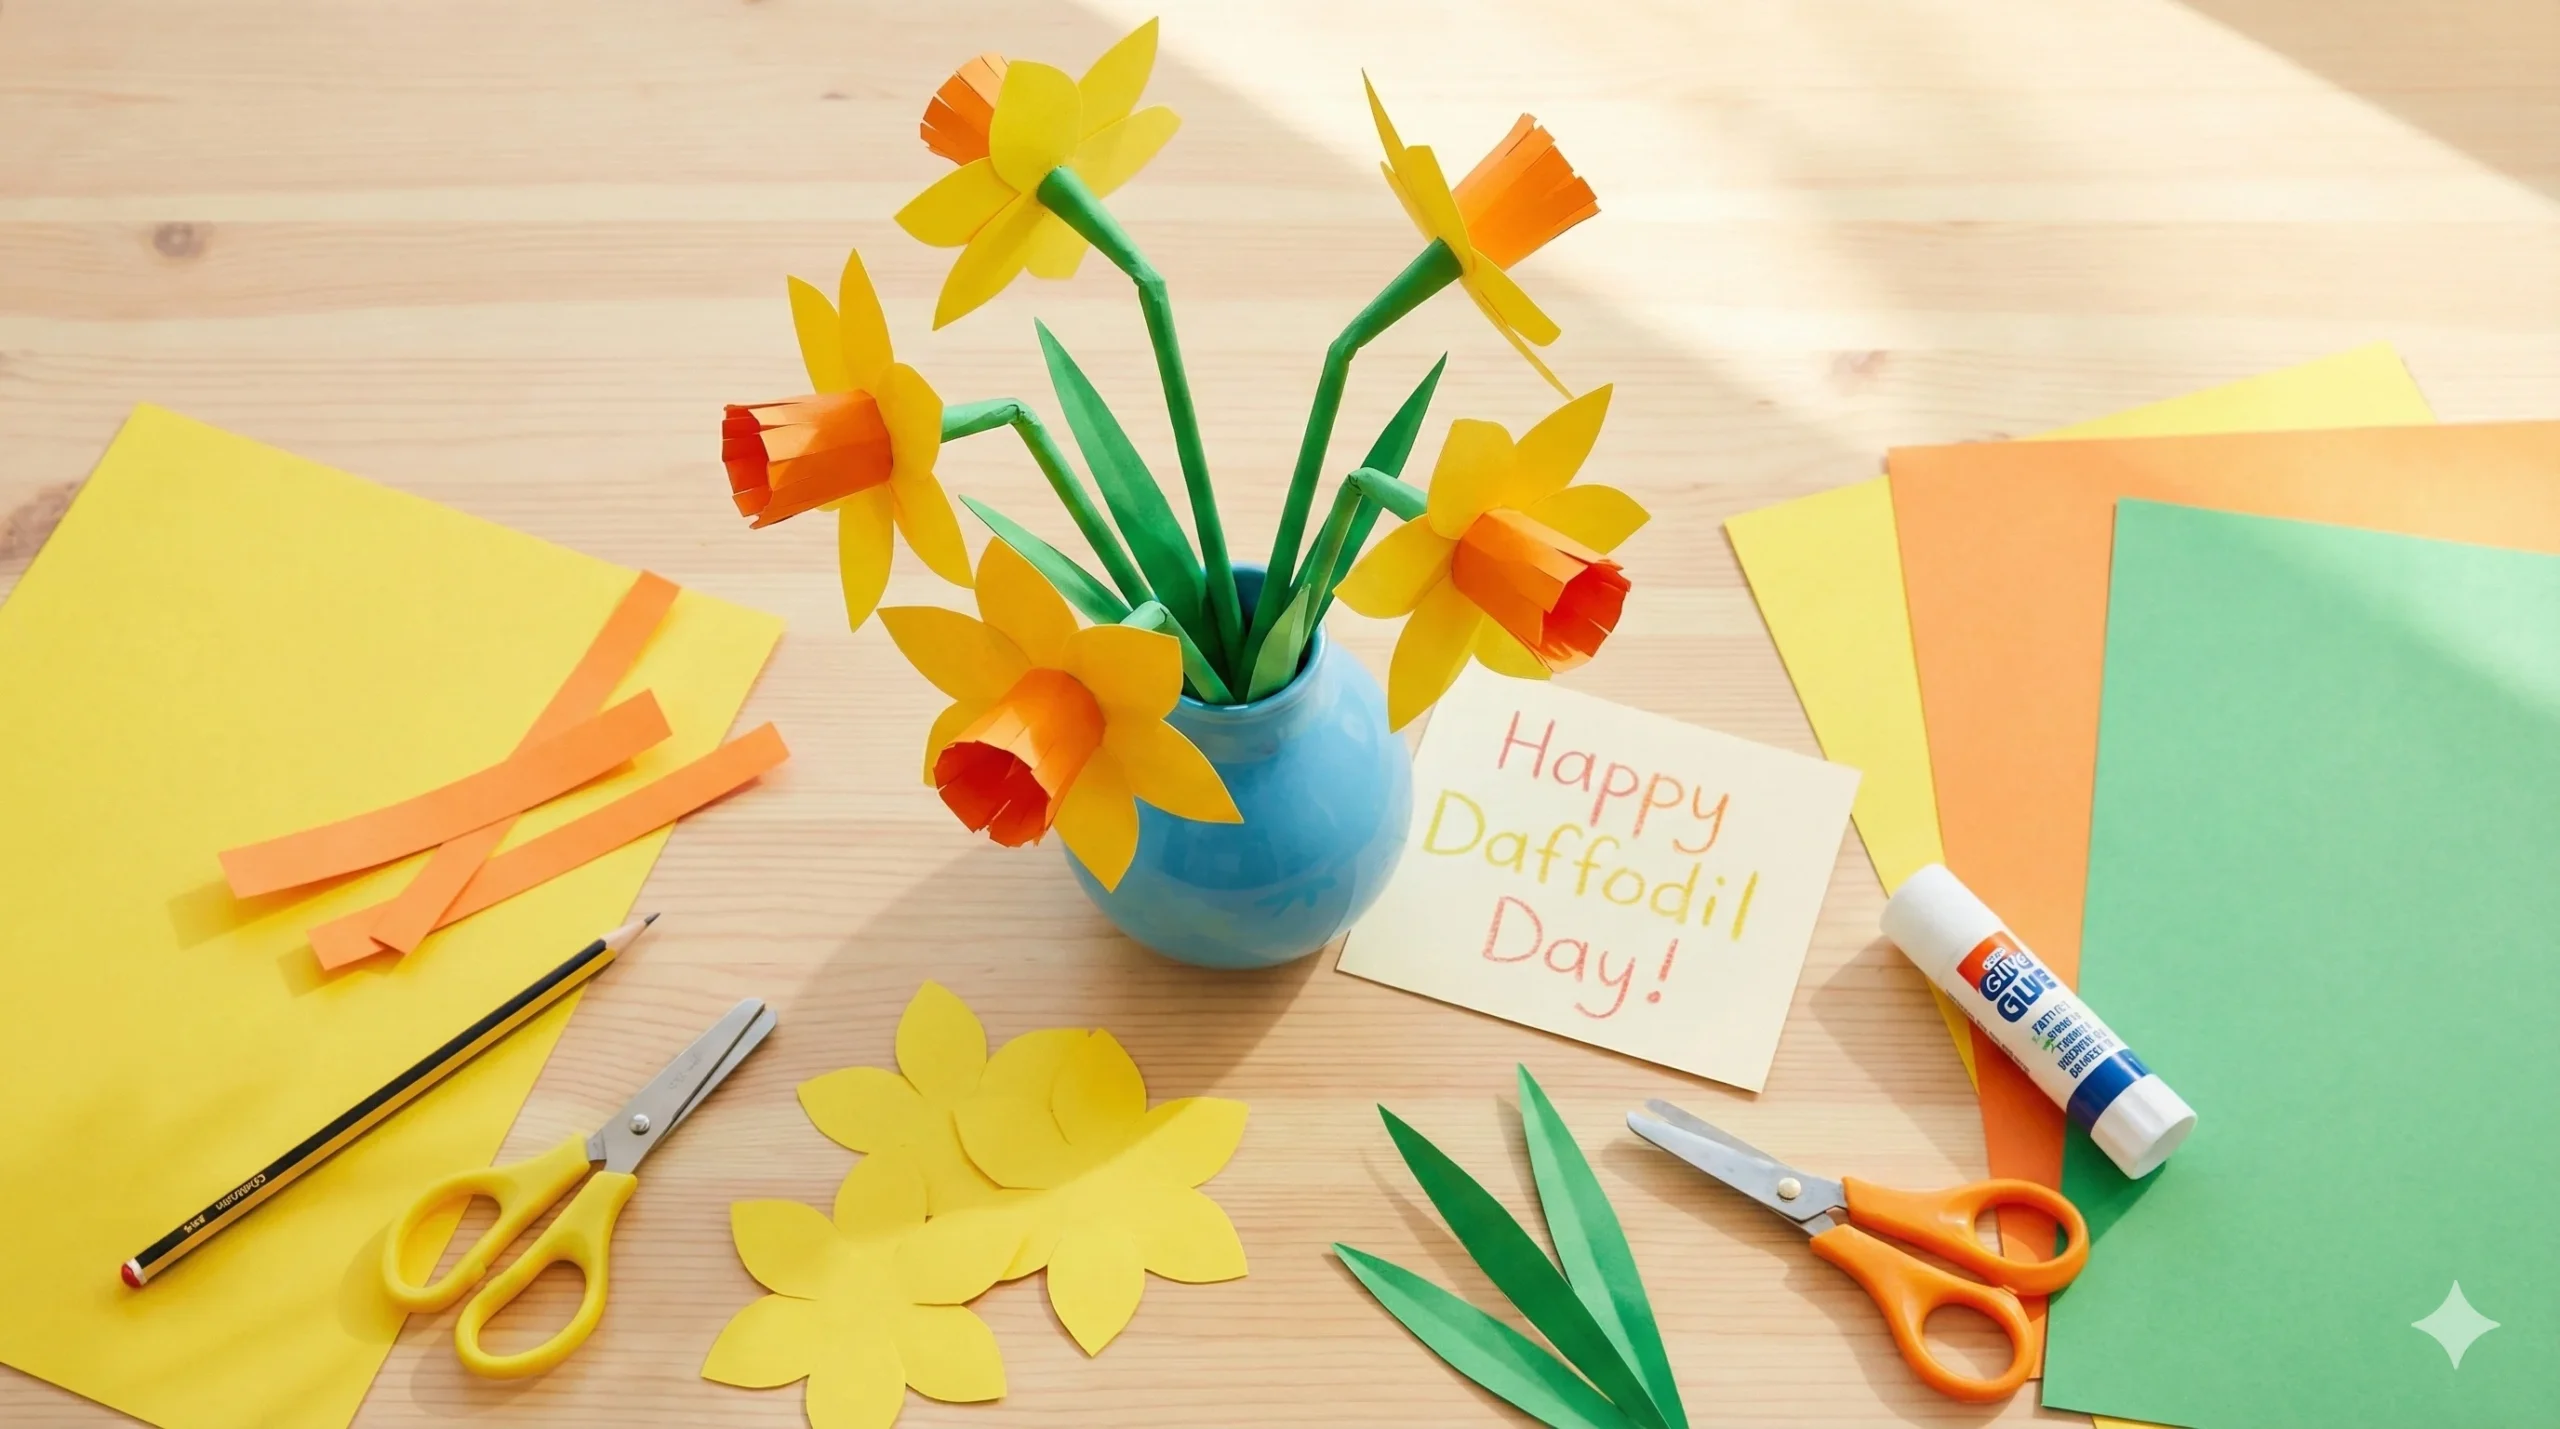
Today, we are diving into a delightful daffodil papercraft for kids. This activity is perfect for welcoming spring, celebrating Easter, or observing the globally significant Daffodil Day. Whether you are a teacher looking for a classroom activity, a parent homeschooling, or simply looking for a way to keep little hands busy, this guide has everything you need.
Why Crafting Daffodils Matters: The Story of Daffodil Day
Before we get our scissors and glue out, it is wonderful to share the deeper meaning behind this flower with children. Crafts are always more meaningful when they tell a story.
While daffodils are a natural phenomenon of the season, they hold a special place in the hearts of millions around the world as the symbol of cancer awareness. The daffodil is resilient; it returns every spring, symbolizing the return of hope.
What is Daffodil Day? Daffodil Day is a special occasion dedicated to raising funds for cancer research and supporting patients, survivors, and their families. Unlike holidays like Christmas or Halloween, Daffodil Day is observed on different dates depending on where you live.
Here is a quick guide to when Daffodil Day is observed around the world, so you can time this craft perfectly:
- United States: Daffodil Day is often held around March 22nd, coinciding with the arrival of spring.
- Ireland: The Irish Cancer Society observes Daffodil Day on March 28th.
- Canada: The festivities usually peak with the Daffodil Ball on April 26th.
- Australia: Down under, where seasons are flipped, Daffodil Day is celebrated on August 22nd.
- New Zealand: Kiwi participants schedule their Daffodil Day for August 29th.
regardless of the date or the country, the theme remains the same: spreading awareness, offering support, and looking toward a brighter future. By making this craft, you are teaching your children about empathy, kindness, and community support.
Supplies You Will Need
One of the best things about this craft is its simplicity. You do not need expensive materials or a trip to the hobby store. You likely have everything you need in your kitchen drawer or craft bin.
To create this 3D Paper Daffodil, gather the following:
- Yellow Craft Paper: This is for the petals. Standard construction paper or cardstock works well.
- Orange Craft Paper: This will be used for the central “trumpet” or cup of the flower.
- Green Craft Paper: For the stem and the long, grassy leaves.
- Scissors: Child-safe scissors are best for younger kids.
- Glue Stick or Liquid Glue: A glue stick is less messy and dries faster for paper.
- A Pencil: For tracing shapes.
- Optional: A green pipe cleaner or a straw (if you want a rigid stem) and a muffin liner (baking cup) which can be used as an alternative for the flower center.
Step-by-Step Instructions: How to Make a Paper Daffodil
This tutorial uses a “layered” technique to give the flower a 3D effect, making it look much more realistic than a flat drawing.
Step 1: Create the Petals
The daffodil typically has six petals that form a star shape.
- Take your yellow paper and cut out a square (approx. 4×4 inches).
- You can either draw a six-pointed flower shape and cut it out as one piece, or cut out six individual teardrop shapes.
- Pro Tip: For a 3D effect, if you cut out individual petals, gently curl the tips of the petals around a pencil. This gives the flower a natural, “blooming” look.
- If you cut a single flower shape, gently fold the petals upward slightly.
Step 2: The Trumpet (The Center Cup)
The most distinct part of a daffodil is the trumpet in the center.
- Cut a strip of orange paper (approx. 1 inch wide and 4 inches long).
- Along one long edge of the strip, use your scissors to cut a wavy line or small zig-zags. This mimics the frilled edge of a real daffodil.
- Roll the strip of paper into a small cylinder or tube and glue the ends together.
- Alternative Method: If you have mini orange or yellow cupcake liners/baking cups, you can use one of these instead! Just glue the bottom of the cupcake liner to the center of your yellow petals.
3. Assemble the Bloom
Now, let’s put the flower together.
- Apply a generous amount of glue to the bottom rim of your orange cylinder (or the bottom of the cupcake liner).
- Press it firmly into the center of your yellow petal base.
- Hold it there for 10–20 seconds to ensure the glue sets. You now have the head of your daffodil!
4. The Stem and Leaves
A flower needs a strong stem to stand tall.
- Cut a strip of green paper (about 1 inch wide and as long as the paper allows). Roll it tightly from one corner to the other to create a long, thin tube. Glue the edge down. This makes a sturdy paper stem.
- Easier Option: Simply cut a thick strip of green cardstock.
- Cut two long, thin, pointed leaf shapes from the remaining green paper. Daffodil leaves look like blades of tall grass.
- Glue the flower head to the top of the stem.
- Glue the leaves to the bottom half of the stem, angling them slightly outward.
Educational Value: What Are Kids Learning?
While this seems like just a fun afternoon activity, papercrafts offer significant developmental benefits for children. It is always helpful to know why an activity is good for your kids.
1. Fine Motor Skills Cutting intricate shapes (like the wavy edge of the trumpet) and rolling paper strips requires coordination between the hands and eyes. This strengthens the small muscles in the hand, which helps with handwriting later on.
2. Botany Basics This craft is a great opportunity to teach the parts of a flower. You can explain that the “stem” brings water to the flower, the “leaves” soak up sunlight, and the bright “petals” attract bees for pollination.
3. Emotional Intelligence If you are doing this for Daffodil Day, it is a gentle entry point into discussing empathy. You can explain that we are making these yellow flowers to send “sunny thoughts” to people who aren’t feeling well.
5 Creative Ways to Use Your Paper Daffodils
Once you have made one, you won’t want to stop! Here are five ways to display your creations:
- A Bouquet of Hope: Make 6 or 12 daffodils and tie them together with a ribbon. This makes a beautiful, everlasting bouquet for a grandparent or a neighbor.
- Spring Wreath: Cut a ring out of a paper plate or cardboard box. Glue your paper daffodils all around the ring to create a door wreath for spring.
- Greeting Cards: Instead of making the full stem, glue just the flower head onto a folded piece of cardstock. Write “Get Well Soon” or “Happy Spring” inside.
- Classroom Garden: If you are a teacher, have every student make one daffodil. Create a “garden” on your bulletin board. It brightens up the room instantly!
- Daffodil Day Pin: Make a miniature version (using sticky notes or small paper scraps). Attach a safety pin to the back and wear it on your lapel to show support on Daffodil Day.
Tips for Success
- For Toddlers: Pre-cut the shapes. Toddlers can get frustrated with scissors. Let them focus on the gluing and assembling, which is the fun part!
- For Older Kids: Challenge them to make the daffodil as realistic as possible. Can they add texture to the petals? Can they use different shades of yellow for depth?
- Paper Choice: While construction paper is classic, using crepe paper or tissue paper for the “trumpet” can add a lovely soft texture that looks very realistic.
Conclusion
Whether you are in Australia waiting for August, or in the US and Europe celebrating in March, the daffodil remains a universal sign of positivity. In a world that can sometimes feel challenging, taking the time to sit down with children and create something beautiful is an act of hope in itself.
This Daffodil Papercraft is simple enough to be stress-free but beautiful enough to be proud of. So,