
What if I told you that there’s a special day dedicated to people staring up at the sky looking for strange objects? You’d think I’m crazy, but it’s true—that’s the entire purpose of World UFO Day, coming up on July 2nd!
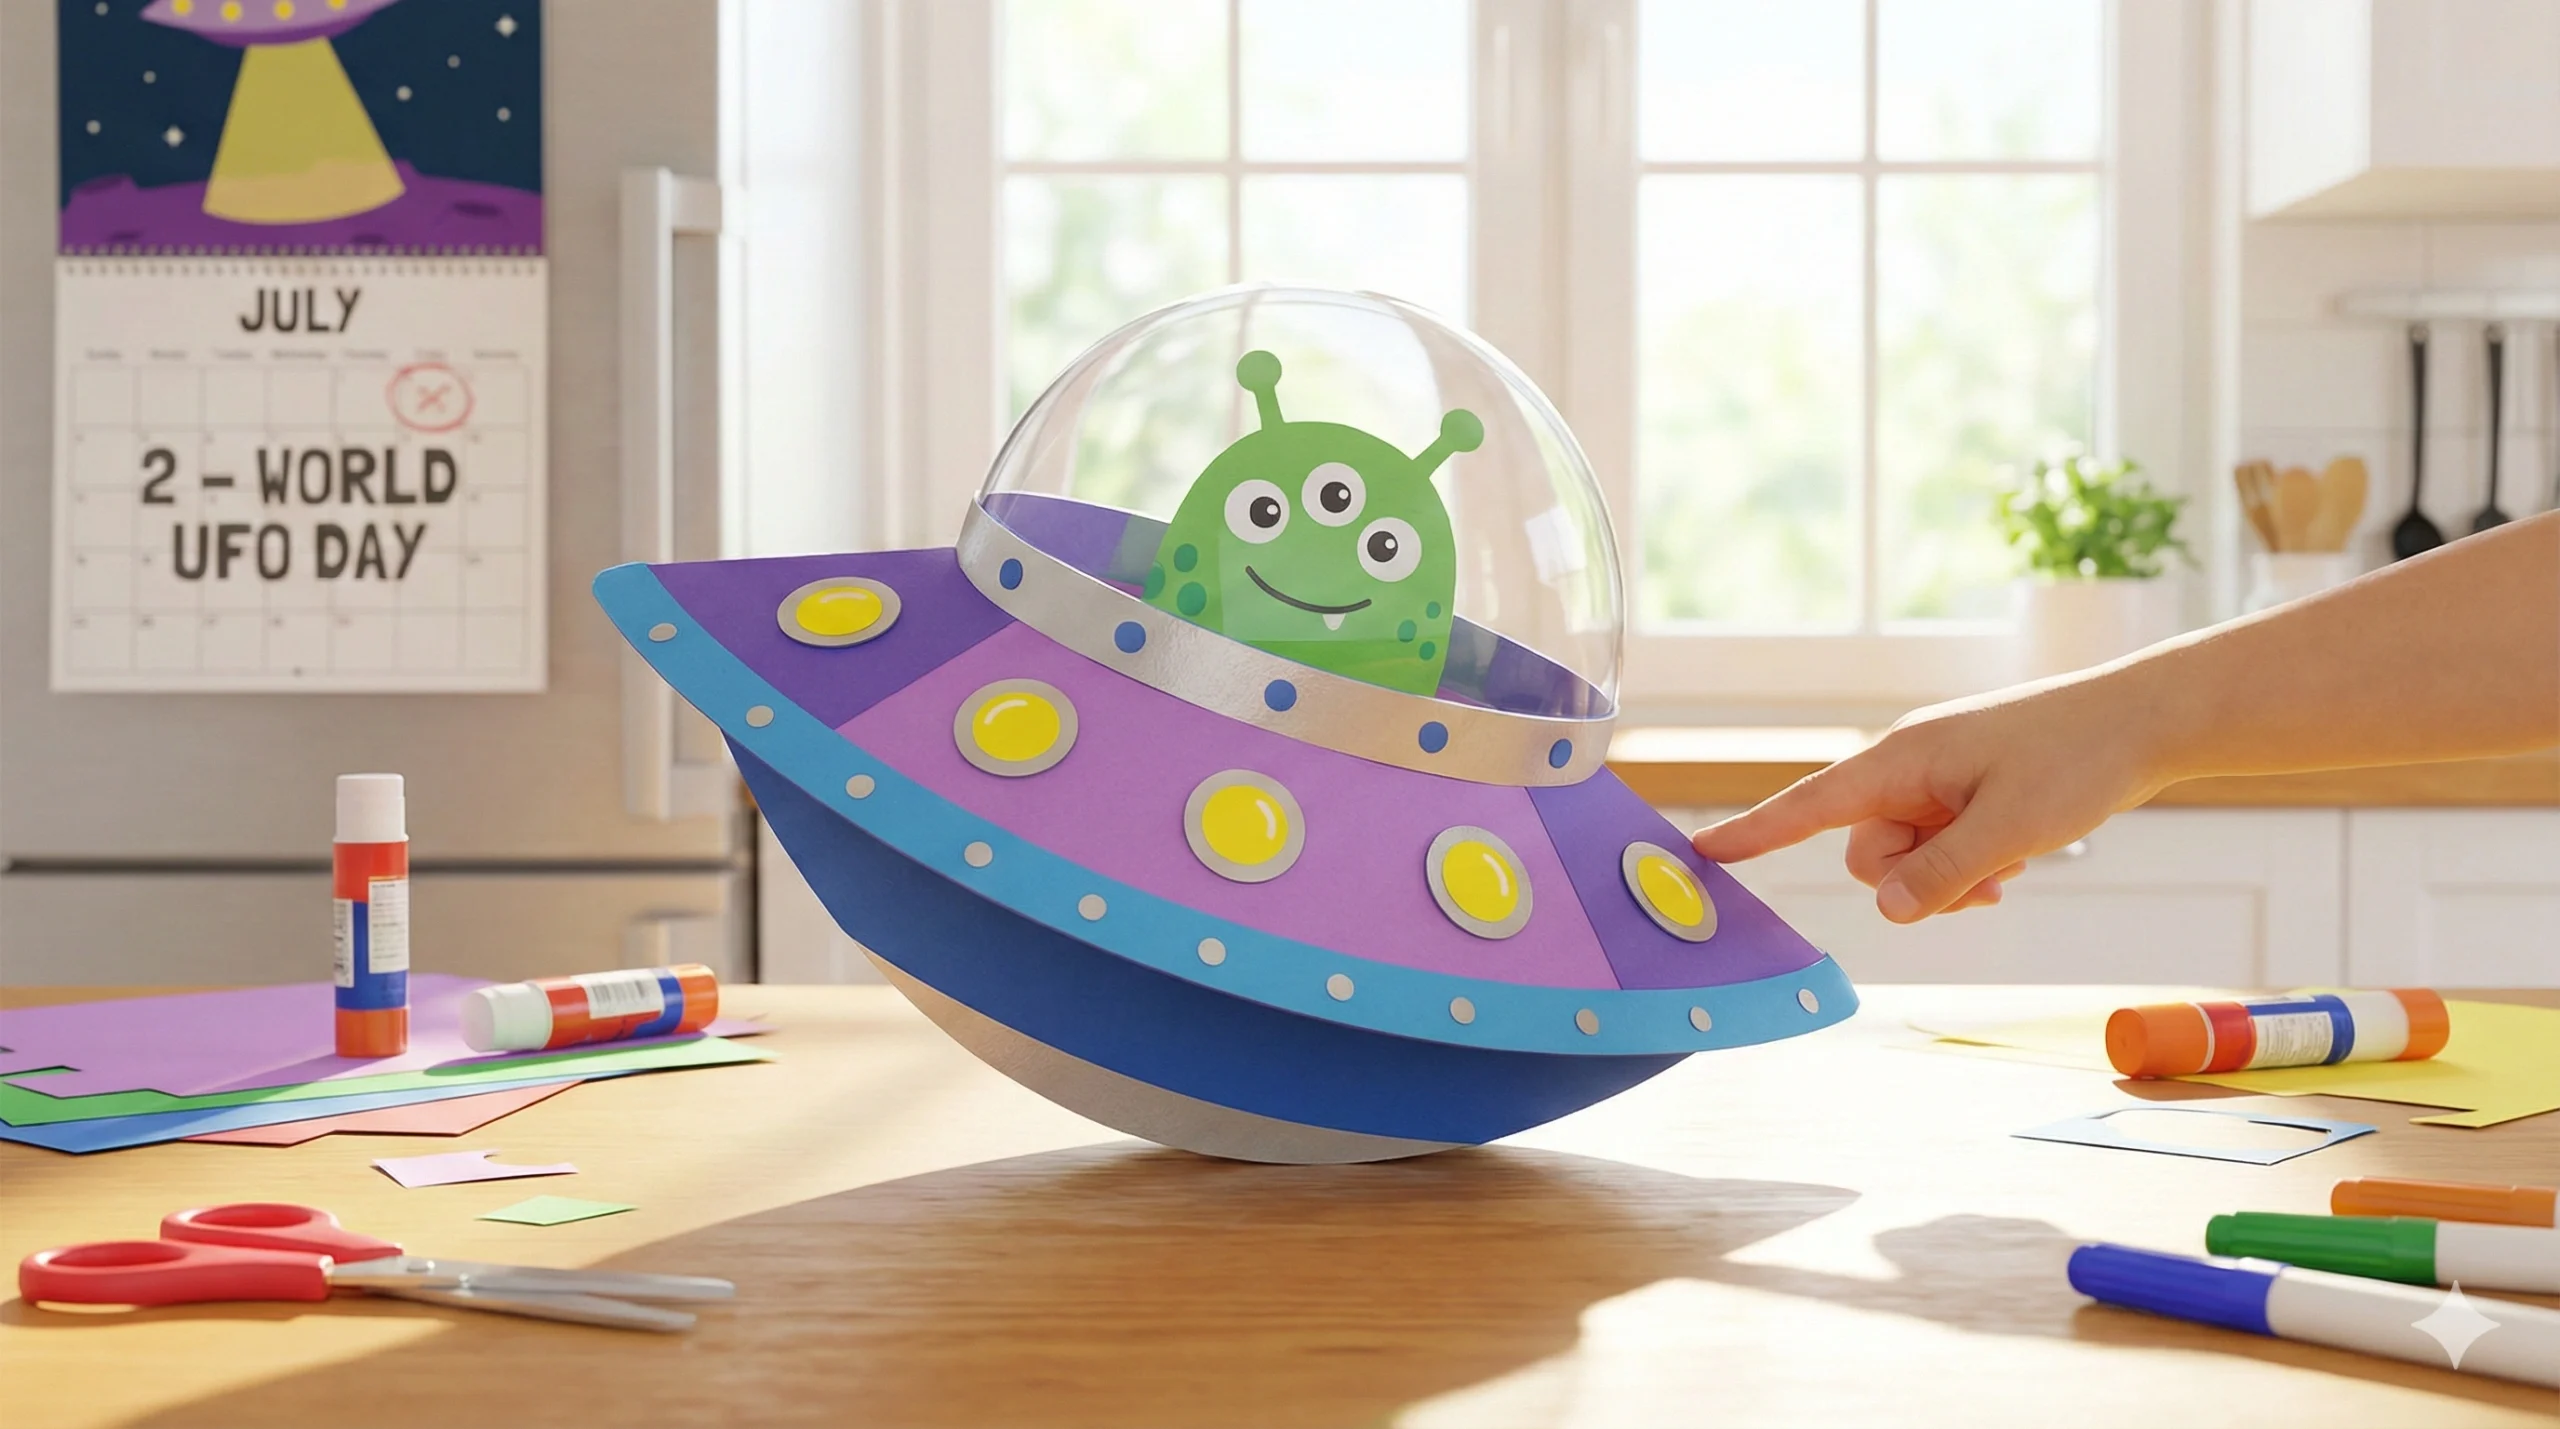
We are not going to miss the chance to celebrate. Whether you are a believer in extraterrestrial life or just a fan of sci-fi fun, this Rocking UFO Craft for Kids is the perfect activity to spark imagination and creativity.
In this guide, we will explore the history of this quirky holiday, learn some fun space facts, and dive into a step-by-step tutorial to create an interactive paper toy that actually rocks back and forth.
What is World UFO Day?
Before we get the glue sticks out, let’s learn a little bit about why we are celebrating.
World UFO Day is observed on July 2nd every year. It is claimed that the first major UFO (Unidentified Flying Object) sighting happened on this date in 1947 in Roswell, New Mexico. This event, known as the “Roswell Incident,” sparked a worldwide fascination with flying saucers and aliens.
While some people use this day to observe the skies with telescopes and debate whether there is life outside planet Earth, we are using the opportunity to have some hands-on fun. Crafting allows children to process these big concepts—space, the universe, and technology—in a tangible and approachable way.
Why This Craft is Perfect for Kids
This isn’t just a paper cutout; it is a kinetic craft. Because of the curved base, the UFO rocks back and forth when tapped, mimicking the hovering motion of a spaceship.
- Fine Motor Skills: Cutting out curved shapes (aliens, domes, and circles) helps refine scissor skills.
- Creativity: Since no one knows for sure what aliens look like, children have total artistic freedom! Blue skin? Three eyes? Purple spaceship? It’s all allowed.
- Interactive Play: Unlike a drawing that sits on the fridge, this craft becomes a toy that can be used for storytelling and imaginative play.
Supplies Required
To build your own fleet of rocking spaceships, you will need standard craft supplies found in most homes or classrooms.
- Cardstock Paper: This is crucial. Regular printer paper is too flimsy to stand up and rock. You need thick colored cardstock (Purple, Blue, Silver, Green, etc.).
- Colored Craft Papers: For the smaller details like the alien’s eyes or the ship’s lights.
- A Circular Object: To trace circles if you aren’t using a printed template (a bowl or a CD works great).
- Pencil & Eraser: For sketching shapes.
- Craft Glue: A glue stick works for paper-on-paper, but white PVA glue is better for longevity.
- Scissors: Kid-safe scissors for little hands.
- Sharpies or Markers: Black for outlining and silver/gold for “space” details.
- Optional: Glitter, sequins, or googly eyes for extra flair.
How to Make the Rocking UFO Craft for Kids
Follow these step-by-step instructions to build your alien encounter. If you don’t have a pre-made template, don’t worry! We will describe the shapes so you can draw them yourself.
Step 1: Prepare Your Shapes
If you are drawing your own pieces, here is what you need to sketch on your cardstock:
- The Base: A large circle (about 6-8 inches in diameter). This will be the ship’s body.
- The Dome (Glass): A semi-circle that fits comfortably on top of the base.
- The Alien: A small head and shoulders (classic pear shape works well) and two antennae.
- Decorations: Small circles for lights and a strip for the ship’s rim.
Step 2: Cut Out the Pieces
Trace your parts onto the colored cardstock of your choice.
- Tip: Since UFOs don’t have a standard color theme, encourage kids to use high-contrast colors. A dark blue ship with a bright green alien looks fantastic.
- Carefully cut out all the pieces.
Step 3: Create the Rocking Mechanism
This is the engineering part of the project!
- Take your large circle (The Base).
- Fold it perfectly in half to create a semi-circle.
- Crease the fold sharply. When you stand it up on the curved edge, it should rock back and forth without falling over. This folded semi-circle is the body of your spaceship.
Step 4: Assemble the Alien
Now, let’s bring our extraterrestrial friend to life.
- Take the alien’s head shape.
- Glue the antennae to the back of the head.
- Draw a face using markers. You can add three eyes, a zigzag mouth, or use googly eyes for a silly effect.
- Creative Twist: Is your alien happy? Grumpy? Scared of Earthlings? Let the face tell a story.
Step 5: Place the Alien in the Cockpit
We need to make it look like the alien is sitting inside the ship.
- Take the semi-circle piece you cut for the “Glass Dome” (light blue or white paper works best for this).
- Glue your alien head onto the bottom center of this dome piece.
- Pro Tip: Glue it so the alien looks like it is peering out from behind the glass.
Step 6: Attach the Cockpit to the Ship
Now we connect the top to the bottom.
- Take your folded base (from Step 3). Keep it folded.
- Apply glue to the bottom edge of the “Glass Dome” piece (where the alien is).
- Paste this onto the back of the folded base, positioned in the center of the straight edge.
- Note: Ensure you don’t glue the folded base shut! It needs to remain slightly open at the bottom to stand up.
Step 7: Add the Lights and Details
A UFO isn’t complete without some high-tech gadgets and flashing lights.
- Cut out a thin strip of paper in a contrasting color and glue it along the straight edge of the base (the rim of the ship).
- Glue small circles (lights) along this rim. Yellow, orange, or neon colors pop well here.
- Use a silver marker to draw bolts, panels, or rivets on the ship’s body to give it a metallic look.
Step 8: Test the Launch!
Stand your craft up on a flat surface (table or floor). Tap one side gently. The UFO should rock side-to-side, making it look like it’s hovering and stabilizing itself for a landing!
5 Creative Variations to Try
Once you have mastered the basic rocking UFO, try these upgrades to make your fleet unique:
- The Glow-in-the-Dark UFO: Use glow-in-the-dark paint for the lights or the alien’s eyes. This looks amazing at night!
- The Paper Plate Version: If you don’t have cardstock, paint a standard paper plate. Fold it in half to use as the base. It is sturdy and easy to paint.
- The Clear Dome: Instead of a paper dome, cut a clear plastic cup in half and glue it over the alien for a 3D “glass” effect.
- Texture Time: Use aluminum foil to cover the base of the ship for a shiny, realistic metal look.
- Twin Aliens: Make the ship slightly larger and put two alien friends inside. Maybe they are on a road trip across the galaxy!
Fun Alien & Space Facts for Kids
Keep the conversation going while you craft with these fun tidbits:
- Gold Records in Space: In 1977, NASA sent two spacecraft (Voyager 1 and 2) into space carrying gold phonograph records. These records contain sounds and images from Earth, just in case aliens find them!
- Silent Space: Space is completely silent because there is no air for sound to travel through. If a UFO flew past you in space, you wouldn’t hear a “whoosh”!
- The Red Planet: We are constantly searching for life on Mars. NASA uses rovers (robots) to drive around Mars and take pictures, looking for signs of ancient water or life.
- Exoplanets: Scientists have discovered thousands of planets outside our solar system. Some of them are called “Super-Earths” because they might have conditions suitable for life.
Conclusion
Celebrating World UFO Day is a fantastic way to encourage curiosity about the universe. Whether we are alone in the universe or not, looking up at the stars and wondering “What if?” is a crucial part of childhood (and human!) imagination.