
Halloween is that magical time of year when kids dive into costumes, crafts, spooky decorations, and plenty of imagination. Homes fill with pumpkins, witches, floating ghosts, skeleton shapes, and all kinds of eerie décor. But if there’s one creature that brings instant chills—yet fascinates children—it’s the spider.
Think about it: nothing is scarier than walking into a spider web by mistake or watching a tiny spider drop down silently from nowhere. Yet when we pause and look past the fear, spiders and their webs are actually incredible natural wonders.
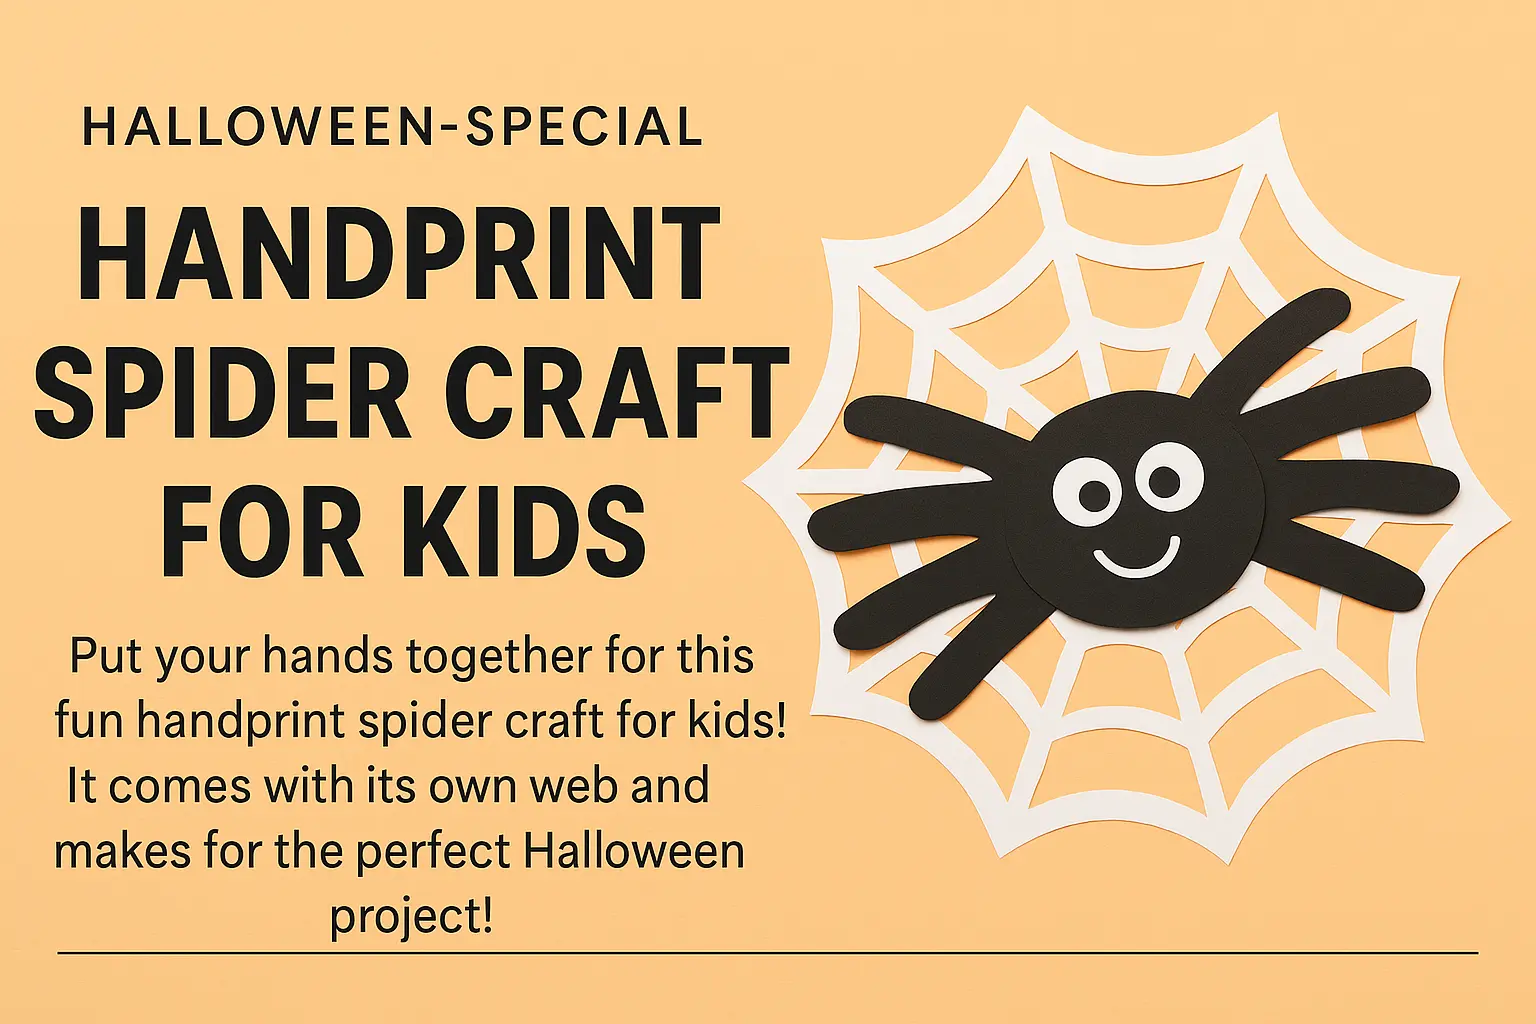
And that’s exactly what makes this Handprint Spider Craft the perfect Halloween activity for kids—fun, educational, sensory-friendly, and wonderfully spooky in a cute way. Whether you’re a parent, a teacher, or a craft-loving teen, this handprint spider is simple enough to create at home or in a classroom, and it comes with its own web!
Before we start crafting, let’s take a moment to appreciate the amazing engineering behind spider webs.
Fun Facts About Spider Webs
Spiders may look scary, but their web-making skills are nothing short of mind-blowing. Share these fun facts with your kids before crafting to make the activity extra meaningful:
🕸 1. Spider silk is extremely thin
Spider silk is 1,000 times thinner than human hair, yet incredibly strong.
🕸 2. Silk is stronger than it looks
Despite being light, spider silk has a higher strength-to-density ratio than steel. That means it can handle a lot of weight without breaking.
🕸 3. Spiders make different types of silk
Most spiders can make at least three different types of silk, while some species can make up to seven.
🕸 4. Webs aren’t just traps
Spiders use silk for many purposes—protecting their eggs, building shelters, and even traveling short distances by “ballooning.”
🕸 5. Old webs are recyclable
Instead of wasting silk, spiders eat their old webs to reuse the protein.
🕸 6. Some spiders rebuild their webs every single day
Even if the web isn’t damaged, certain species rebuild fresh webs daily for better hunting.
Pretty amazing, right? Kids love learning surprising facts like these, and it adds excitement to the craft you’re about to create.
Now, let’s get to the fun part—making your very own handprint spider!
Supplies You’ll Need
This is a beginner-friendly craft, perfect for toddlers, preschoolers, and elementary kids. Here’s everything you need:
- Colored craft paper
- Pencil
- Safety scissors
- Craft glue
- Black Sharpie or marker
- Printed spider template (optional)
All materials are inexpensive and easily available, and you don’t need any advanced crafting tools.
How to Make the Halloween Handprint Spider Craft
Follow these simple steps to create a cute but spooky paper spider with a web. Kids will love using their hands as part of the design!
Step 1: Prepare the Spider Template
If you’re using a printed template, cut out the pieces:
- Spider head
- Spider eyes
- Two handprint shapes for legs
- Web outline
If you’re not using a template, no problem—kids can draw the shapes themselves.
Step 2: Make the Spider Web Base
To make the spider’s web:
- Cut a white paper square (approximately 9 inches on each side).
- Fold the square diagonally to form a triangle.
- Fold again to make a smaller triangle.
- Draw curved lines radiating outward like slices of a pie.
- Add connecting curved lines between them—this creates the web pattern.
- Carefully cut along the marked lines and unfold.
You now have a beautiful paper spider web!
Kids love watching the web appear when the folded paper opens—it feels like magic.
Step 3: Create the Spider’s Body
Now it’s time for the star of the craft—the spider!
- Cut a round or oval shape out of black craft paper for the spider’s head.
- If you want, make a slightly larger oval for the body.
- Glue the smaller oval (head) on top of the larger one (body).
Add the facial details:
- Stick or draw two big googly eyes
- Draw a cute smile, fangs, or a goofy grin with a black Sharpie
- Add small pink cheeks if you want a friendly look
Step 4: Add the Spider Legs Using Handprints
Here’s the most fun part for kids—they get to trace their hands!
- Ask your child to place their hand on black paper.
- Trace the hand outline with a pencil.
- Cut out the hand shape.
- Repeat to create two handprints—these will be the spider’s legs.
Each handprint includes five “fingers,” giving the spider eight legs in total (minus the thumb). Simply trim the thumb off each handprint and keep the remaining four “fingers.”
Now glue one handprint on each side of the spider’s body—four legs on each side.
The spread fingers create a perfect cartoon-style spider leg effect!
Step 5: Attach the Spider to the Web
You can glue your spider onto the center of the web or leave it loose so kids can play with it. For a dimensional effect, stick the spider using foam tape or small folded paper pieces to make it pop out.
You now have a spooky-cute Halloween spider that looks like it’s crawling on its web!
Creative Variations Kids Can Try
Encourage creativity by letting kids design their own spider style. Some fun variations include:
✔ Rainbow Spider
Use colorful paper instead of black for the spider.
✔ Glow-in-the-Dark Spider
Use glow-paint or neon markers for eerie nighttime effects.
✔ Fuzzy Spider
Wrap the body in wool yarn for a soft, textured feel.
✔ Funny-Faced Spider
Give each spider a different expression—angry, goofy, sleepy, surprised.
✔ Hanging Spider Decoration
Attach a string and let the spider “drop down” like a real one.
✔ Giant Wall Spider
Make a huge handprint spider on chart paper for classroom walls.
This craft is flexible and open to creativity—kids can create dozens of variations.
Why This Handprint Spider Craft Is Perfect for Halloween
This activity is ideal for parents and teachers because:
- It’s hands-on and perfect for developing fine motor skills.
- It teaches kids about symmetry, nature, and spiders.
- It uses low-cost materials.
- It creates adorable Halloween décor.
- It’s simple enough for young kids but enjoyable for older ones too.
- It gives children a chance to personalize their unique spider.
Plus, handprint crafts are wonderful keepsakes—years later, you’ll look back and remember how tiny those little hands were.
Fun Ideas for Displaying the Spider Craft
Once your child finishes their spider, here are some cute ways to use it:
🕸 Stick it on the fridge
🕸 Add it to the Halloween wall display
🕸 Use it as a classroom bulletin board decoration
🕸 Turn it into a Halloween greeting card cover
🕸 Hang it from the ceiling using thread
🕸 Use it as part of a Halloween-themed photo booth background
🕸 Add it to party goodie bags
This craft isn’t just fun to make—it helps decorate your home in style.
Final Thoughts
Halloween doesn’t always need scary monsters or complicated projects. Sometimes, the simplest crafts—made with a child’s own tiny handprints—become the most treasured creations. This Handprint Spider Craft is cute, easy, and filled with charm. It captures the playful side of Halloween while teaching kids about the fascinating world of spiders.
Gather your paper, pencils, and glue—it’s time to bring your little Halloween spider to life!