
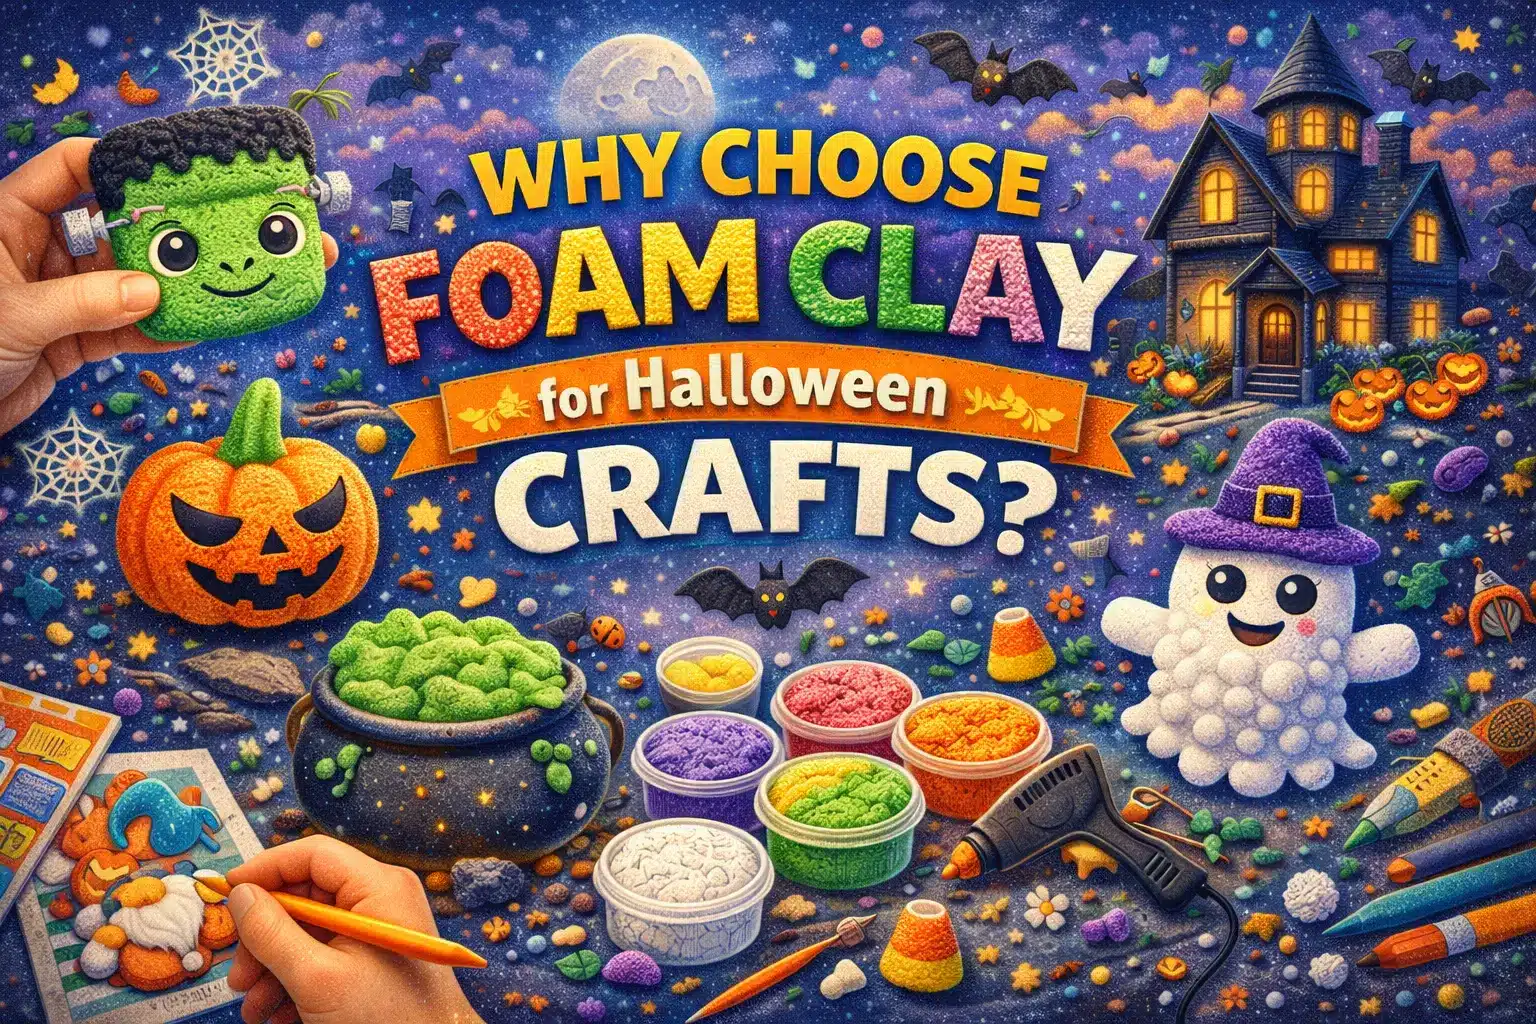
efore we dive into the “monster-making” process, let’s talk about the medium. Foam clay has become a favorite for kids and hobbyists alike for several reasons:
- No Baking Required: Unlike traditional polymer clay, foam clay air-dries. You don’t have to worry about using an oven, making it much safer for children.
- Mess-Free: It doesn’t stick to your hands or tabletops, and it doesn’t leave a greasy residue.
- Vibrant Colors: Foam clay comes in neon and primary colors that stay bright even after drying.
- Lightweight: Once dried, the monsters are as light as a feather, making them perfect for turning into ornaments or keychains.
Supplies You’ll Need
To create your DIY Clay Monster, you don’t need a laboratory—just a few basic supplies:
- Foam Clay: You will need at least four colors. One for the base body (think bright purple, neon green, or electric blue), a contrasting color for details (like horns or spots), and black and white for the eyes and mouth.
- Clay Tools (Optional): A plastic knife or a toothpick can help with adding texture or small details.
- Flat Surface: A clean table or a silicone mat to prevent any accidental sticking.
Step-by-Step Instructions: Building Your Monster
Step 1: Create the Body Base
Every monster needs a sturdy foundation. Start by taking a generous amount of your primary color (we love a deep purple for that classic monster look).
- Roll it into a smooth ball. Ensure there are no cracks on the surface.
- Shape it into a cylinder. Gently roll the ball back and forth until it elongates slightly.
- Flatten the sides. Press the cylinder gently between your palms to make the top and bottom flat. These flat sides will serve as the front and back of your monster, allowing it to stand upright or sit comfortably on a shelf.
Step 2: Adding the “Monster” Features
Now comes the fun part where you give your creature some personality!
- The Horns: Take your contrasting color (like a bright orange or neon green). Roll two small cones and press them onto the top of the head.
- The Texture: You can add small “warts” or spots by rolling tiny balls of clay and flattening them onto the monster’s body.
Step 3: Eyes and Expression
The eyes are the window to the monster’s soul! Since it’s a monster, you aren’t limited to just two eyes.
- The Sclera: Roll small balls of white clay and flatten them onto the face. Try giving your monster three eyes or one giant cyclops eye for a fun twist.
- The Pupil: Add a tiny dot of black clay to the center of each white circle. For a “silly” look, place the pupils in different directions.
Step 4: The Mouth and Finishing Touches
Use your black clay to create a mouth. You can make it a wide smile, a surprised “O” shape, or even add tiny white triangles for fangs.
- Pro Tip: If you want your monster to look extra “handmade,” use a toothpick to indent little “fur” lines all over the body before the clay sets.
Tips for Gifting Your Halloween Monsters
If you are making these as gifts, here are a few ways to make the presentation extra special:
- The “Monster Home”: Place the dried monster in a small glass jar with some faux moss or orange shredded paper. It looks like a little terrarium for a mythical creature!
- Keychains: Before the clay dries, insert a small metal eye-pin into the top of the head. Once dry, you can attach a keychain ring.
- Adoption Certificate: Print out a small piece of paper that says “Official Monster Adoption Certificate” with a space for the recipient to name their new friend.
The Educational Value of Clay Play
While this is a fun Halloween activity, it also serves as a great developmental tool for children:
| Skill | Benefit |
| Fine Motor Skills | Rolling, pinching, and flattening clay develops the small muscles in the fingers. |
| Color Theory | Choosing contrasting colors helps kids understand which shades pop against one another. |
| 3D Modeling | Translating a “monster idea” into a physical 3D object builds spatial awareness. |
| Patience | Waiting for the air-dry clay to fully set (usually 24 hours) teaches delayed gratification. |
Fun Monster Themes to Try
Don’t stop at just one! You can create a whole variety of monsters based on different themes:
- The “Pumpkin” Monster: Use orange clay for the body and green for the horns to mimic a jack-o’-lantern.
- The “Vampire” Monster: Use black and red clay, making sure to add two long white fangs.
- The “Alien” Monster: Use neon green clay and give it five eyes on long stalks.
Why Handmade Gifts Beat Store-Bought
In a world of mass-produced toys, a handmade clay monster stands out. It shows the recipient that you took the time to sit down and create something specifically for them. For a Halloween lover, a custom-made “Spooky Buddy” is far more meaningful than a bag of fun-size candy. Plus, these monsters never expire and won’t cause any cavities!
Troubleshooting Your Clay Craft:
- Clay is too dry? If your foam clay feels a bit stiff, add one single drop of water and knead it until it softens.
- Parts won’t stick? Foam clay usually sticks to itself easily. If a piece falls off, a tiny dot of white school glue will fix it once the clay is dry.
- Cracking? Cracks usually happen if the clay is worked for too long. Try to get your shape right in just a few minutes of rolling.
Conclusion: A Spooky Success
Halloween is a time for creativity to run wild, and this DIY Clay Monster Craft is the perfect outlet. Whether you are making a purple three-eyed beast or a neon-green horned creature, the result is a one-of-a-kind gift that brings a smile to anyone’s face.
These little monsters serve as a reminder that “scary” things can actually be quite sweet when they are made with love and a bit of imagination. So, clear off the kitchen table, grab some foam clay, and start building your own monster squad today!