
Have you ever watched a child playing with play-dough? There is a look of pure focus and joy on their face as they squish the material, rolling it into snakes, balls, and imaginary creatures. It is sensory play at its finest.
The best part? Kids don’t have to outgrow this joy. As they get older, they can graduate from temporary play-dough to permanent clay crafts.
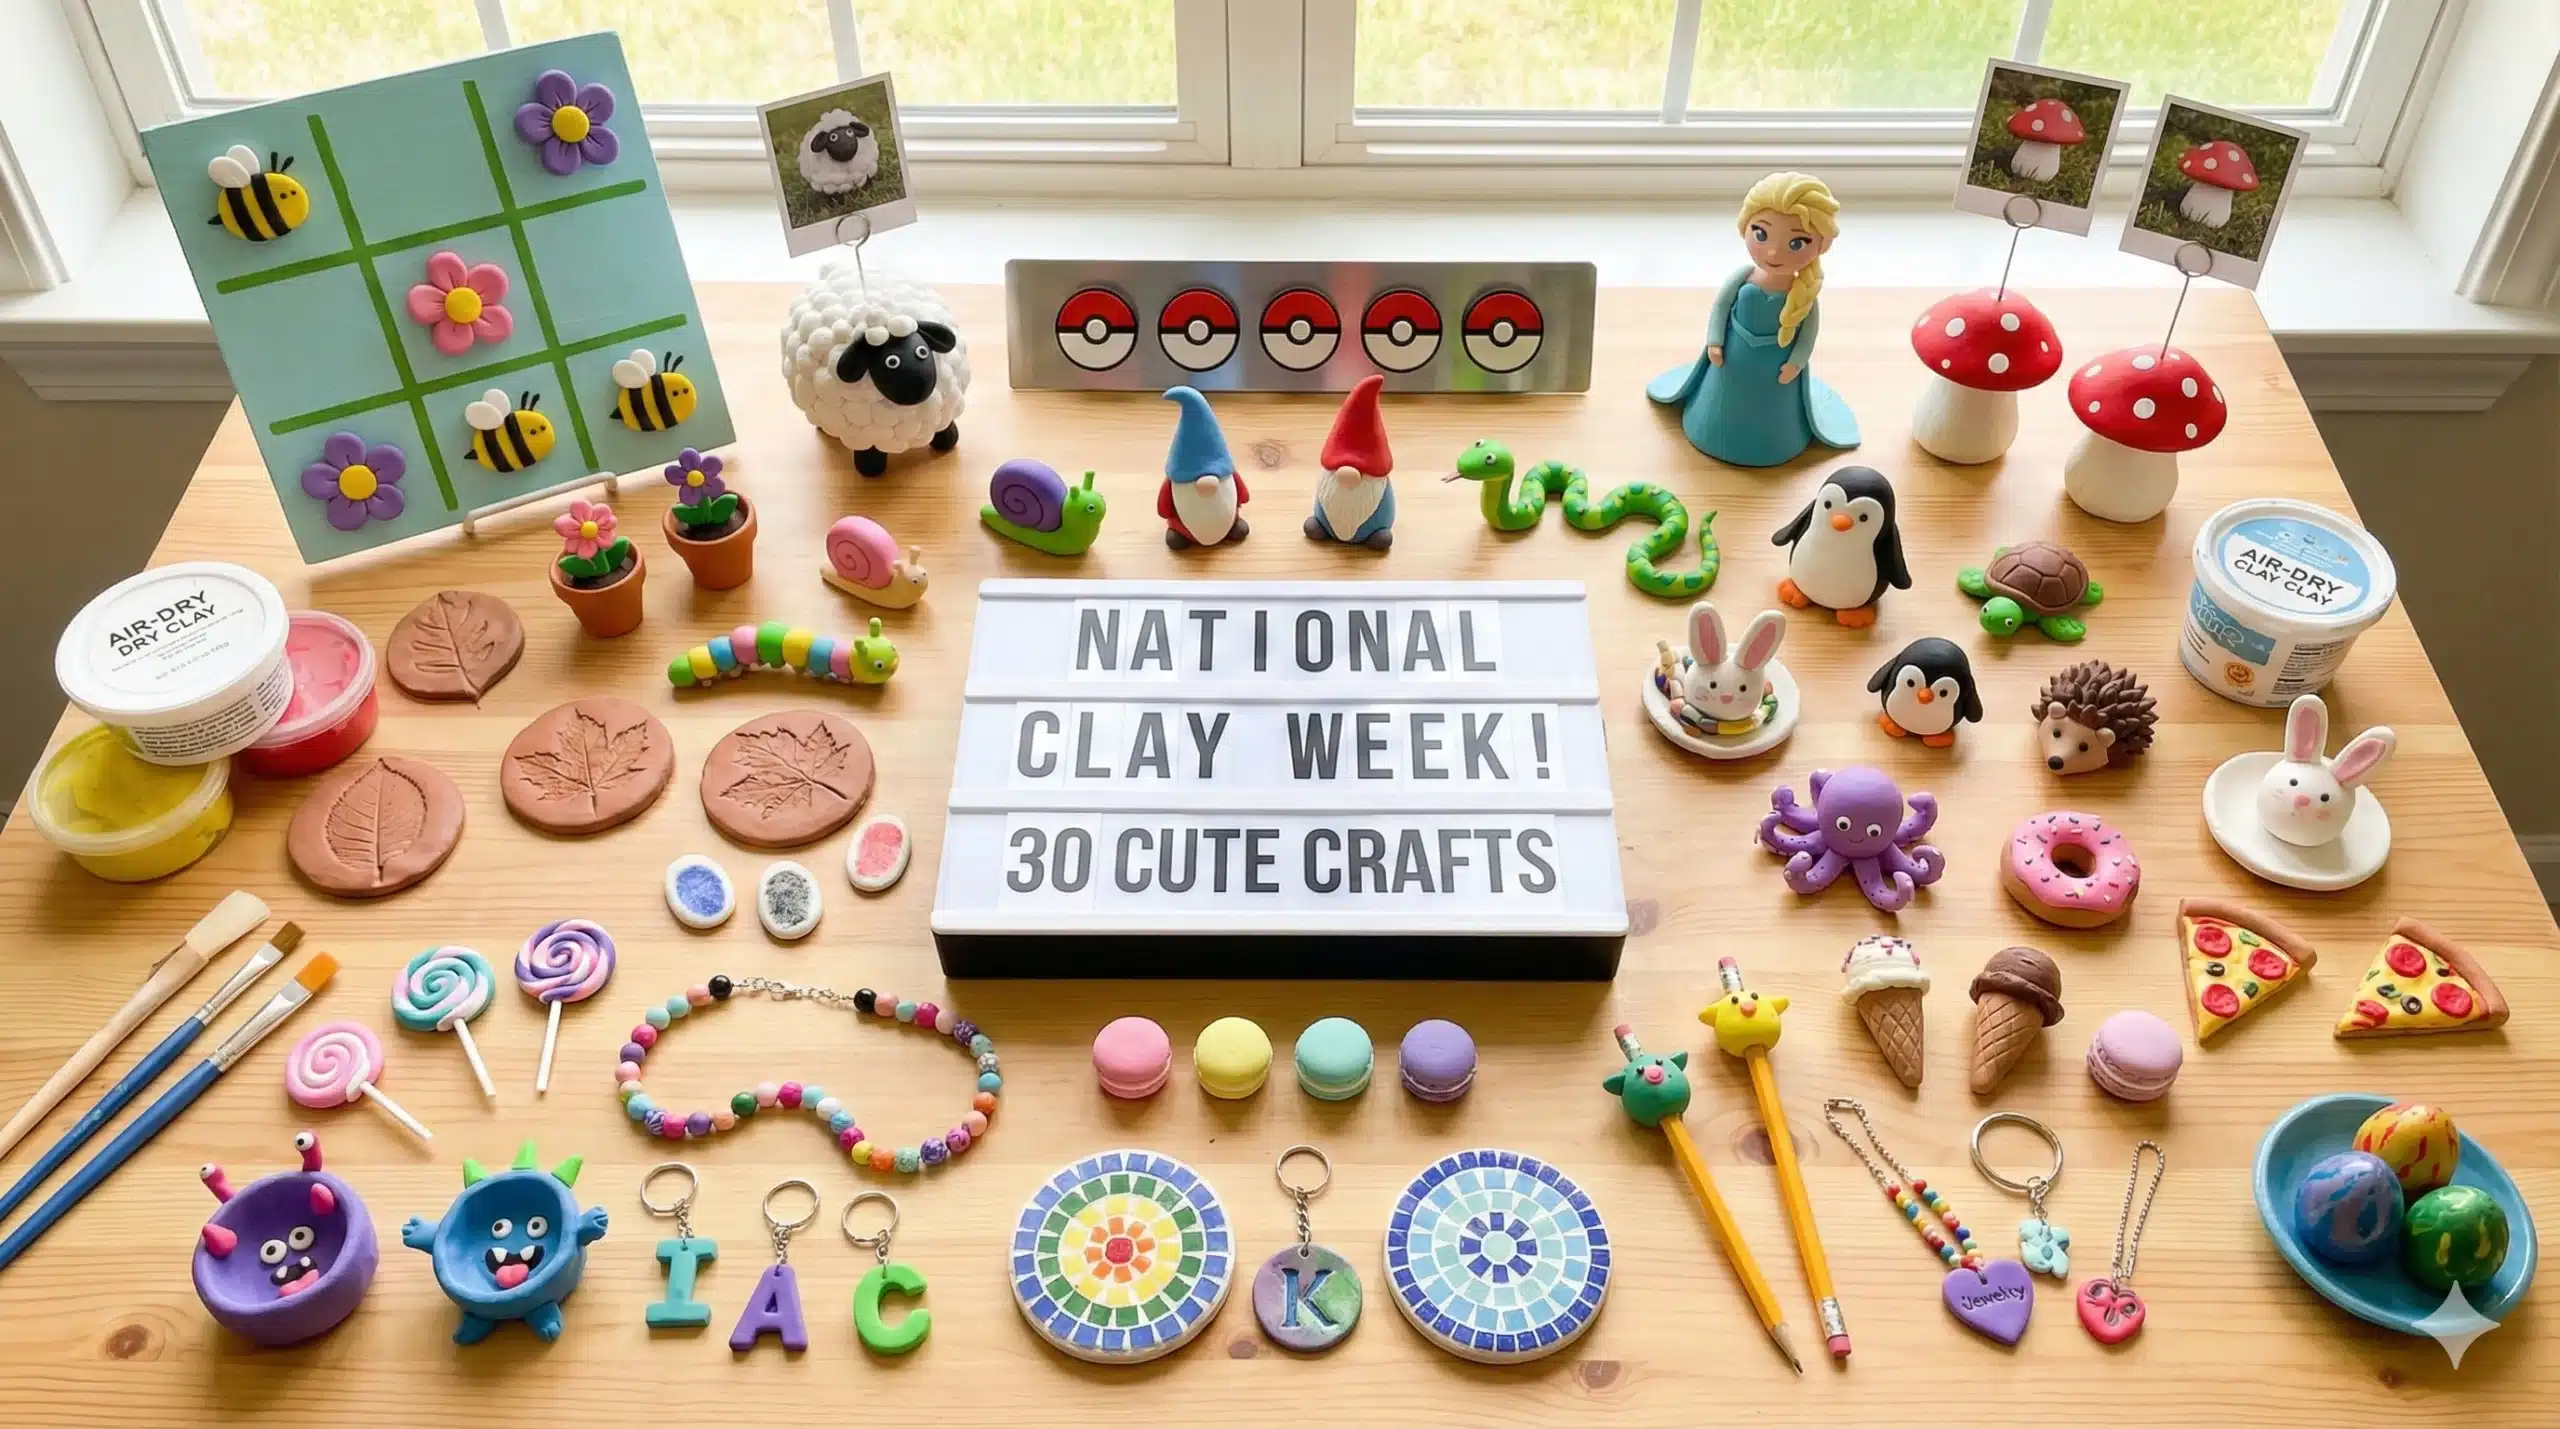
Clay modeling is one of the most beneficial activities for children. It strengthens fine motor skills, enhances hand-eye coordination, and allows for three-dimensional thinking. With National Clay Week celebrated in the second week of June (usually the 8th to the 14th), there is no better time to get your hands dirty!
Whether you are using air-dry clay (which is easy and mess-free) or polymer clay (which is bright and durable), we have compiled a massive list of 30 cute and easy clay crafts for kids. Gather your rolling pins and let’s get sculpting!
Getting Started: The Clay Toolkit
Before we jump into the projects, let’s make sure you have the basics. You don’t need expensive equipment to make beautiful art.
- The Clay: Air-dry clay is best for younger kids (no oven needed), while Polymer clay is great for older kids making jewelry or detailed figures.
- Tools: Toothpicks (for textures), plastic knives (for cutting), a rolling pin, and a small cup of water (to smooth out cracks).
- Extras: Acrylic paints, brushes, magnets, and gloss varnish for a shiny finish.
5 Feature Projects: Step-by-Step Tutorials
Let’s start with detailed instructions for five of our favorite projects, perfect for spring and summer themes.
1. Spring Themed Tic-Tac-Toe
Ready to play? This isn’t just a craft; it’s a game you can use forever!
- What you need: Clay, paint (yellow, black, pink, green).
- How to make it:
- The Board: Roll out a large slab of clay into a square. Use a ruler to score a grid (two vertical lines, two horizontal lines) into the clay. Let it dry and paint it green like grass.
- The Bees (X’s): Roll 5 small balls of clay. Slightly flatten them. Paint them yellow with black stripes and add tiny white wings.
- The Flowers (O’s): Roll 5 small balls. Flatten them into discs and use a toothpick to indent petal shapes. Paint them pink or purple.
- Once dry, challenge your friends to a game!
2. Fluffy Sheep Photo Holder
This is a great functional gift that looks adorable on a desk.
- What you need: White clay, black clay (or paint), and a stiff wire/paperclip.
- How to make it:
- Roll a large ball of white clay for the body.
- Use a toothpick to poke little swirls all over the body to mimic fluffy wool.
- Roll a smaller black oval for the head and four tiny logs for legs. Attach them to the body (use a drop of water as “glue”).
- The Mechanism: Take a piece of wire, curl one end into a spiral (to hold the photo), and stick the straight end deep into the sheep’s back.
- Let it dry completely before inserting a photo.
3. DIY Pokeball Magnets
Got any Pokémon fans? These are a must-make and look fantastic on the fridge.
- What you need: Clay, red/white/black paint, round magnets.
- How to make it:
- Roll a ball of clay and flatten it into a thick disc.
- Use a straight edge to press a line horizontally across the center.
- Press a small circle (like a bottle cap) into the very center.
- Painting: Paint the top half red, the bottom half white, and the dividing strip black.
- Once dry, glue a strong magnet to the back.
4. The Snow Queen Doll (Elsa Style)
For the Frozen fans, making a miniature doll is easier than it looks!
- What you need: Blue, white, and yellow clay.
- How to make it:
- The Body: Form a cone shape using blue clay for the dress.
- The Head: Roll a small ball of skin-tone clay and attach it to the top of the cone.
- The Hair: This is the fun part! Roll yellow clay into a long snake. Twist it to look like a braid and drape it over one shoulder.
- Add tiny arms and paint on the facial features with a fine-tip marker after it dries.
5. Magical Mushroom Photo Holders
Mushrooms are trendy, cute, and make great decor.
- What you need: Clay, red and white paint, wire.
- How to make it:
- The Stalk: Roll a thick cylinder of white clay. Make the base slightly wider so it stands up.
- The Cap: Roll a ball of clay and flatten it into a dome shape. Score the underside with a toothpick to look like gills.
- Attach the cap to the stalk. Insert your photo-holding wire into the top of the cap.
- Paint the cap red with white polka dots for that classic toadstool look.
25 More Quick & Easy Clay Ideas
Here is a list of 25 more prompts to keep the creativity flowing all month long!
Nature & Garden 6. Leaf Impressions: Press real leaves into clay and cut around them. Paint them green or gold for beautiful coasters. 7. Mini Flower Pots: Pinch pots sized perfectly for tiny succulents. 8. Snail Friends: Roll a long snake and coil it up to make a shell. Add a body and antennae. 9. Caterpillars: Roll small balls of green clay and attach them in a line. Great for toddlers! 10. Garden Gnomes: Make cone-shaped hats and bushy beards for these garden guardians.
Animals & Creatures 11. Coiled Snakes: A classic! Roll a long snake, coil it, and paint it with cool patterns. 12. Easy Turtles: A round dome for a shell, with a tiny head and four flippers poking out. 13. Penguin Pal: A black oval body with a white tummy and orange beak. 14. Hedgehogs: Shape a teardrop. Use scissors to snip the clay on the back to create “spikes.” 15. Bunny Ring Holder: Make a bunny with long ears pointing straight up—the ears hold your rings! 16. Octopus: A round head sitting on top of 8 curly tentacles.
Food & Treats (Play Food) 17. Mini Donuts: Roll a snake, connect the ends to make a circle, and paint on “icing” and “sprinkles.” 18. Pizza Slices: Triangles of clay topped with tiny clay pepperoni and mushrooms. 19. Ice Cream Cones: Make a textured cone and stack scoops of colored clay on top. 20. Macarons: Two small flattened discs with a layer of “filling” clay in between. 21. Lollipops: Swirl two colors of clay together and stick a real lollipop stick in the bottom.
Fun & Functional Gifts 22. Thumbprint Magnets: Flatten a ball, press your thumb in, and turn the print into a heart, spider, or balloon. 23. Bead Necklaces: Roll clay into balls or tubes, poke a hole through them with a skewer, dry, and string them up. 24. Pinch Pot Monsters: Make a simple bowl (pinch pot) and add googly eyes and teeth. Great for holding erasers. 25. Keychain Initials: Roll clay into “snakes” to form the first letter of your name. Add a key ring before it dries. 26. Mosaic Coasters: Create a flat circle and press colorful beads or sea glass into it. 27. Pencil Toppers: Mold a small creature (like a bird or alien) directly onto the top of a pencil. 28. Friendship Charms: Make two puzzle piece shapes that fit together. Keep one, give one to a friend. 29. Jewelry Dish: Use a large leaf or a bowl to mold the clay into a curved shape for holding earrings. 30. Dragon Eggs: Make an egg shape and cover it with tiny flat circles (scales) starting from the bottom up.
3 Tips for Clay Success
Working with clay is easy, but these tips will ensure your projects last a lifetime:
- The Water Trick: If you are using air-dry clay, keep a small bowl of water nearby. If the clay starts to crack while you are shaping it, dip your finger in water and smooth it out. It works like an eraser!
- Scoring: When attaching two pieces of clay (like a head to a body), don’t just push them together. Use a toothpick to scratch up (score) both surfaces, add a drop of water, and then press them together. This acts like Velcro.
- Sealing: Once your air-dry clay is painted and dry, coat it with a layer of Mod Podge or clear acrylic sealer. This stops the paint from chipping and makes the colors pop!
Final Thoughts
Clay crafting is one of those magical activities that bridges the gap between art and play. It teaches patience, planning, and artistic expression. Whether you are making a functional photo holder or a silly little monster, the time spent creating is always worth it.