
In an era defined by planned obsolescence and flashing digital screens, there is a quiet, radical power in a toy made by hand. For a child, a toy is not merely a static object; it is a catalyst for narrative, a tool for physical mastery, and a vessel for imagination. When that toy is born from raw materials in their own home, it carries an additional “soul”—the realization that the world is something they can shape, not just consume.
Building DIY playthings is often dismissed as a budget-saving tactic, but the true value lies in Open-Ended Play. Commercial toys often dictate how they should be used (press a button, see a light). In contrast, a high-quality handmade toy—what educators often call “loose parts”—demands that the child provide the logic.
Here is a comprehensive guide to constructing durable, developmentally rich, and deeply engaging playthings for the modern child.
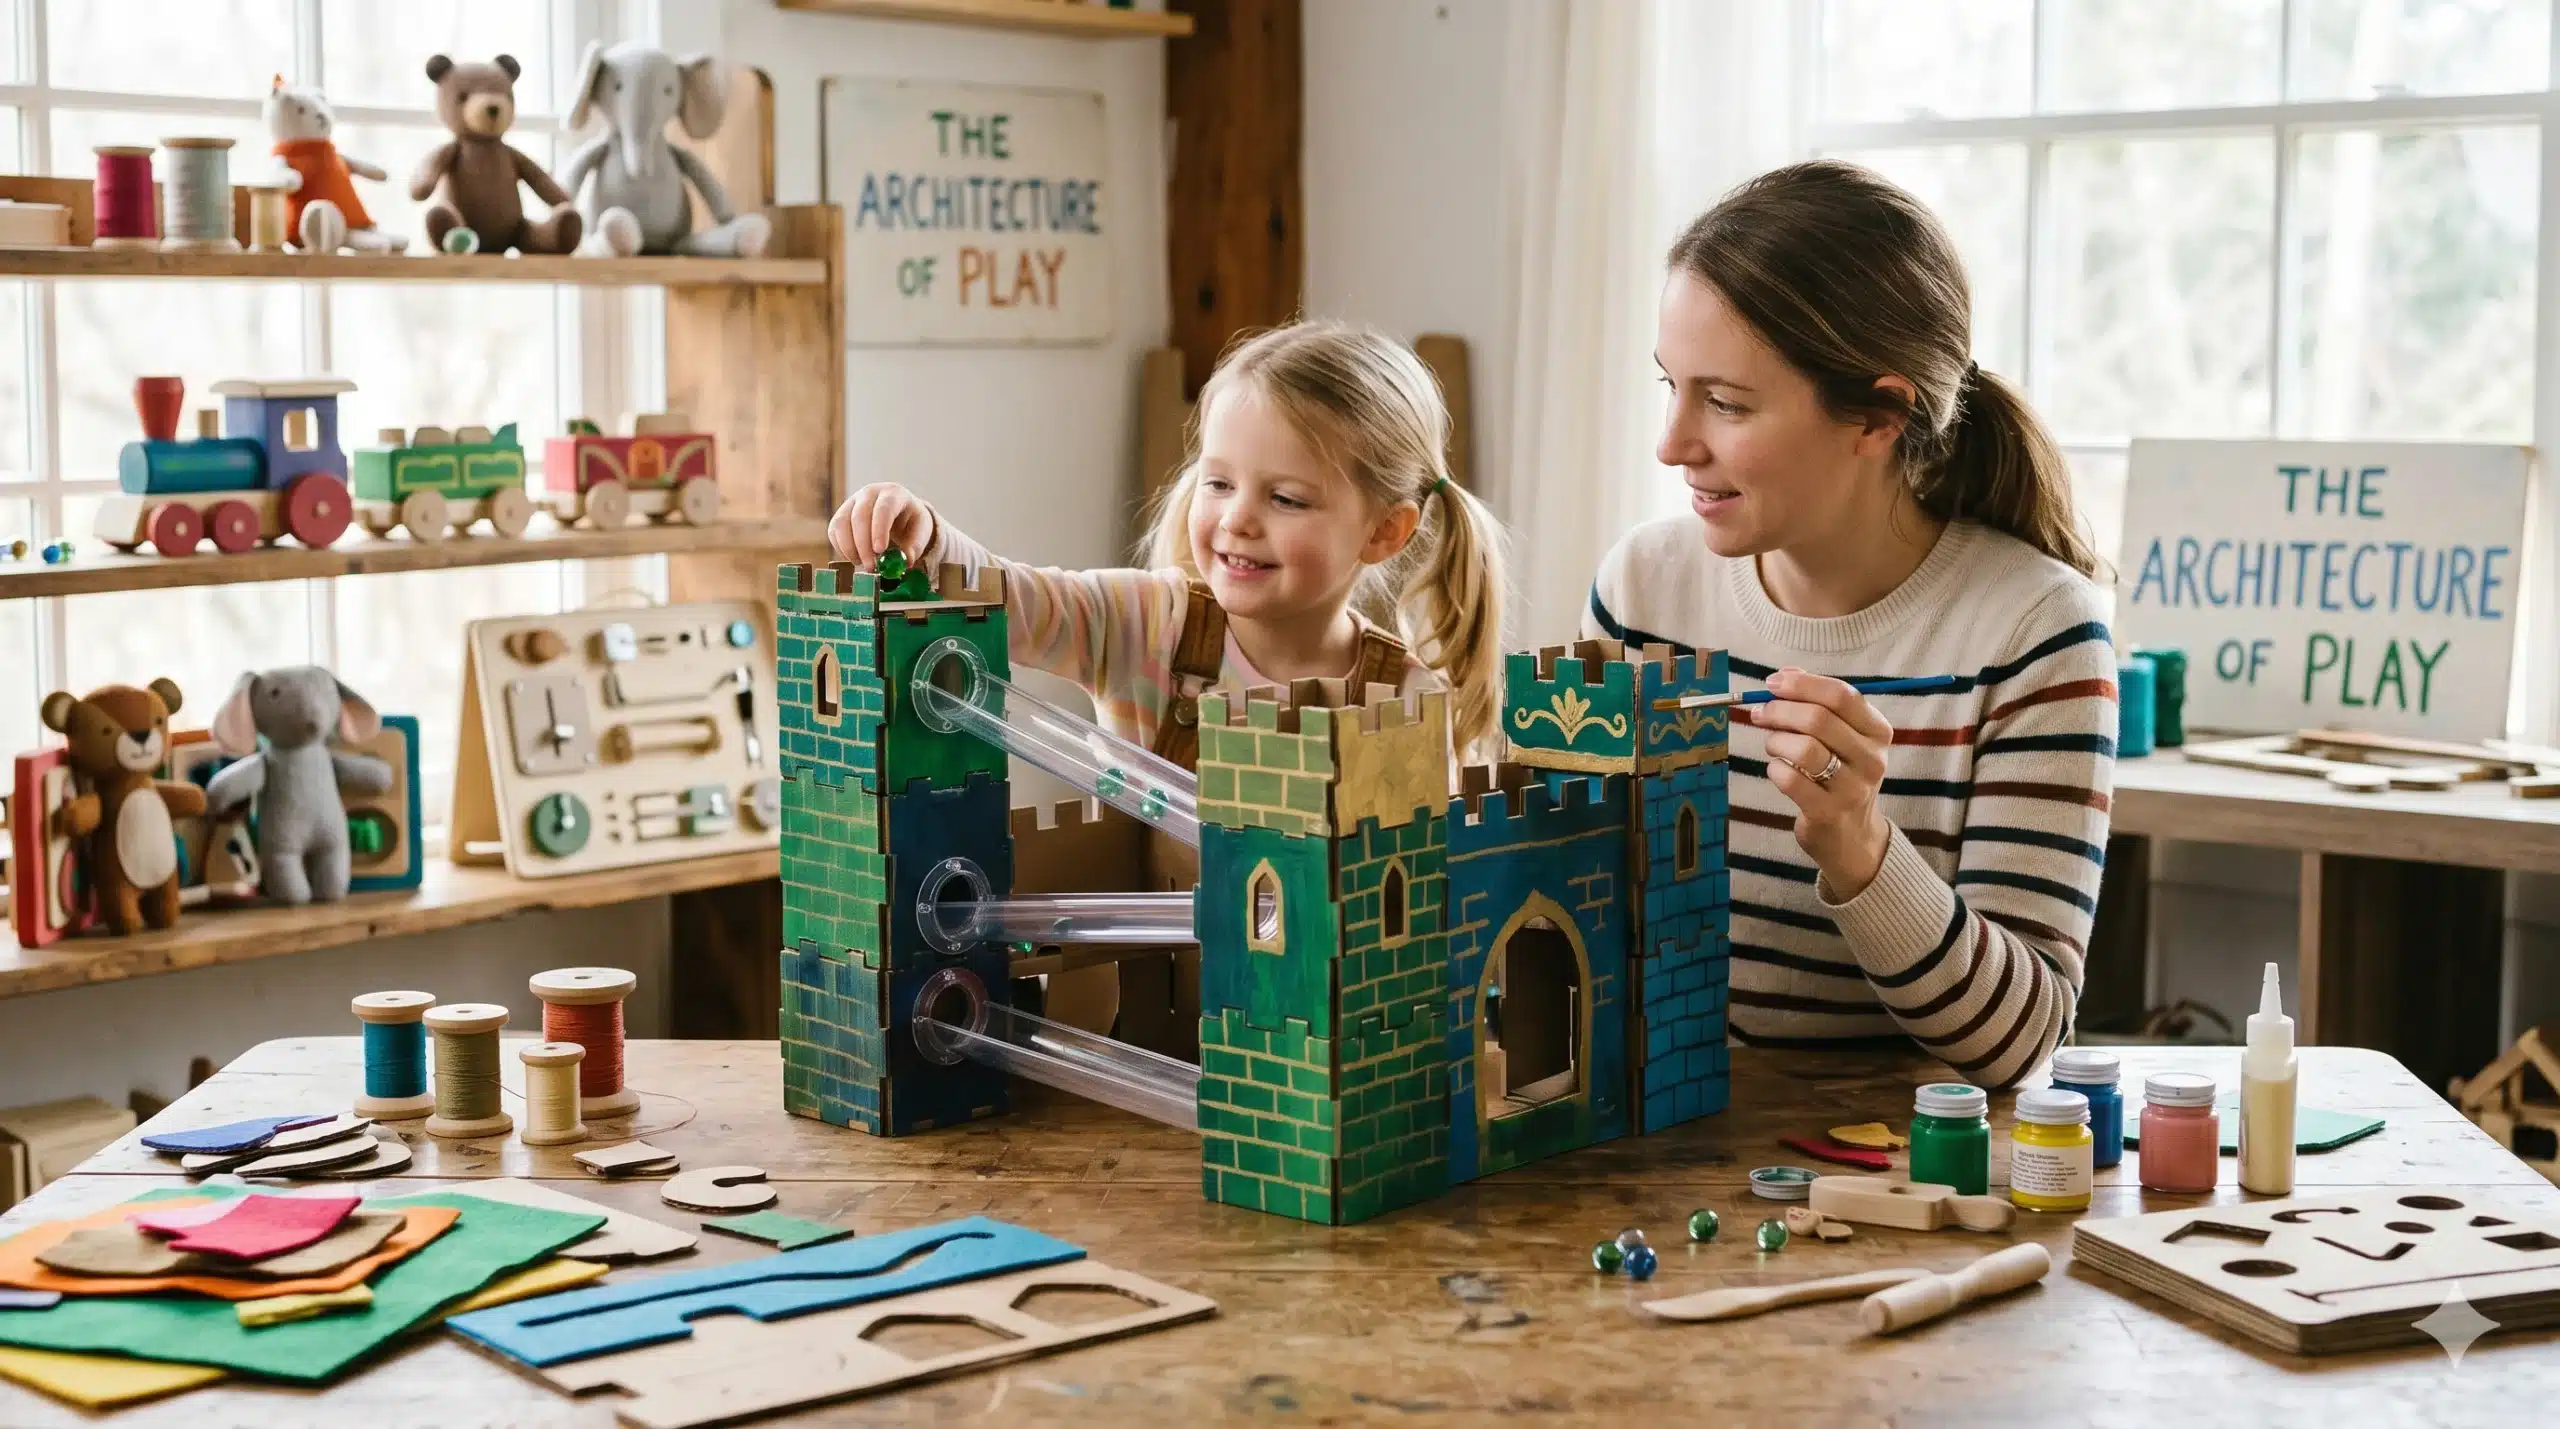
1. The Engineering of Cardboard: Modular Fortresses
Cardboard is the undisputed king of DIY materials. It is structural, lightweight, and carbon-neutral. To elevate a cardboard project from “trash” to “treasure,” one must focus on joinery and modularity.
The Project: The Reconfigurable Castle
Instead of taping a single box shut, create a system of panels that allows the child to redesign their environment.
- Materials: Triple-walled shipping boxes, a utility knife (adult use), heavy-duty hook-and-loop fasteners (Velcro), and non-toxic tempera paint.
- The Build: Cut the boxes into large, uniform flat panels (e.g., $24″ \times 36″$). On the edges of each panel, attach alternating strips of hook-and-loop fasteners.
- The Magic: By providing the child with “connectors,” they can build a tunnel one day and a vertical tower the next. This fosters spatial reasoning and gross motor development as they navigate the physical structures they’ve designed.
2. Sensory Mastery: The All-Season Mud Kitchen
Sensory play is the primary way young children process information about the physical world. A mud kitchen is a dedicated outdoor workspace where “mess” is framed as “scientific inquiry.”
The Build:
- The Base: Utilize an old wooden pallet or a low-profile coffee table. Sand the wood to a 220-grit finish to ensure there are zero splinters.
- The Wet Zone: Cut a circular hole in the surface to hold a stainless steel mixing bowl. This becomes the “sink.”
- The Heat Zone: Paint four black circles on the wood to represent stovetop burners. Use old bottle caps mounted on loose screws as “knobs” that actually turn.
- The Toolkit: Eschew plastic. Provide real thrifted whisks, ladles, and mortar and pestles.
Educational Value: As children mix sand (solid) and water (liquid), they are engaging in early chemistry. Measuring “ingredients” for a mud pie introduces the concepts of volume and ratio without the pressure of a classroom setting.
3. Kinetic Physics: The Magnetic Gravity Wall
Gravity is the first law of physics a child truly understands. A magnetic marble run allows them to manipulate that law in real-time.
Materials Needed:
- A large galvanized steel oil drip pan (available at hardware stores)
- Cardboard tubes (paper towel or mailing tubes)
- Strong neodymium magnets (carefully secured)
- Hot glue and marbles
The Construction:
Slice the cardboard tubes in half lengthwise to create open U-shaped tracks. Glue magnets to the back of each track. Mount the steel pan vertically on a wall at the child’s eye level.
The Challenge: Ask the child to create a path that takes the marble from the top left to the bottom right in exactly ten seconds. This forces them to experiment with friction, angles, and the $v = at$ principle of velocity. If the marble moves too fast, they must add “speed bumps” or decrease the incline.
4. Fine Motor Development: The “Busy” Board
For toddlers, the world is full of forbidden “adult” objects: locks, switches, and hinges. A high-quality busy board takes these tactile challenges and puts them in a safe, horizontal plane.
The Blueprint:
Mount a sanded piece of birch plywood to a wall. Attach a variety of hardware store finds:
- A gate latch and a slide bolt.
- A battery-operated “tap” light.
- A length of PVC pipe positioned vertically to drop pom-poms through.
- A caster wheel that spins.
Why it matters: This builds the pincer grasp and hand-eye coordination required for later skills like writing and buttoning clothes. It transforms “destructive” curiosity into constructive exploration.
5. Narrative Arts: The Shadow Theater
Storytelling is how children develop empathy and linguistic complexity. A shadow theater turns a bedroom into a cinematic experience.
The Build:
Cut the center out of a cereal box, leaving a thin frame. Tape a taut sheet of white parchment paper over the opening. Place a single LED light source (like a phone flashlight) behind the box.
The Puppets:
Cut silhouettes out of black cardstock—dragons, astronauts, or forest animals. Attach them to bamboo skewers.
The Science of Light: This project teaches children about light opacity and scale. As they move the puppet closer to the light source, the shadow grows; as they move it toward the screen, it becomes smaller and sharper. This is a hands-on introduction to the behavior of light waves.
The Quality Standard: Safety and Durability
To ensure these DIY playthings remain “high quality” and safe, adhere to these three pillars:
- The Choke Tube Test: If an object (or a part that could break off) fits inside a toilet paper roll, it is a choking hazard for children under three.
- Non-Toxic Finishes: Use food-grade mineral oil for wood and AP-certified non-toxic paints. Children explore with their mouths as much as their hands.
- Maintenance: Unlike plastic toys, DIY toys can be repaired. Include the child in the “fix-it” process to teach them about the lifecycle of objects and the value of stewardship.
Conclusion: Beyond the Object
The ultimate goal of a DIY toy is not just to keep a child occupied. It is to foster an internal locus of control. When a child plays with a castle they helped paint, or a marble run they engineered, they are receiving a subtle but powerful message: The world is understandable, it is malleable, and I am capable.