
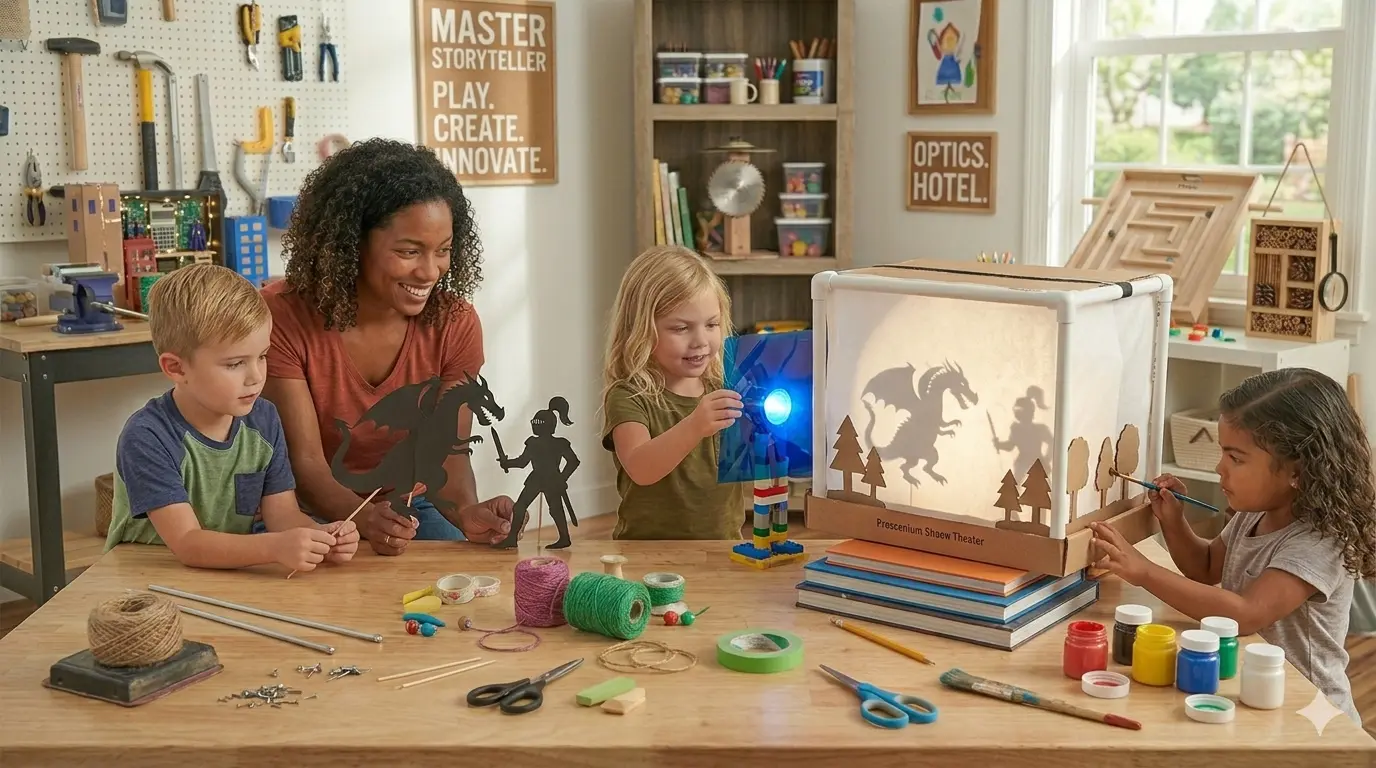
Throughout this series, we have mastered physics, biology, and engineering. Now, we conclude with the most ancient technology of all: Storytelling. A DIY shadow theater is a sophisticated plaything that combines optics, silhouette design, and narrative pacing.
By building a theater, children learn how light travels in straight lines and how the distance between a light source and an object determines the size and sharpness of a shadow. It is a masterclass in perspective and light diffusion.
1. Project: The Proscenium Shadow Theater
Target Skills: Structural stability, framing, and light diffusion.
A high-quality theater needs a frame that stands independently, allowing the child to focus on manipulating the puppets.
Materials You’ll Need:
- The Frame: A large, shallow cardboard box (like a pizza box or a laptop box).
- The Screen: White tissue paper, a thin white cotton scrap, or a sheet of parchment paper.
- The “Backstage” Light: A bright LED flashlight or a desk lamp.
The Build:
- The Window: Cut a large rectangular window out of the bottom of your box, leaving at least a 2-inch border for structural integrity.
- Stretching the Screen: Tape your parchment paper tightly across the inside of the window. Any wrinkles will distort the shadows, so keep the tension high.
- The Light Rig: Position your light source approximately 2–3 feet behind the screen. The light must be stationary; a DIY stand made of LEGOs or a stack of books works perfectly.
2. Project: Articulated Shadow Puppets
Target Skills: Silhouette anatomy, jointed linkages, and fine motor control.
Static puppets are fine, but “articulated” puppets—those with moving limbs—allow for much more expressive performances.
Materials You’ll Need:
- The Silhouette: Heavy black cardstock or cereal box cardboard painted black.
- The Joints: Tiny metal brads (paper fasteners) or small buttons and thread.
- The Control Rods: Bamboo skewers or stiff wire.
The Build:
- The Design: Draw the character in profile. For a moving arm, draw the torso and the arm as separate pieces.
- The Overlap: Ensure the joint has a significant overlap. Poke a hole through both pieces and insert the brad. It should be loose enough to swing but tight enough to hold a position.
- The Rod Attachment: Use a small piece of heavy-duty tape to attach the skewer to the puppet. One rod controls the body, and a second, thinner rod (or a string) controls the moving limb.
3. The Science of the Shadow (Inverse Square Law)
This is where the DIY plaything becomes a science experiment. The relationship between the object and the light source is governed by physics.
- Size: If the child moves the puppet closer to the light source, the shadow gets larger. If they move it closer to the screen, it gets smaller.
- Sharpness: The further the puppet is from the screen, the fuzzier the edges (the penumbra) become.
- The Math: You can explain that as the distance ($d$) from the light source increases, the intensity ($I$) of the light decreases:
$$I \propto \frac{1}{d^2}$$
4. Project: Scenery and “Atmospheric” Overlays
Target Skills: Layering, transparency, and color mixing.
To make a theater feel high-quality, you need depth. By using multiple layers of “scenery,” you create a 3D effect on a 2D screen.
The Technique:
- Foreground: Tape static silhouettes (trees, mountains, buildings) directly onto the parchment paper. These will always be sharp and dark.
- Midground: Place scenery on small stands an inch away from the screen. These will appear slightly softer.
- The Color Filter: Use colored cellophane over your flashlight to change the “time of day.” Blue for night, orange for a sunset.
5. The Performance Audit: Quality Control
A great performance requires a smooth “backstage” experience:
- Silence the Rods: If the bamboo skewers are visible, paint them black or use thin floral wire. This helps them “disappear” into the darkness.
- Light Leakage: Ensure no light escapes from the sides of the box. Use “blackout” tape (black duct tape) to seal any corners.
- The Script: Encourage the child to write a “Run of Show.” Who enters first? When does the music (from our DIY instruments!) start?
6. Conclusion: The Final Curtain
We have traveled through ten distinct realms of DIY creation. We have built for the hands, the feet, the eyes, and the ears. By ending with the shadow theater, we bring all these skills together. The child uses their engineering to build the frame, their electronics to light the stage, and their acoustic instruments to provide the soundtrack.