
We have built forts, robots, and sensory gardens, but one of the most powerful arenas for high-quality DIY play exists in the heart of the home: the kitchen. Kitchen engineering combines chemistry, biology, and physics, turning raw ingredients into “playable” experiments. High-quality food play isn’t just about making a snack; it’s about understanding the properties of matter and the joy of edible construction.
This installment focuses on DIY playthings that are safe to taste, fascinating to build, and scientifically significant.
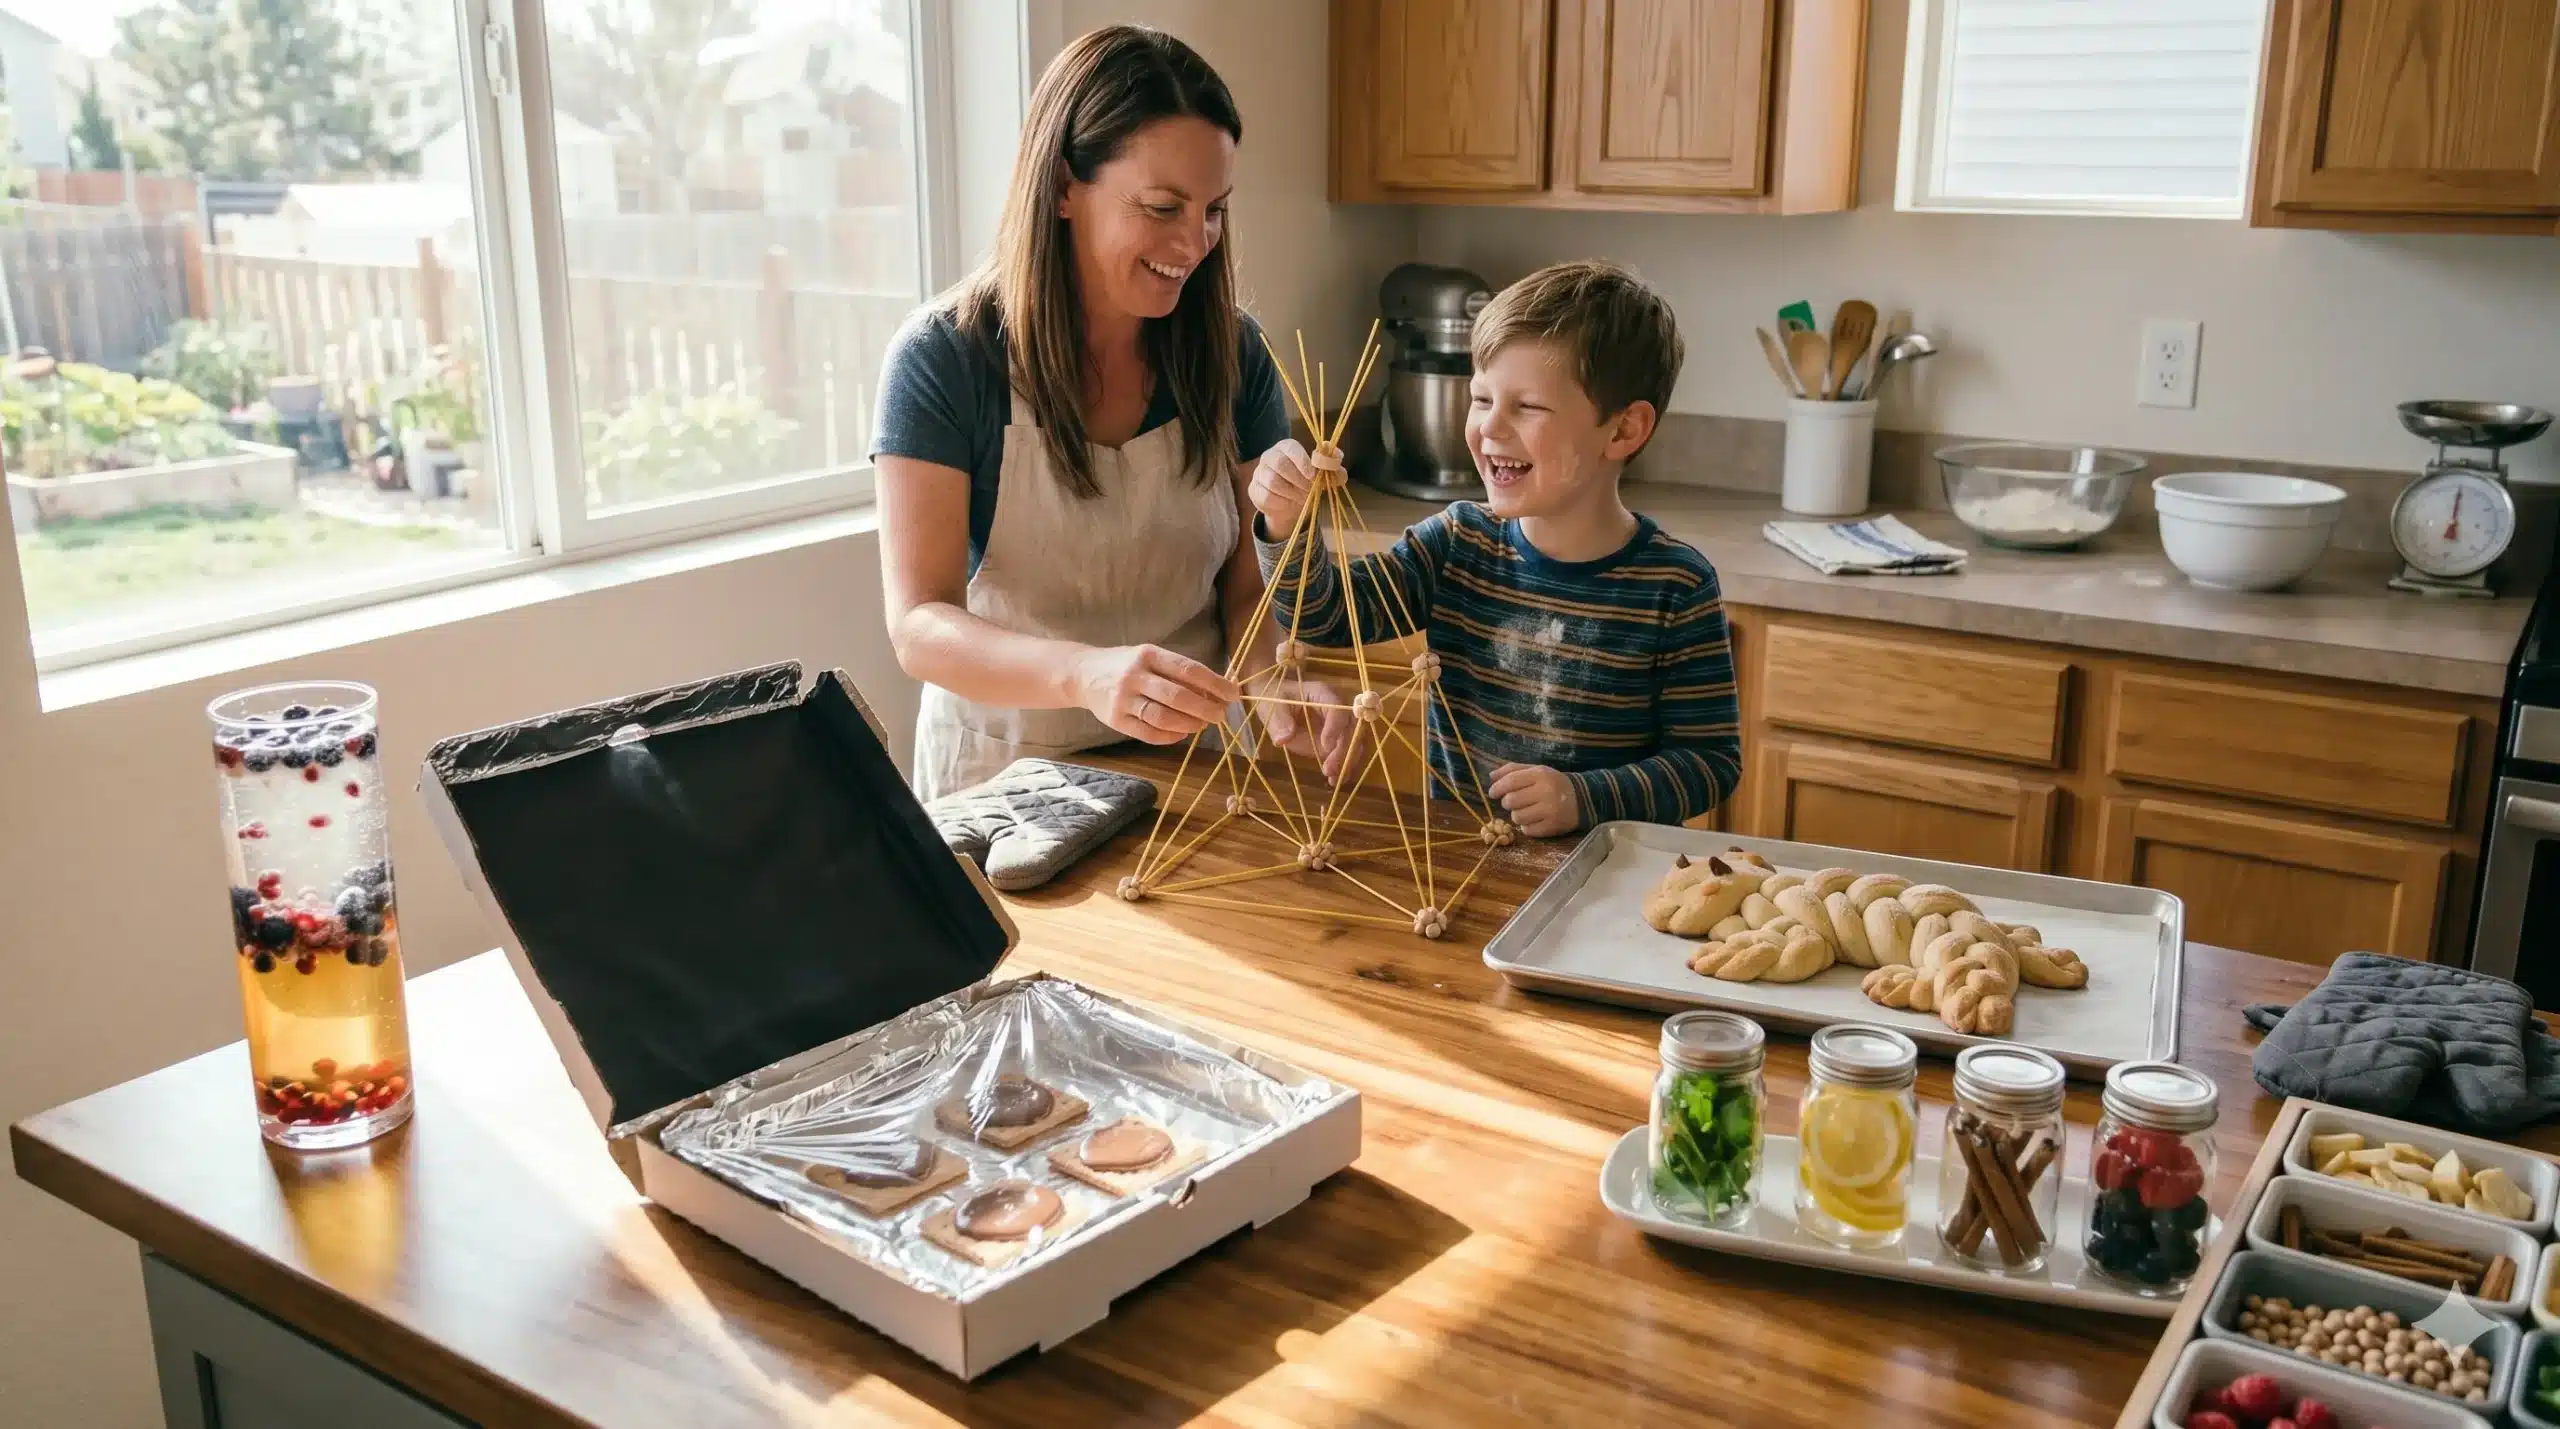
1. The Edible Structural Engineering Kit
Most building blocks are plastic or wood, but you can explore architectural integrity using geometry and edible “connectors.”
The Project: Molecular Marshmallow Towers
- The Beams: Use whole-wheat spaghetti (uncooked) or thin pretzel sticks. Pretzel sticks are sturdier for younger hands; spaghetti allows for more delicate, complex trusses.
- The Joints: Use mini-marshmallows, grapes, or small cubes of semi-hard cheese (like cheddar).
- The Challenge: Ask the child to build a structure that can support the weight of a single “heavy” strawberry at its apex. This introduces the concept of load-bearing points and the strength of the triangle over the square.
High-Quality Tip: Use “dried chickpeas” (soaked for an hour) as connectors for a healthier, more rigid alternative to marshmallows. They provide a firmer grip on the “beams,” allowing for much taller skyscrapers.
2. Kitchen Chemistry: The “Lava Lamp” Mocktail
Liquid density is a difficult concept to explain but a beautiful one to see. By creating an edible “lava lamp,” children learn about immiscibility (liquids that won’t mix) and carbonation.
The Build:
- The Base: A tall, clear glass filled 2/3 with a light-colored fruit juice (like apple or white grape).
- The Layer: Slowly pour in a layer of chilled sparkling water or club soda.
- The “Lava”: Drop in several frozen blueberries or pomegranate seeds.
- The Science: The bubbles from the carbonation attach to the textured surface of the fruit, acting like tiny life jackets that lift them to the top. When the bubbles pop at the surface, the fruit sinks back down.
3. DIY “Solar Oven” S’mores Station
This project moves play from the kitchen counter to the backyard, using the power of the sun to perform a phase change (turning solid chocolate into liquid).
The Engineering:
- The Box: A pizza box or a cardboard box lined with aluminum foil. The foil acts as a reflector.
- The Insulation: Line the bottom with black construction paper. Black surfaces absorb heat (thermal energy) rather than reflecting it.
- The Seal: Cover the opening with plastic wrap to create a “greenhouse effect,” trapping the heat inside.
- The Play: Place graham crackers, chocolate, and marshmallows inside. Position the box in direct sunlight and use a thermometer to track the temperature rise. It’s a lesson in renewable energy you can eat.
4. The “Artisanal” Bread Sculpture (Edible Dough)
While we previously made playdough with salt and cream of tartar, “Baker’s Clay” or standard bread dough offers a different high-quality experience: it changes state through heat.
The Project: Salt-Dough Keepsakes vs. Yeast Biology
- Option A (Permanent): Use a high-salt dough (2 parts flour, 1 part salt, 1 part water). Shape it into ornaments or “fossils.” Bake at a low temperature (100°C) until rock hard.
- Option B (The Living Dough): Use a standard yeast bread recipe. Observe the dough “growing.” This is a biological reaction—the yeast is a living organism consuming sugar and releasing $CO_2$ gas.
- The Sculpture: Challenge the child to braid the dough or create a “bread monster.” The final product is a lesson in fermentation and volume.
5. The “Flavor Lab”: DIY Infusion Station
Taste is a chemical sense. A “Flavor Lab” allows children to engineer their own custom scents and tastes using botanical “loose parts.”
Setting Up the Lab:
- The Vessels: Small glass jars or clear spray bottles.
- The Bases: Plain water, sparkling water, or a neutral oil.
- The Infusions: Fresh mint, lemon slices, cinnamon sticks, berries, and cucumber.
- The Experiment: Encourage the child to create “potions.” Does the water taste different after ten minutes? What about after an hour? This introduces diffusion—the process by which molecules move from an area of high concentration (the fruit) to low concentration (the water).
Culinary Safety and Standards
When play involves ingestion, the quality standards are even higher:
- Sanitation: The “workspace” must be treated like a lab. Hands washed, surfaces sanitized.
- Temperature Awareness: Use the solar oven or the indoor oven as a teaching tool for heat safety. Explain why we use oven mitts in terms of thermal conduction.
- Allergy Integrity: Ensure all DIY kits are tailored to the specific dietary needs of the group, using gluten-free flours or seed-based “connectors” where necessary.
Summary of Culinary Concepts
| Project | Scientific Concept | Primary “Tool” | Skill Level |
| Marshmallow Towers | Structural Integrity | Tension / Compression | Easy |
| Lava Mocktail | Density / Buoyancy | Carbonation ($CO_2$) | Easy |
| Solar Oven | Thermal Absorption | Reflection / Insulation | Medium |
| Yeast Sculpting | Biology / Fermentation | Microorganisms | Medium |
| Flavor Lab | Molecular Diffusion | Botanical Infusion | Easy |
Final Thoughts
The kitchen is the ultimate DIY workshop. By treating ingredients as “parts” and recipes as “blueprints,” we bridge the gap between a daily chore and a scientific discovery. These edible creations remind children that the world is made of molecules they can manipulate, taste, and transform. High-quality food play doesn’t end with a full stomach; it ends with a child who looks at a bowl of flour or a piece of fruit and sees a thousand possibilities for invention.