
As we conclude this exploration of high-quality DIY play, we turn to the science of spatial representation. Throughout this series, we have mastered the physical world through construction and the biological world through taxonomy. Now, we learn to describe the world through Cartography. Mapping is a high-level cognitive exercise that requires a child to translate three-dimensional space into two-dimensional symbols—a foundational skill for geometry, navigation, and even game level design.
This guide focuses on building the tools of a navigator to help children “code” their environment into a map.
1. The DIY “Sighting” Compass and Alidade
Before you can draw a map, you must be able to measure direction. A high-quality DIY compass introduces the concept of magnetism and angular measurement.
The Build:
- The Needle: A sewing needle magnetized by stroking it against a strong neodymium magnet.
- The Housing: A shallow wooden bowl filled with water (the “liquid compass” method) or a balanced pivot on a cork.
- The Alidade (Sighting Ruler): A flat wooden ruler with two vertical “sights” (made of paperclips or notched wood) at either end.
- The Science: By aligning the alidade with a distant landmark (like a specific tree), the child can measure the angle relative to “Magnetic North.”
2. The “Pacing” Surveyor’s Chain
In professional surveying, distances must be precise. Since we don’t always have a 100-foot tape measure, we engineer a Surveyor’s Chain based on the child’s own stride.
Engineering the Measurement:
- The Unit: Measure the child’s average “pace” (two steps).
- The Chain: Create a 10-pace rope using colorful paracord.
- The Markers: Tie a knot or attach a wooden bead at every “pace” interval.
- The Interaction: The child uses this “analog computer” to measure the perimeter of the backyard or the distance between “biomes” in their play area.
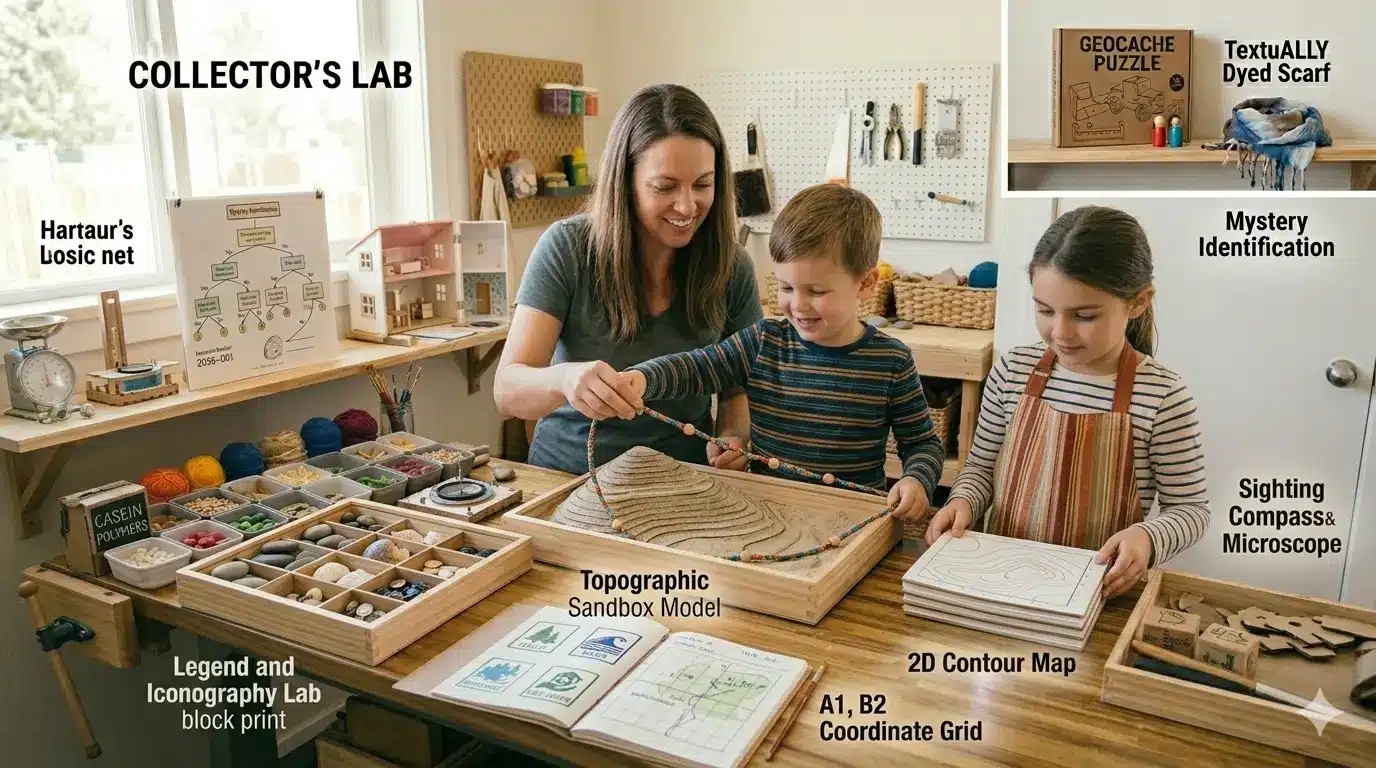
3. The “Topographic” Sandbox Model
Understanding 2D maps is easier when you start with a 3D model. This project connects our previous “Sand Pit” engineering with Topography (the study of elevation).
The Build:
- The Model: Build a mountain range in the sandbox.
- The “Slice”: Use a thin wire to “cut” horizontal layers through the sand mountain at 2-inch intervals.
- The Transfer: Lay a piece of paper over each slice and trace the perimeter.
- The Result: When the papers are stacked, they create a Contour Map. The child sees that lines close together represent a steep hill, while lines far apart represent a flat plain.
4. The “Legend” and Iconography Lab
Mapping is a form of visual communication. A high-quality map needs a “Legend”—a dictionary of symbols that translate the physical world into a “graphic language.”
The Creative Logic:
- Abstracting Reality: How do we represent a “Zombie Outbreak” zone vs. a “Safe Haven”?
- The Key: Use the “Symmetrical Block Prints” technique from our Mindfulness article to create consistent stamps for “Forest,” “Water,” and “Structure.”
- The Grid: Teach the child to draw a Coordinate Grid (A1, B2, etc.) over their map. This is the physical precursor to understanding X and Y coordinates in digital game development.
5. The “Blue-Print” Cyanotype Map
To make the map feel like a permanent, high-quality document, use the Cyanotype (Sun Print) process. This is a 19th-century photographic technique that produces striking white-on-blue images.
The Process:
- The Paper: Use pre-treated cyanotype paper.
- The Layout: Place “loose parts” (leaves for forests, pebbles for mountains, string for rivers) directly onto the paper.
- The Exposure: Set it in direct sunlight for 10 minutes.
- The Wash: Rinse in water to fix the image.
The result is a “Blue-Print” of their world that looks like a professional architectural document.
Cartographic Standards and Logi
- Perspective Shift: Encourage the child to imagine they are a bird looking down (Plan View). This shift in perspective is a major cognitive milestone.
- Orientation: Every map must have a “North Arrow.” This anchors the drawing to the real world.
- Scale: Introduce a simple scale (e.g., “One bead on the string equals 5 steps”).
Summary of Cartography Concepts
| Project | Spatial Concept | Mathematical Skill | Focus |
| Sighting Compass | Bearing / Direction | Geometry & Angles | Navigation |
| Surveyor’s Chain | Linear Distance | Estimation & Ratios | Measurement |
| Contour Model | Elevation / 3D to 2D | Spatial Mapping | Topography |
| Legend Lab | Semiotics / Symbols | Coding & UX | Communication |
| Cyanotype Map | Reproduction | Chemical Reaction | Documentation |
Final Thoughts: Navigating the FutureWe have built a world, and now we have mapped it. High-quality DIY play is a cycle that begins with curiosity and ends with mastery. By mapping their environment, children learn that the world is a place that can be explored, understood, and shared with others. They are no longer just walking through a space; they are navigating a system.
As a digital entrepreneur, you know that a “User Journey” is just a map of a person’s experience. How would you explain to your child that a map isn’t just about where you are, but about where you plan to go?
As we conclude this exploration of high-quality DIY play, we turn to the science of spatial representation. Throughout this series, we have mastered the physical world through construction and the biological world through taxonomy. Now, we learn to describe the world through Cartography. Mapping is a high-level cognitive exercise that requires a child to translate three-dimensional space into two-dimensional symbols—a foundational skill for geometry, navigation, and even game level design.
This guide focuses on building the tools of a navigator to help children “code” their environment into a map.
1. The DIY “Sighting” Compass and Alidade
Before you can draw a map, you must be able to measure direction. A high-quality DIY compass introduces the concept of magnetism and angular measurement.
The Build:
- The Needle: A sewing needle magnetized by stroking it against a strong neodymium magnet.
- The Housing: A shallow wooden bowl filled with water (the “liquid compass” method) or a balanced pivot on a cork.
- The Alidade (Sighting Ruler): A flat wooden ruler with two vertical “sights” (made of paperclips or notched wood) at either end.
- The Science: By aligning the alidade with a distant landmark (like a specific tree), the child can measure the angle relative to “Magnetic North.”
2. The “Pacing” Surveyor’s Chain
In professional surveying, distances must be precise. Since we don’t always have a 100-foot tape measure, we engineer a Surveyor’s Chain based on the child’s own stride.
Engineering the Measurement:
- The Unit: Measure the child’s average “pace” (two steps).
- The Chain: Create a 10-pace rope using colorful paracord.
- The Markers: Tie a knot or attach a wooden bead at every “pace” interval.
- The Interaction: The child uses this “analog computer” to measure the perimeter of the backyard or the distance between “biomes” in their play area.
3. The “Topographic” Sandbox Model
Understanding 2D maps is easier when you start with a 3D model. This project connects our previous “Sand Pit” engineering with Topography (the study of elevation).
The Build:
- The Model: Build a mountain range in the sandbox.
- The “Slice”: Use a thin wire to “cut” horizontal layers through the sand mountain at 2-inch intervals.
- The Transfer: Lay a piece of paper over each slice and trace the perimeter.
- The Result: When the papers are stacked, they create a Contour Map. The child sees that lines close together represent a steep hill, while lines far apart represent a flat plain.
4. The “Legend” and Iconography Lab
Mapping is a form of visual communication. A high-quality map needs a “Legend”—a dictionary of symbols that translate the physical world into a “graphic language.”
The Creative Logic:
- Abstracting Reality: How do we represent a “Zombie Outbreak” zone vs. a “Safe Haven”?
- The Key: Use the “Symmetrical Block Prints” technique from our Mindfulness article to create consistent stamps for “Forest,” “Water,” and “Structure.”
- The Grid: Teach the child to draw a Coordinate Grid (A1, B2, etc.) over their map. This is the physical precursor to understanding X and Y coordinates in digital game development.
5. The “Blue-Print” Cyanotype Map
To make the map feel like a permanent, high-quality document, use the Cyanotype (Sun Print) process. This is a 19th-century photographic technique that produces striking white-on-blue images.
The Process:
- The Paper: Use pre-treated cyanotype paper.
- The Layout: Place “loose parts” (leaves for forests, pebbles for mountains, string for rivers) directly onto the paper.
- The Exposure: Set it in direct sunlight for 10 minutes.
- The Wash: Rinse in water to fix the image.
The result is a “Blue-Print” of their world that looks like a professional architectural document.
Cartographic Standards and Logi
- Perspective Shift: Encourage the child to imagine they are a bird looking down (Plan View). This shift in perspective is a major cognitive milestone.
- Orientation: Every map must have a “North Arrow.” This anchors the drawing to the real world.
- Scale: Introduce a simple scale (e.g., “One bead on the string equals 5 steps”).
Summary of Cartography Concepts
| Project | Spatial Concept | Mathematical Skill | Focus |
| Sighting Compass | Bearing / Direction | Geometry & Angles | Navigation |
| Surveyor’s Chain | Linear Distance | Estimation & Ratios | Measurement |
| Contour Model | Elevation / 3D to 2D | Spatial Mapping | Topography |
| Legend Lab | Semiotics / Symbols | Coding & UX | Communication |
| Cyanotype Map | Reproduction | Chemical Reaction | Documentation |
Final Thoughts: Navigating the FutureWe have built a world, and now we have mapped it. High-quality DIY play is a cycle that begins with curiosity and ends with mastery. By mapping their environment, children learn that the world is a place that can be explored, understood, and shared with others. They are no longer just walking through a space; they are navigating a system.
As a digital entrepreneur, you know that a “User Journey” is just a map of a person’s experience. How would you explain to your child that a map isn’t just about where you are, but about where you plan to go?