
There is something inherently magical about the mystery of dinosaurs. From the towering heights of the Brachiosaurus to the fierce reputation of the Tyrannosaurus Rex, these prehistoric giants have captured the imaginations of children for generations. One of the most iconic moments in cinema history—and a favorite for many young dino-enthusiasts—is the laboratory scene in Jurassic Park where a baby raptor slowly cracks through its shell.
While we can’t hop into a time machine to visit the Mesozoic Era or witness a real-life hatching in a high-tech lab, we can do the next best thing! This Easy Dinosaur Egg Hatch Craft allows kids to recreate that moment of discovery right at the kitchen table. It’s an interactive, moving craft that serves as a perfect companion to a lesson on fossils, evolution, or prehistoric history.
Why Kids Love Interactive Dinosaur Crafts
Static crafts are wonderful for display, but interactive crafts like this hatching egg provide hours of “play value.” Because the dinosaur actually moves in and out of the shell, it encourages:
- Storytelling and Roleplay: Kids can narrate the birth of their dinosaur and imagine its first steps in a prehistoric world.
- Understanding Biology: It provides a tactile way to explain that dinosaurs, like modern birds and reptiles, were oviparous (egg-laying) animals.
- Fine Motor Coordination: Using brad pins and popsicle sticks requires precision and helps strengthen the small muscles in the hands.
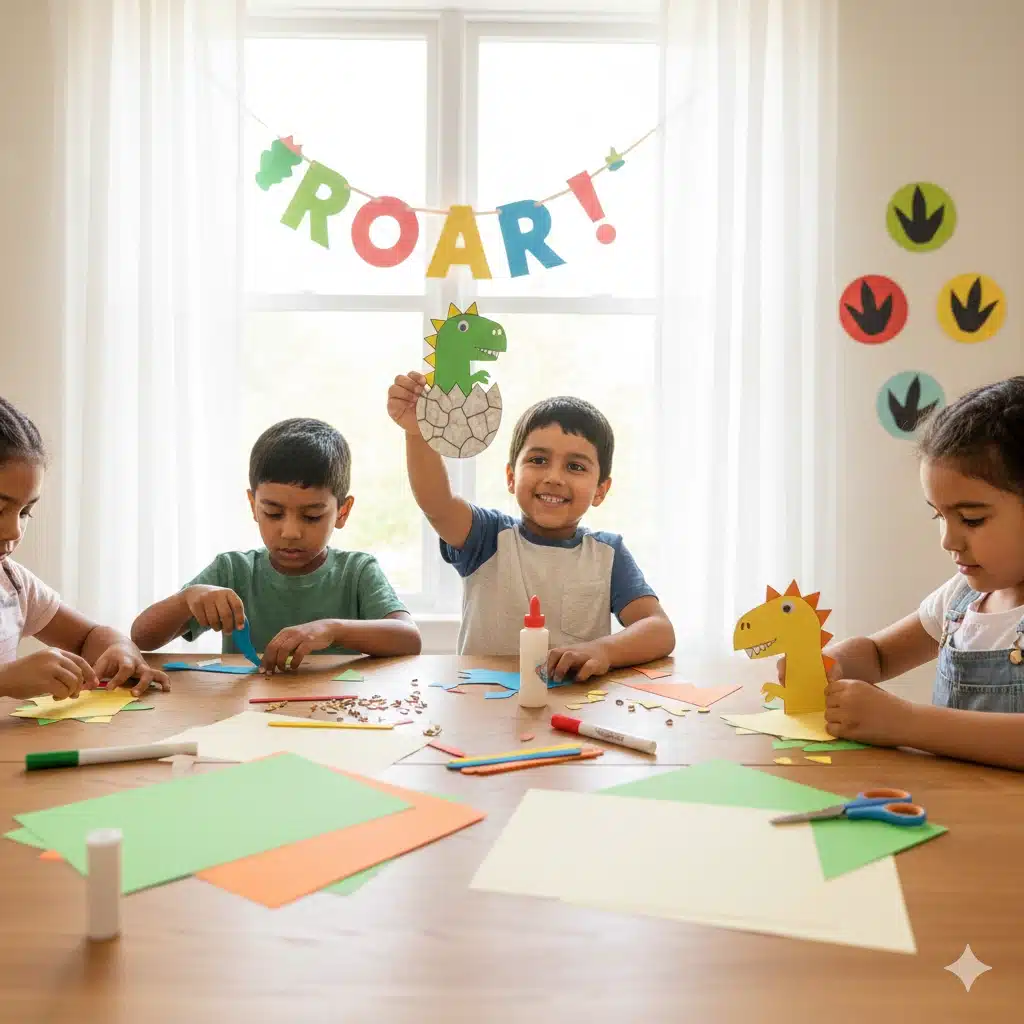
Supplies You’ll Need
Before you start your prehistoric excavation, gather these basic craft supplies. Most of these are likely already in your “boredom buster” bin!
| Item | Purpose |
| Colored Craft Papers | For the dinosaur (green/orange) and the egg (white/cream). |
| Popsicle Sticks | To create the “lever” that makes the dinosaur hatch. |
| Brad Pin (Paper Fastener) | To create the hinge for the cracking egg. |
| Pencil & Sharpies | For tracing templates and adding facial details. |
| Scissors | To cut out the egg and dinosaur components. |
| Craft Glue | To assemble the dinosaur’s body parts. |
Step-by-Step Instructions: How to Build Your Hatching Dino
1. Prepare Your Templates
First, download and print the dinosaur egg hatch craft template. This template is designed to make the process foolproof. It includes:
- A whole egg (for the background).
- Two egg halves (the “cracked” shell).
- Individual dinosaur parts: Head, body, belly, arms, and those famous prehistoric spines.
2. Assemble Your Baby Dinosaur
Choose your favorite colors for your dinosaur. Many kids love a classic emerald green, but who’s to say dinosaurs weren’t bright orange or purple?
- Glue the belly piece onto the main body.
- Attach the head to the neck and add the small arms.
- Don’t forget the spines! Glue them along the back for that authentic “stegosaurus” or “raptor” look.
- Use a Sharpie to draw a wide, curious eye and perhaps a little smile.
3. Prepare the Hatching Mechanism
Take a sturdy popsicle stick and glue the bottom of your completed dinosaur to the top of the stick. Ensure it is centered so the dinosaur stays upright when it “grows.”
4. Construct the Cracked Egg
Take your two egg halves. You want them to look like they’ve just been burst open. You can use a pair of pinking shears or just cut a “zigzag” line across the middle to create the cracked effect.
- Place the two halves over the whole background egg.
- Using a brad pin, fasten the two halves at the bottom corner. This allows the shell to “swing” open.
5. Bringing it to Life
Slide the popsicle stick (with the dinosaur attached) behind the cracked shell pieces but in front of the background egg.
- Now, when you push the popsicle stick up, your baby dinosaur “emerges” from the shell!
- When you pull it down, it hides safely back inside for its nap.
Educational Integration: The Mesozoic Era
This craft isn’t just a toy; it’s a gateway to learning. While the glue is drying, you can talk to your kids about the three periods of the Mesozoic Era:
- Triassic Period: When the first dinosaurs and mammals appeared.
- Jurassic Period: The “Golden Age” of giants like the Diplodocus.
- Cretaceous Period: When the T-Rex reigned supreme and the first flowering plants began to grow.
You can also discuss Paleontology. Ask your child: “If this egg turned into a fossil, what would a scientist find millions of years from now?” This helps them transition from “crafting” to “scientific thinking.”
Tips for a “Dino-Mite” Crafting Experience
- Texture the Egg: Use a sponge and some brown paint to “fleck” the eggshell, giving it a realistic, stony texture.
- Sparkle and Shine: If you’re making a “Fantasy Dino,” don’t be afraid to add some glitter to the spines or the shell.
- Sturdiness Matters: If you plan on playing with this craft frequently, consider using cardstock instead of regular paper. It will hold up much better to the “hatching” action.
- Safety First: If you are working with very young children, an adult should handle the placement of the brad pin, as it requires piercing the paper.
Comparison: Hatching Craft vs. Standard Collage
| Feature | Hatching Egg Craft | Regular Paper Collage |
| Engagement Level | High (Interactive) | Moderate (Visual) |
| Difficulty | Medium | Easy |
| Key Skill | Engineering & Mechanics | Composition & Color |
| Playability | Can be used for theater/stories | Mostly for display |
This dinosaur egg hatch craft is a fantastic way to spend a rainy afternoon. It combines the thrill of “monsters” with the satisfaction of building something that actually works. Whether you’re a teacher looking for a classroom project or a parent looking for a weekend activity, this craft is sure to be a “roaring” success!
Would you like me to find some fun dinosaur facts to print out and stick to the back of your craft, or perhaps help you design a “Dino-themed” invitation for a birthday party?