What is your immediate reaction when you think of a bat? For many, the instinct is to run or hide! It is true that bats have had a bit of a “bad reputation” in pop culture, often associated with spooky haunted houses, vampires, and recent global events. However, these nocturnal creatures are actually fascinating, crucial members of our ecosystem, and—believe it or not—can be incredibly cute!
This October, we have the perfect excuse to celebrate these winged wonders. not only is it the season of Halloween, but October is also officially Bat Appreciation Month. It is a happy coincidence that allows us to combine spooky fun with educational opportunities.
If you are looking for a simple, low-mess, and adorable activity to do with your children or students, look no further. This Handprint Bat Paper Craft is a fantastic way to create a personalized keepsake while getting into the holiday spirit. With just a few basic craft supplies and a pair of little hands, you are all set to create a colony of friendly bats!
Why We Love Handprint Crafts
Before we dive into the tutorial, let’s talk about why handprint crafts are a staple in the world of DIY parenting and teaching.
They are Time Capsules: Children grow up faster than we care to admit. One day their hands are tiny, and the next, they are bigger than yours. This bat craft serves as a snapshot in time, preserving the size of their little hands for years to come.
Fine Motor Skills: Tracing a hand requires patience and steadiness. Cutting out the intricate shapes of fingers helps refine scissor skills and hand-eye coordination.
Personal Ownership: Because the “wings” are made from their own hands, children feel a strong sense of ownership and pride in the final result. No two bats will look exactly alike because no two hands are exactly alike!
Bat Appreciation Month: Learning Before Crafting
To make this activity truly enriching, we recommend pairing the craft with a mini-lesson about bats. Here are a few fun facts you can share with your kids while you set up the supplies:
Pest Control Heroes: A single little brown bat can eat up to 1,000 mosquitoes in a single hour. They are nature’s bug zappers!
Not Blind: The phrase “blind as a bat” is actually a myth. Bats can see quite well, but they rely on echolocation (using sound waves) to navigate in the dark.
Mammals with Wings: Bats are the only mammals that are capable of true flight.
Recommended Reading List
To set the mood, try reading one of these fantastic children’s books before starting your project. They are perfect for demystifying bats and making them less scary.
“Stellaluna” by Janell Cannon: A heartwarming classic about a fruit bat who gets separated from her mother and is raised by birds. It’s a beautiful story about friendship, identity, and accepting differences.
“Bats” (National Geographic Kids Readers) by Elizabeth Carney: If your child prefers facts over fiction, this book is packed with stunning photography and cool information suitable for young readers.
“Nightsong” by Ari Berk: A touching story about a young bat named Chiro sending out his “song” to find his way in the world. It’s a great introduction to the concept of echolocation.
“The Truth about Bats” (The Magic School Bus) by Eva Moore: Ms. Frizzle takes the class on a wild ride to debunk common myths about bats. Perfect for science-loving kids.
“Booker the Library Bat” by Jess Brallier: A fun narrative about a bat who lives in a library and loves to read.
The Handprint Bat Paper Craft Tutorial
Now, let’s get to the fun part! This craft is designed to be easy, meaning you likely have everything you need in your drawer already.
Supplies Required:
Thick Colored Craft Paper or Cardstock: You will need Black (for the body and wings), White (for eyes and fangs), and Pink (for the inner ears and cheeks). You can also use purple or grey if you want a more colorful bat!
Pencil: For tracing the hands.
Scissors: A kid-safe pair for the little ones and a sharper pair for adults to help with details.
Craft Glue: A glue stick works best for paper, but liquid school glue works too (just let it dry longer).
Black Sharpie or Marker: For drawing the mouth and pupils.
Optional: Googly eyes (if you want to skip the paper eyes).
Step-by-Step Instructions:
Step 1: Trace the “Wings”
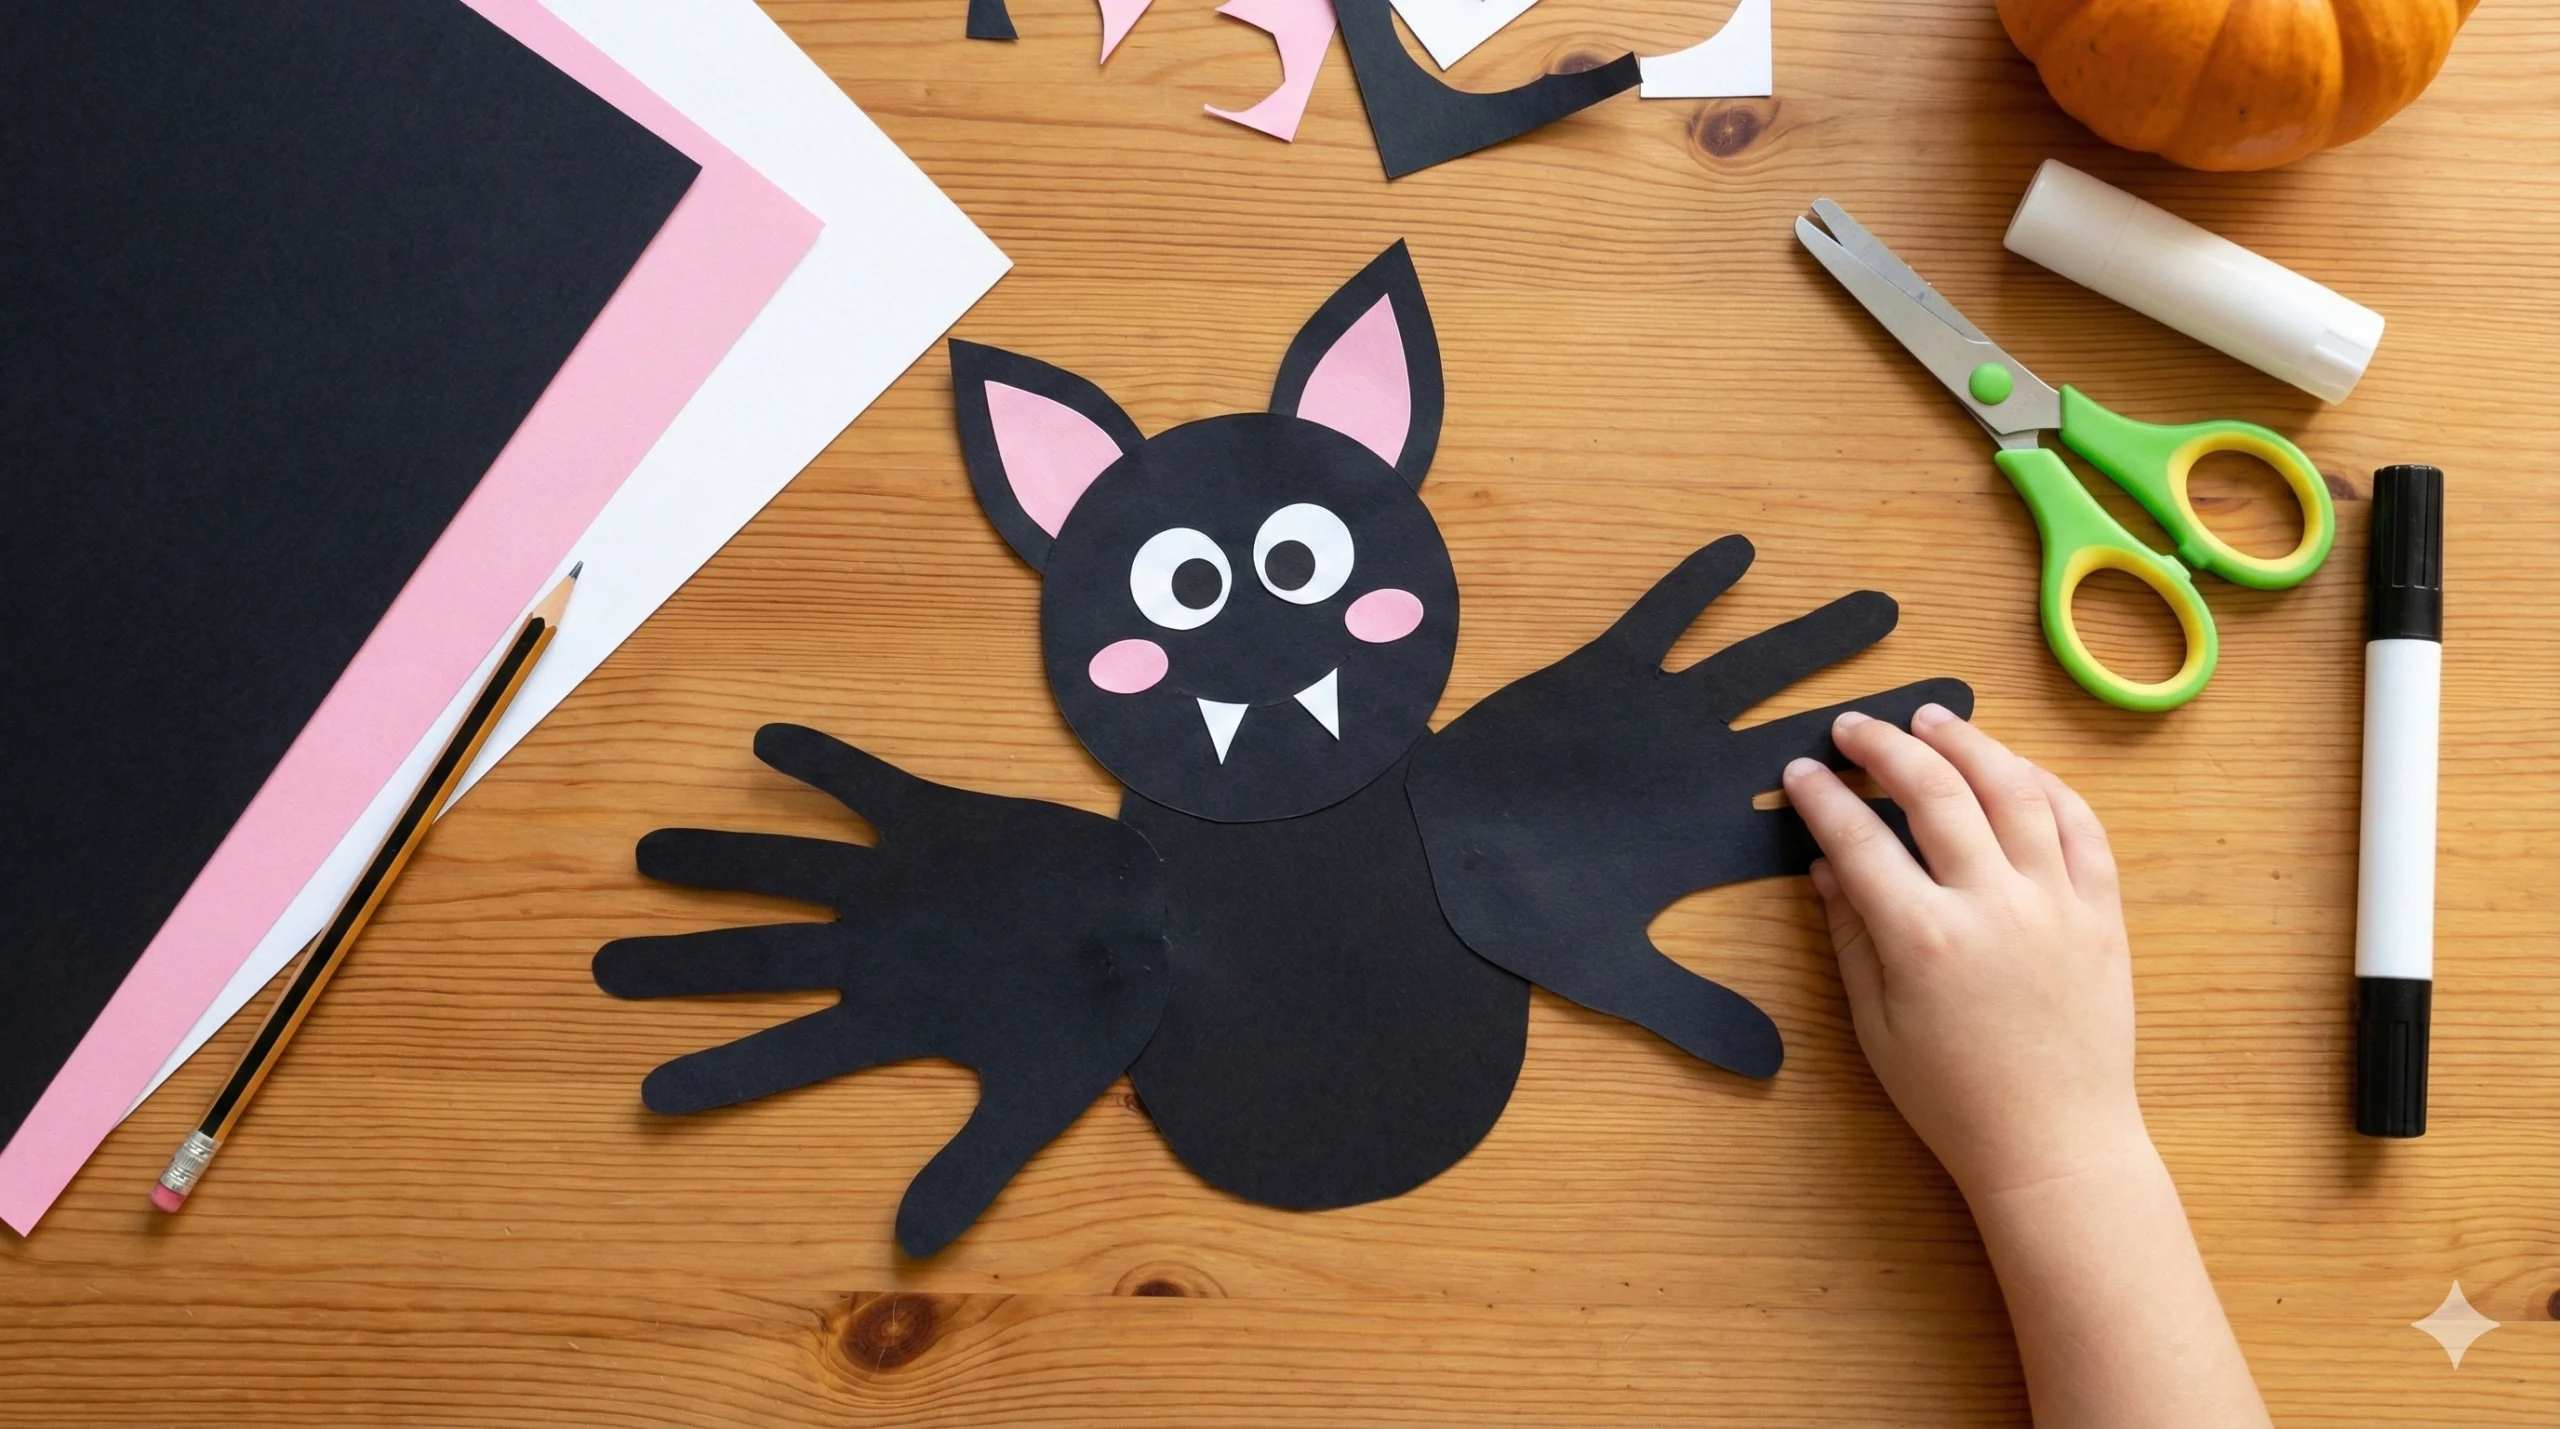
The most important part of this craft is the wings. Take a sheet of black cardstock or construction paper. Have your child place their hand flat on the paper, spreading their fingers out slightly. This spread is important because the fingers will mimic the boned structure of a bat’s wing.
Tip: Use a pencil to trace around the hand and fingers. If you use a white pencil or crayon on black paper, it is much easier to see the lines for cutting!
Repeat this with the other hand so you have a left and a right wing.
Step 2: Cut Out the Shapes
Carefully cut out the two handprints. This is great practice for kids learning to use scissors, but help them navigate around the tricky spots between the fingers. Next, you will need to create the bat’s body. You can draw a simple oval shape with two pointy ears at the top on your black paper.
Note: If you don’t want to freehand the body, you can find many free printable bat templates online, or simply draw a figure-eight shape (a smaller circle for the head and a larger one for the body).
Step 3: Prepare the Facial Features
Now, let’s bring the bat to life with some personality!
Inner Ears: Cut two small triangles out of the pink paper. These should be slightly smaller than the ears on your black body cutout.
Eyes: Cut two circles out of the white paper. They can be large and cartoonish for a cute look, or smaller for a realistic look.
Cheeks: Cut two small ovals from the pink paper.
Fangs: Cut two tiny, sharp triangles from the white paper.
Step 4: Assemble the Face
Glue the pink inner ear triangles onto the pointy black ears of the body. Next, glue the white eye circles onto the upper half of the face. Using your Black Sharpie, draw large dots inside the white circles to create the pupils.
Design Tip: Where you place the pupils changes the expression! Put them in the center for a surprised look, or cross-eyed for a silly look.
Glue the pink cheeks below the eyes, and attach the white fangs near where the mouth will be. Finally, use the Sharpie or a white gel pen (if drawing on black paper) to draw a simple smile connecting the fangs.
Is it just me, or does this bat look a little like the black cat Jiji from Kiki’s Delivery Service? The resemblance is uncanny!
Step 5: Attach the Wings
This is the final assembly. Take your body cutout and flip it over. Apply glue to the palm area of your black handprints. Attach the handprints to the back of the body so that the fingers are pointing outward and slightly upward.
Crucial Step: Make sure the thumbs are pointing up. This creates the little “hook” that real bats have on the top of their wings!
Creative Variations to Try
Once you have mastered the basic bat, try these variations to keep the kids entertained:
The Hanging Bat: Instead of gluing the handprints pointing out, glue them pointing in, as if the bat is wrapping its wings around itself to sleep. Punch a hole in the bottom of the body, tie a string, and hang it upside down!
The Glitter Bat: Use a sponge to dab a little bit of purple or silver glitter glue onto the handprints before assembling. This makes for a magical, sparkly Halloween decoration.
The Greeting Card: Instead of a single layer body, fold a piece of black paper in half and cut the body shape on the fold (leaving the top of the head connected). Glue the handprints to the back. Now you have a bat card that opens up! You can write “Hanging out with you is fun!” or “Have a Spook-tacular Halloween!” inside.
Final Thoughts
This Handprint Bat Paper Craft is more than just a way to kill time on a rainy October afternoon. It is an opportunity to teach children about the natural world, dispel myths about scary animals, and create a piece of art that celebrates their growth.
Whether you are a teacher decorating a classroom door or a parent looking to spruce up the fridge for Halloween, these little bats are sure to bring smiles rather than screams. So, grab your scissors and glue, and let’s make some memories this Halloween!