
In this final deep dive into the world of purposeful play, we move from rigid structures and electronic circuits into the soft, pliable realm of textile engineering. While “plushies” and cloth toys are often seen as simple comfort objects, building them from scratch is a sophisticated exercise in geometry, topology, and material stress.
When a child designs a fabric toy, they are learning how to transform 2D planes into 3D volumes—the core principle of everything from fashion design to aerospace upholstery. This article explores how to craft high-quality, durable, and unique “soft” playthings using sustainable textiles and mechanical joinery.
1. Project: The “Topological” Geometric Plush
Target Skills: 3D spatial reasoning, pattern drafting, and volume calculation.
Instead of a flat, two-piece “pillow” toy, this project teaches children how to create a Sphere or a Cube from flat fabric. This is a masterclass in how shapes occupy space.
Materials You’ll Need:
- The Fabric: Scraps of heavy cotton, felt, or old denim (sturdy fabrics are easier for beginners).
- The Stuffing: Shredded fabric scraps (zero-waste) or wool roving.
- The Tools: Fabric chalk and a “safety” needle with embroidery floss.
The Build:
- The Pattern: Draw six identical squares (for a cube) or four equilateral triangles (for a pyramid).
- The Seam Allowance: Explain that the toy will be smaller than the paper pattern because of the “seam.” This introduces the concept of Tolerance in engineering.
- The Assembly: Sew the pieces together on the “wrong” side, leaving one small gap.
- The Inversion: Turn the shape inside out. Watch the child’s amazement as the flat pieces suddenly become a 3D object.
- The Math: For older children, calculate the volume ($V$) of their new toy:
$$V_{cube} = s^3$$
(Where $s$ is the length of one side. The more they stuff it, the closer it gets to its theoretical maximum volume!)
2. Project: The “Weighted” Sensory Companion
Target Skills: Deep pressure therapy, gravitational awareness, and tactile grounding.
Weighted toys are often used to help children with anxiety or sensory processing needs. Building one allows the child to customize the “heaviness” to their own comfort level.
Materials You’ll Need:
- The Fill: Cleaned cherry pits, dried lentils, or polished river stones.
- The Inner Liner: A sturdy “pouch” made from a tight-weave fabric (to prevent leaks).
- The Outer Skin: Soft, textured fabrics like corduroy or faux fur.
The Build:
- The Internal Baffles: Instead of one big bag of weight, sew “channels” or “pockets” into the liner. This ensures the weight is distributed evenly across the child’s lap rather than bunching in one corner.
- The 10% Rule: Explain that for safety, a weighted toy should generally not exceed 10% of the child’s body weight. This is a great lesson in Ratios and Percentages.
- The Closure: Use a heavy-duty “ladder stitch” to close the final seam, ensuring the toy can withstand being dragged or hugged tightly.
3. Project: The Kinetic “Sock-O-Saurus” (Cable-Controlled Puppet)
Target Skills: Tension linkages and puppetry mechanics.
Using the string-and-straw mechanics from our Upcycled Wardrobe article, we can turn a simple sock into a complex, moving character.
Materials You’ll Need:
- The Base: A long, thick hiking sock.
- The Mouth: Two pieces of stiff cardboard or thin plastic (cut from a lid).
- The Mechanism: Fishing line and two plastic rings.
The Build:
- The Jaw: Glue the cardboard semi-circles inside the “toe” of the sock to create a rigid mouth.
- The Trigger: Attach a fishing line to the “lower jaw.” Run the line down the inside of the sock and out through a small hole at the wrist.
- The Action: When the child pulls the ring on the string, the puppet’s mouth snaps shut, demonstrating Mechanical Tension.
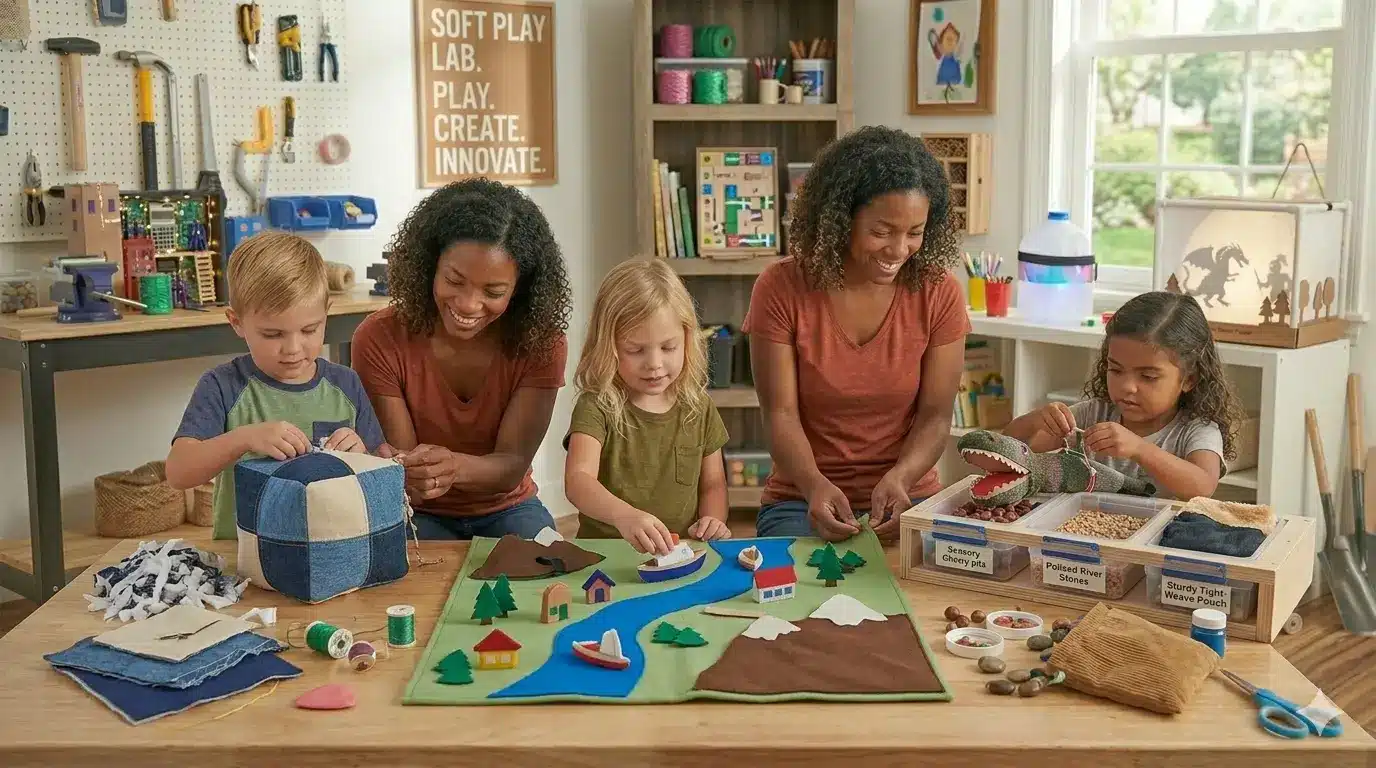
4. Project: The “Living Stitch” Interactive Wall Map
Target Skills: Geography, Velcro-mechanics, and storytelling.
This is a large-scale fabric project that serves as a “base” for all other toys. It’s a 4ft x 4ft felt sheet that represents a landscape (forests, oceans, cities).
Materials You’ll Need:
- The Base: A large piece of heavy felt or a fleece blanket.
- The “Loose Parts”: Smaller felt shapes (trees, houses, boats) with Velcro “hook” tape on the back.
The Build:
- The Landscape: Use fabric glue to create permanent features like a blue river or a brown mountain.
- The Interaction: Because felt naturally clings to the “hook” side of Velcro, the child can move their 3D plushies and puppets across the landscape, creating a Tactile Narrative.
- The Organization: Sew a large pocket at the bottom of the map to hold all the “loose parts” when playtime is over.
5. The Textile Audit: Durability and Hygiene
Soft toys are “high-contact” items. To keep them high-quality, follow these maintenance rules:
- Stress Testing: Pull on the limbs and eyes of the plushie. If you hear “cracking” thread, the stitch length is too long. Aim for small, tight stitches.
- The Wash Test: Always pre-wash your fabrics. This prevents the toy from shrinking or “bleeding” colors the first time it gets dirty.
- No-Choke Features: For younger siblings, replace plastic “safety eyes” with embroidered eyes made of thread.
6. Conclusion: The Soft Power of DIY
Throughout this masterclass series, we have treated play as a serious endeavor. We have built with steel, wood, light, and now, thread. Crafting “soft” playthings isn’t just about making something cuddly; it is about understanding how to manipulate flexible materials to fulfill a human need for comfort and narrative.