
When the weather turns or the outdoors are out of reach, the four walls of a home can either feel like a cage or a canvas. For a child, the transition from “active play” to “indoor play” often results in a slump toward digital entertainment. However, by applying a bit of DIY engineering and intentional design, you can transform ordinary household items into complex, high-quality play systems that engage both the muscles and the mind.
This article focuses on “Playful Sanctuaries”—large-scale, DIY indoor projects that encourage movement, spatial reasoning, and deep immersion.
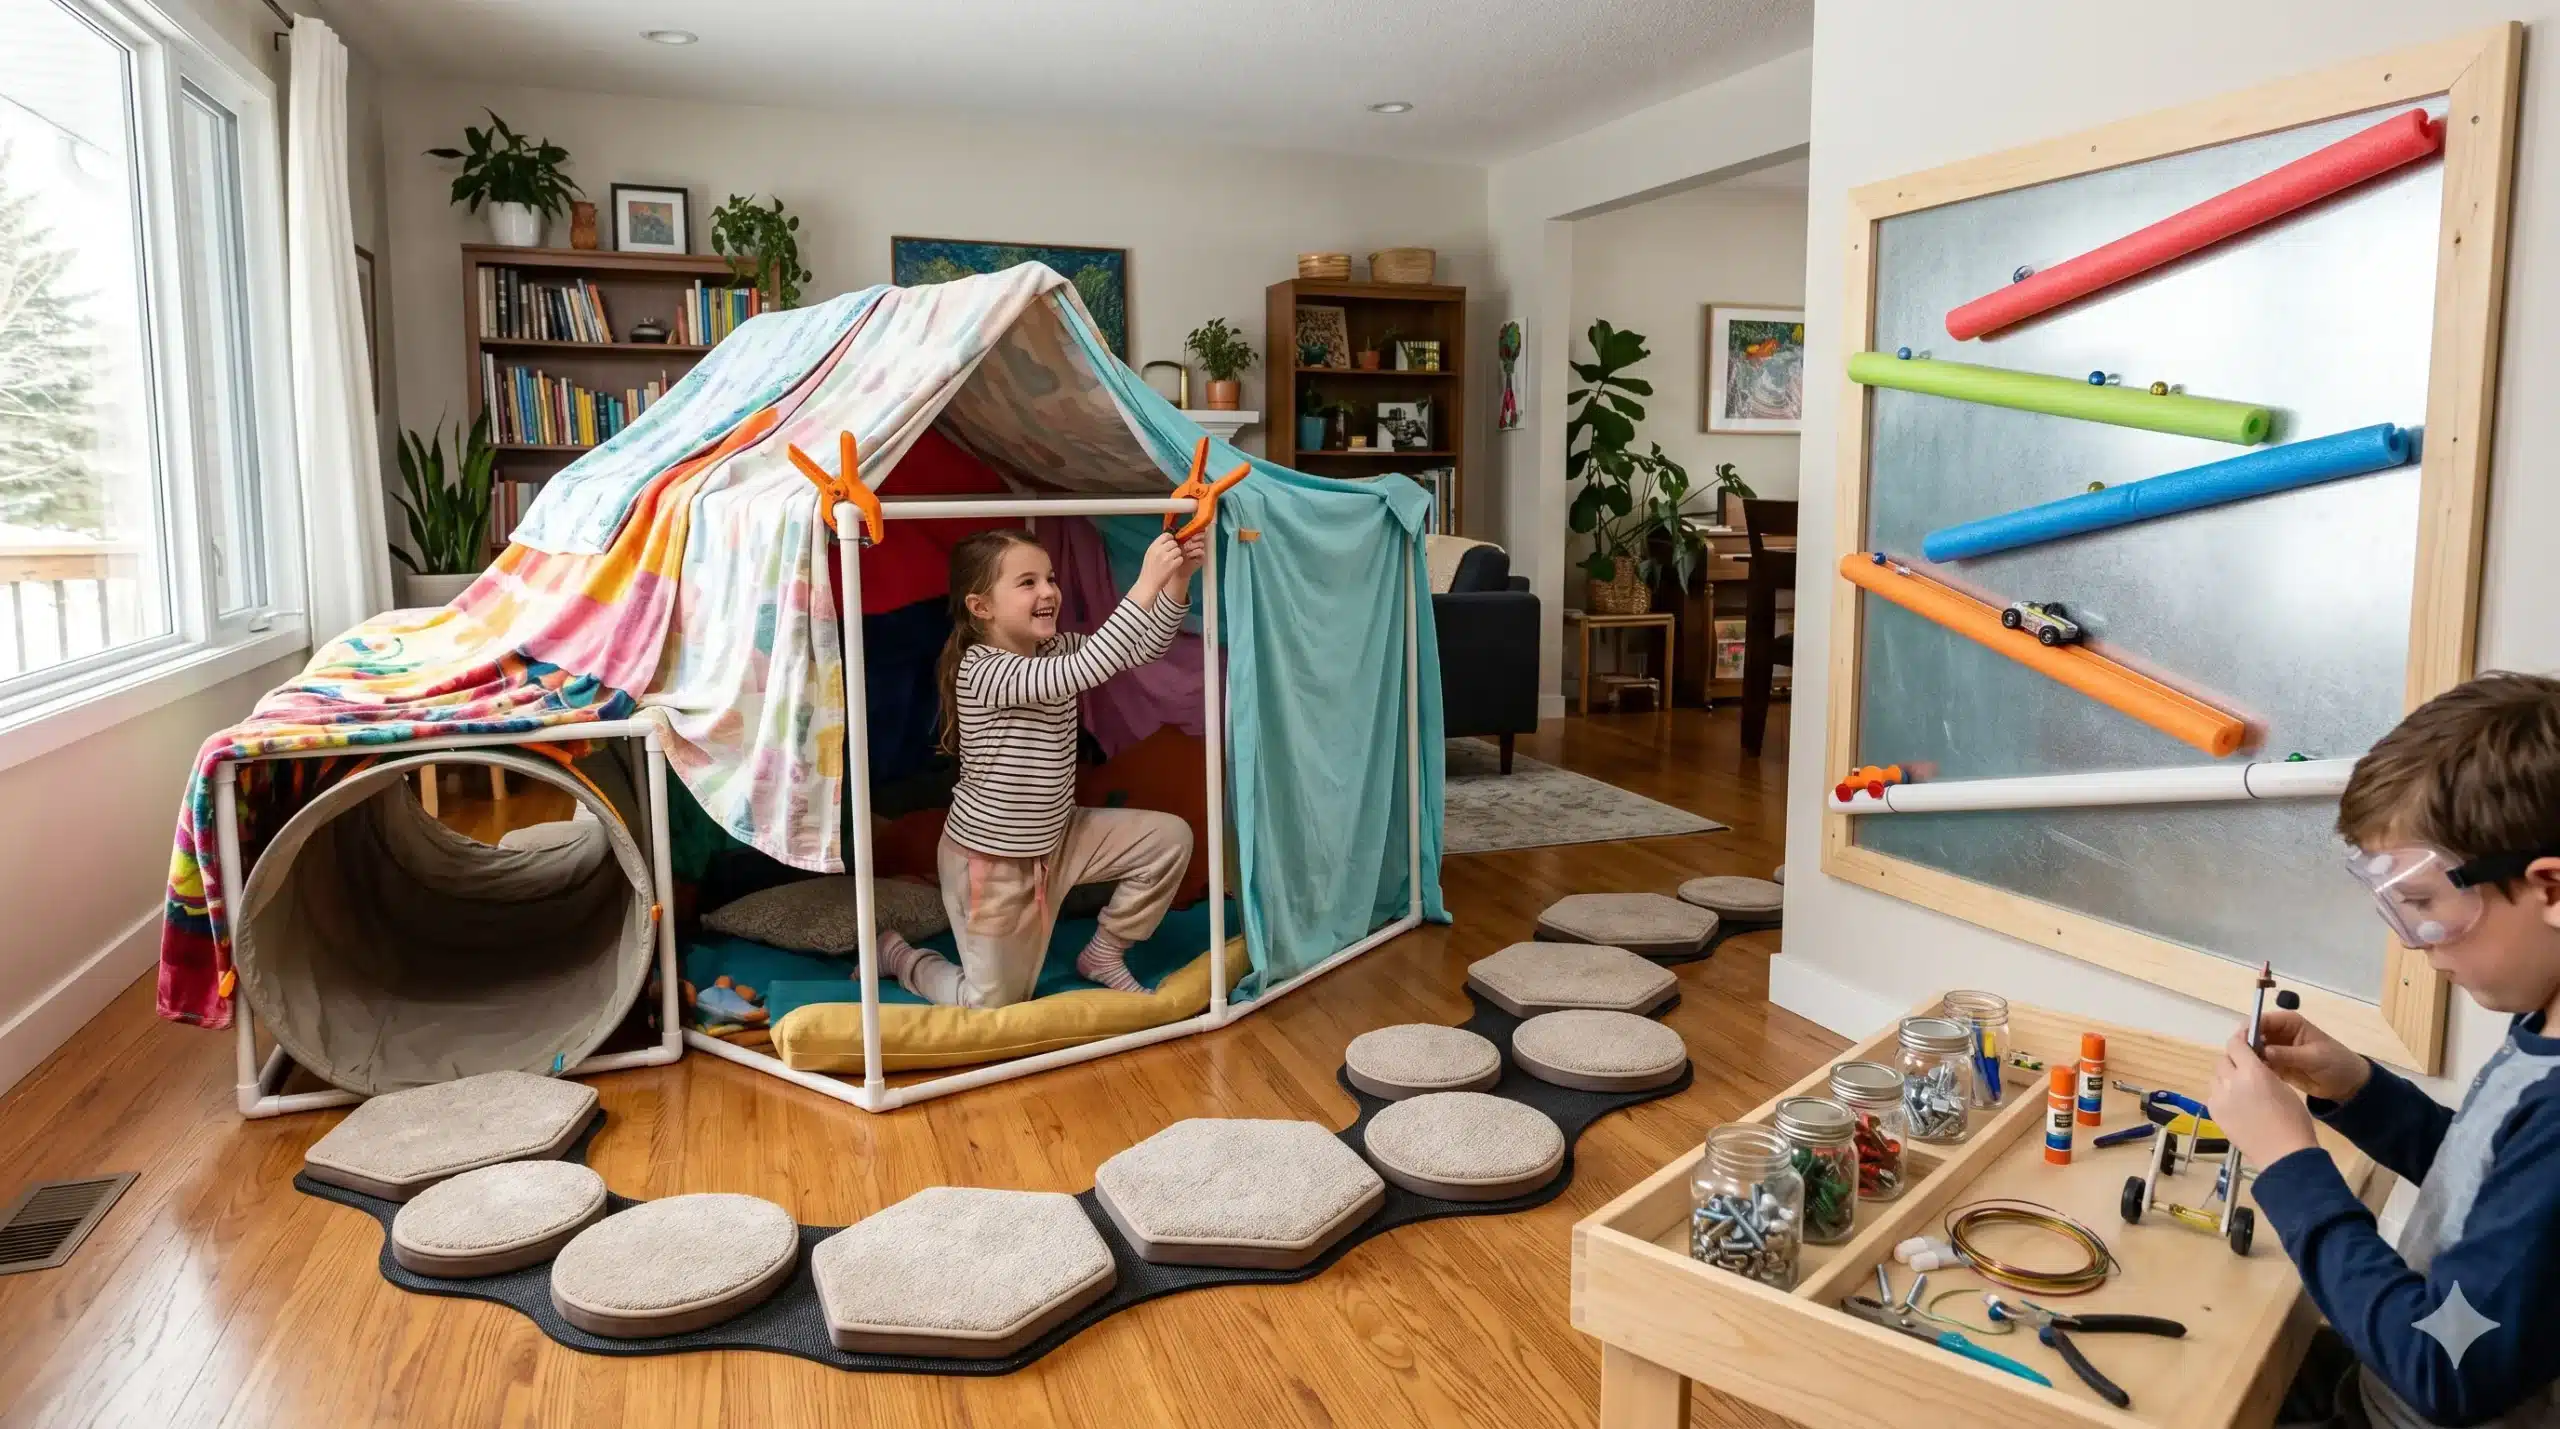
1. The “Architect’s Fort”: Beyond the Blanket and Couch
Every child builds a blanket fort, but a high-quality DIY fort system introduces structural integrity and architectural choice. Instead of struggling with blankets that slip off chairs, we can create a “Fort Skeleton.”
The Project: PVC or Bamboo Space-Frame
- The Materials: 1/2-inch PVC pipes (cut into 3-foot and 4-foot lengths) and various connectors (T-joints, elbows, and 4-way crosses). For a more sustainable look, use bamboo poles and heavy-duty rubber bands for “lashing.”
- The Upgrade: Instead of heavy quilts, use clamping sets. Large plastic “pony clamps” from a hardware store allow children to tightly secure lightweight bedsheets to the frame without the frustration of falling fabric.
- Play Value: This isn’t just a place to sit; it’s an engineering challenge. Can they build a tunnel? A two-room mansion? A tower? By providing a consistent frame, the focus shifts from “keeping it up” to “designing the space.”
2. The Living Room “Lava” Parkour Course
Indoor play often lacks the “gross motor” (big movement) challenge found at playgrounds. You can bridge this gap by creating durable, non-slip balance components that are easy to store.
The Project: Padded “Stepping Stones”
- The Base: Cut circles or hexagons out of 3/4-inch plywood or heavy MDF.
- The Grip: Glue a layer of non-slip shelf liner or rubber matting to the bottom. This is the “high-quality” touch that prevents sliding on hardwood floors.
- The Surface: Staple scrap carpet or upholstery fabric over a thin layer of foam on the top.
- The Layout: Scatter these across the room. The goal is to navigate from one side to the other without touching the floor.
Scientific Insight: Balance play stimulates the vestibular system, which is crucial for a child’s sense of spatial orientation and even their ability to sit still and focus later in the day.
3. The “Infinite Track” Wall
If your child loves cars, trains, or marbles, the floor is often too small for their grand visions. By moving the track to the wall, you introduce the element of verticality and save your shins from being stepped on.
The DIY Magnetic Raceway
- The Canvas: Mount a large sheet of galvanized steel (available at most hardware stores) to a playroom wall. Ensure the edges are sanded or framed with wood trim to prevent cuts.
- The Track: Cut flexible magnetic strips and glue them to the back of split pool noodles or plastic rain gutters.
- The Interaction: Because the tracks are magnetic, the child can constantly rearrange the “slope” and “pitch” of the raceway.
This setup allows for experiments in acceleration and friction. Why does a heavy die-cast car fly off the curve while a plastic one stays on? The wall becomes a living laboratory.
4. The Shadow Theater: Storytelling in the Dark
High-quality play isn’t always about movement; sometimes it’s about the quiet magic of light and shadow. A DIY Shadow Theater is a sophisticated way to encourage literacy and public speaking.
Construction Steps:
- The Frame: Use a large, sturdy picture frame (glass removed) or a wooden crate with the bottom knocked out.
- The Screen: Stretch a piece of white cotton fabric (an old pillowcase works perfectly) tightly across the frame and staple it in place.
- The Backlight: Position a single, bright desk lamp about 3 feet behind the screen.
- The Puppets: Instead of buying them, provide black cardstock, wooden skewers, and a pair of scissors.
The High-Quality Difference: Add a “curtain” made of velvet or heavy fabric to the front of the frame. This simple aesthetic addition transforms a craft into a performance space, signaling to the child that their stories are worth a “real” stage.
5. The “Tinker Tray” Worktable
For children who like to take things apart, a dedicated Tinker Station is the ultimate DIY gift. This isn’t a toy in itself, but a place where “playing things” are born.
Organizing for Success:
A high-quality tinker tray should be organized by material type to prevent “creative overwhelm.”
- Fasteners: Jars of nuts, bolts, washers, and zip ties.
- Adhesives: Low-temp glue guns, painter’s tape, and glue sticks.
- The “Raw Goods”: Old remote controls (batteries removed), broken clocks, or scraps of wire.
Safety Note: Always provide safety goggles. Even if the project is simple, wearing the goggles puts the child in the “mindset” of a careful creator and protects against snapping plastic or flying springs.
Maintenance: The “Toy Hospital”d can be repaired. Establish a “Toy Hospital” corner with a small toolkit. When a cardboard wing rips or a wooden wheel falls off, it isn’t “trash”—it’s a patient. This fosters resilience and a “fix-it” mentality that will serve them for a lifetime.
Summary Table: Project Comparison
| Project | Key Skill | Mess Level | Ages |
| PVC Fort | Geometry / Architecture | Low | 4+ |
| Stepping Stones | Balance / Gross Motor | Medium (during build) | 2+ |
| Magnetic Wall | Physics / Gravity | Low | 3+ |
| Shadow Theater | Narrative / Fine Motor | Low | 5+ |
| Tinker Tray | Engineering / Problem Solving | High | 6+ |
Final Thoughts
DIY playthings shouldn’t be fragile. By using “real” materials—wood, metal, magnets, and cloth—you are telling the child that their play is serious work. You are giving them tools that don’t just entertain, but empower. As they manipulate these objects, they aren’t just passing the time; they are building the cognitive structures they will use to solve real-world problems in the future.