
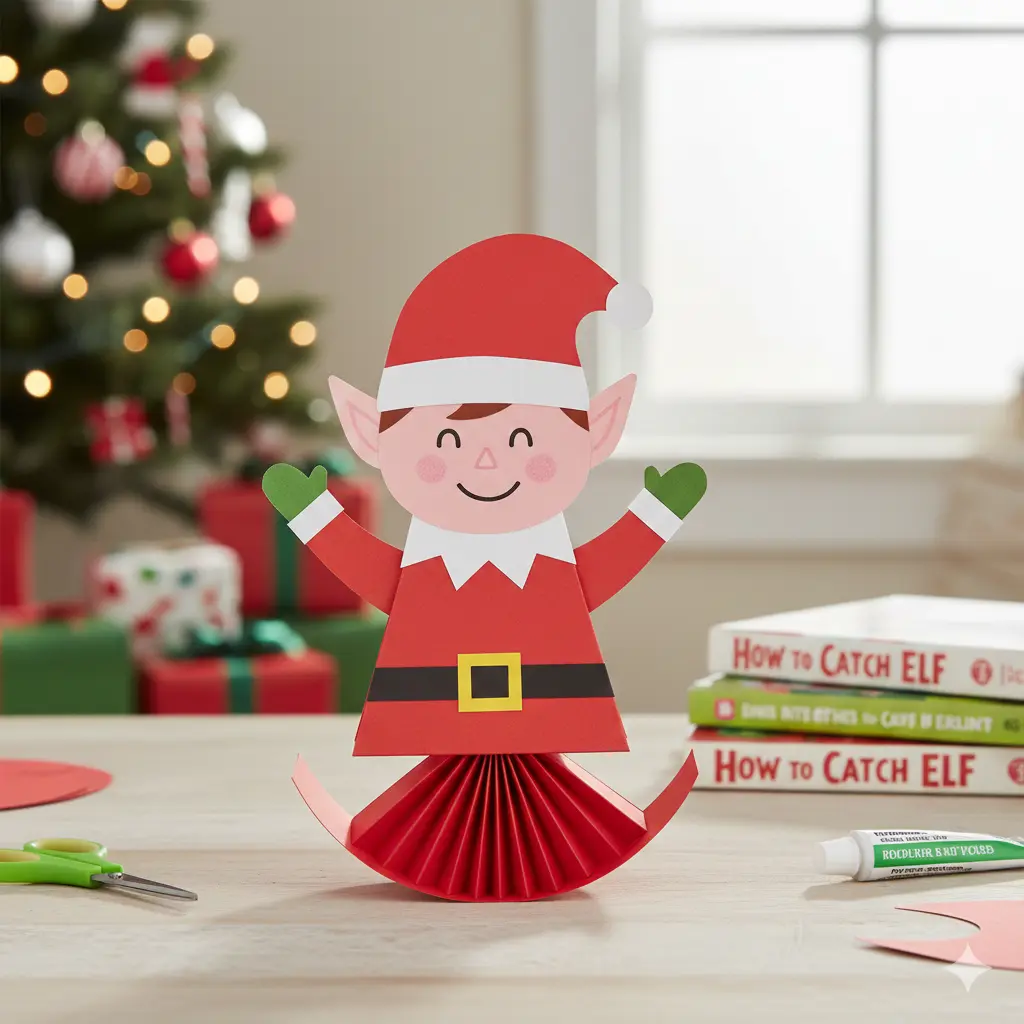
1. Create the Rocking Base
Take the large circular base you cut out and fold it exactly in half. This semi-circle will be the “rocking” body of your elf.
Note: Make sure the fold is crisp so it wobbles back and forth easily on a flat surface!
2. Assemble the Elf’s Face
- The Ears: Glue the ears to either side of the head.
- The Hat: Glue the hat onto the top of the head, then add the trim and a little paper pom-pom if you have one.
- The Features: Use your Sharpies to draw a happy face, rosy cheeks, and maybe some festive freckles.
3. Dress Him Up
Glue the belt across the middle of your folded rocking base. Add the buckle right in the center. This gives the elf his classic North Pole uniform look!
4. Attach the Head and Arms
- Head: Glue the bottom of the elf’s neck to the top center of the folded base (on the “spine” of the fold).
- Arms: Glue the sleeves to the sides of the rocking base, then attach the hands to the ends of the sleeves. You can position them so it looks like he’s waving as he rocks!
🧝 Fun Fact: Elf Folklore
Did you know that in Scandinavian folklore, elves (or tomte) were actually seen as guardians of the homestead? People used to leave out a bowl of porridge with butter on top to keep them happy so they would continue to protect the farm!
Would you like me to help you create a “Wanted” poster for your elf to go along with the “How to Catch an Elf” theme?